Graham Cracker Crust Recipe
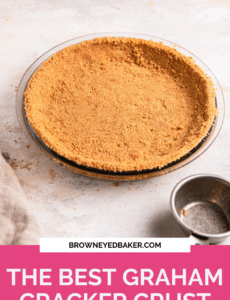
The only graham cracker crust recipe you need! It’s thick, buttery, doesn’t crumble, and comes out perfect every time. Learn how to make a homemade crust and you’ll never buy a pre-made version again. This crust is perfect for no-bake or baked desserts including cheesecakes, pies and tarts, bars, and any other recipe requiring a graham cracker crust.
Pie crust of any kind can intimidate even the most experienced bakers. Armed with a little knowledge and confidence, anyone can master it! We’ve tackled favorite recipes for an all-butter pie crust and a butter/shortening crust (with vodka as the secret ingredient!), and today we’re diving into homemade graham cracker crust. This type of pie crust is so insanely easy to make, yet many still reach for pre-made, store-bought options. No more!
Why You’ll Love This Graham Cracker Crust Recipe
Why make this homemade graham cracker crust?
- Easy to Make: With only a few ingredients and a couple stirs of a fork, your crust is ready to go.
- Taste: A from-scratch graham cracker crust tastes infinitely better than a store-bought crust. There’s simply no comparison between homemade and store-bought.
- No-Bake Option: This is a wonderful crust to use for no-bake (and baked!) recipes, especially in the hot summer months when you want to avoid turning on the oven.
- Versatile: Use this graham cracker crust as the base of s’mores pie, strawberry cheesecake bars, key lime pie, New York style cheesecake, and many other recipes.
The Best Graham Cracker Crust
Graham cracker crusts seem so elementary, but if you’ve ever lifted a slice of pie out of the pan and had the crust break and crumble all over the plate (mortifying if you’re serving to company and just plain annoying otherwise!), then you KNOW how important a good crust is!
This is the only graham cracker crust recipe you need and here’s why:
- Perfectly Moist: I’ve had the (dis)pleasure of making graham cracker crusts that crumble and fall apart or conversely, leak liquid because there’s too much butter. This recipe strikes the perfect balance to create a crust that holds together beautifully and never crumbles, yet is still moist and a little soft.
- Flavor! It might not seem important in something as simple as a graham cracker crust, but honestly? I could eat this crust ON ITS OWN. Using brown sugar turns a basic graham cracker crust into something truly delicious on its own.
- Clean Slices Every Time: Quite possibly the most important aspect of any graham cracker crust recipe. Pack the crust in nice and tight (follow the instructions in the recipe!) and you’ll have perfect, clean cut pie slices every single time.
Graham Cracker Crust Ingredients
Combine these four ingredients for the most amazing graham cracker crust you will ever taste.
- Graham Cracker Crumbs: Use either whole graham crackers that you crush up yourself or ready-made graham cracker crumbs. Both options work wonderfully! If you crush them yourself you have 2 options: 1) put the graham crackers in a zip-top bag and use something relatively heavy to crush them, or 2) use a food processor and pulse until you get fine crumbs (this method yields the finest, most even crumbs).
- Sugar: We use light brown sugar to keep the crust moist and give it a little more of a browned butter/toffee flavor.
- Butter: You might notice that this recipe has a smidge more butter than most graham cracker crust recipes call for. I find this extra bit of butter really helps bind the crust together and keeps it from crumbling apart when it’s sliced. (Want to ratchet this crust up a notch? Use browned butter!)
- Salt: Balances out all of the flavors.
How to Make Graham Cracker Crust From Scratch
This crust comes together very quickly thanks to a short ingredient list and a super simple mixing process.
- Make Graham Cracker Crumbs: If you haven’t purchased pre-made crumbs, crush the graham crackers into fine crumbs, measure out 2 cups, and place them in a medium bowl. Quick Tip! Use 14 graham crackers (the full sheets) for about 2 cups of crumbs.
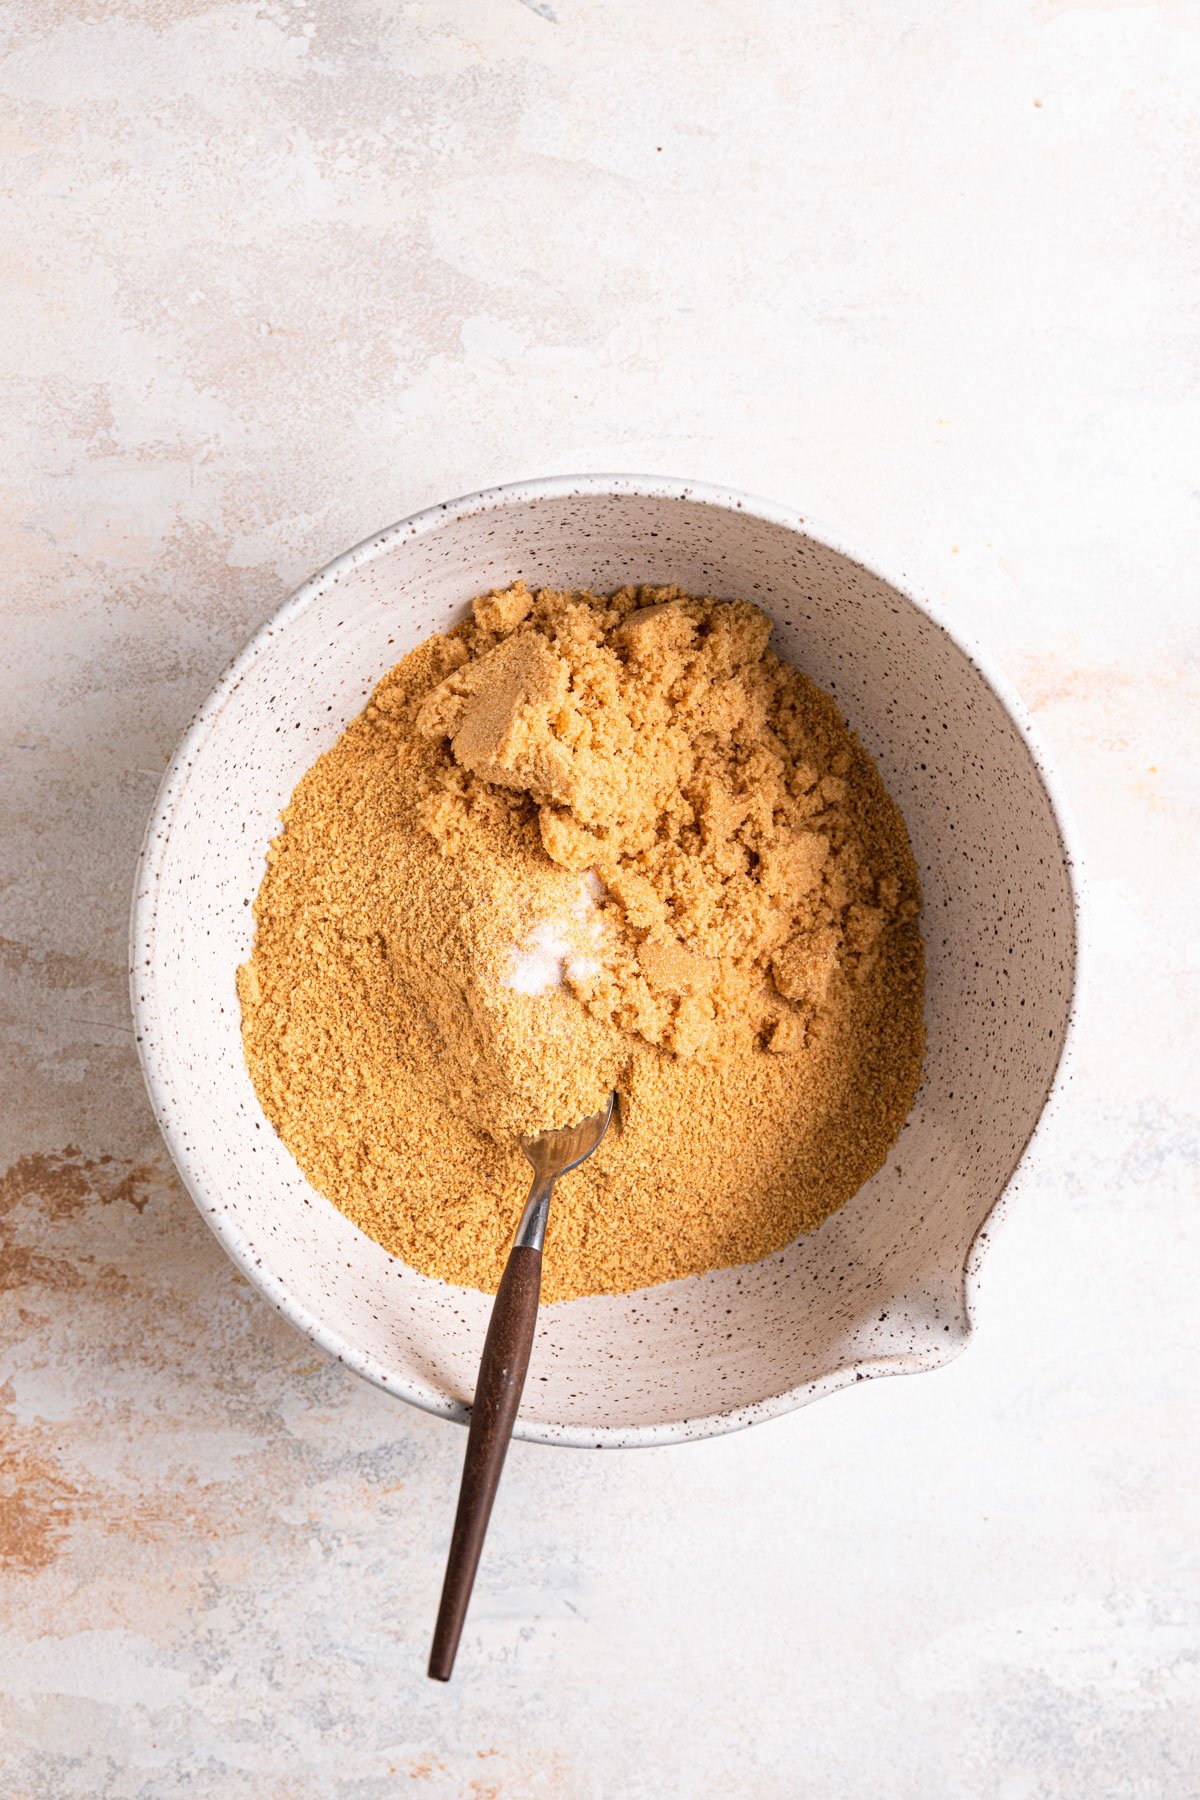
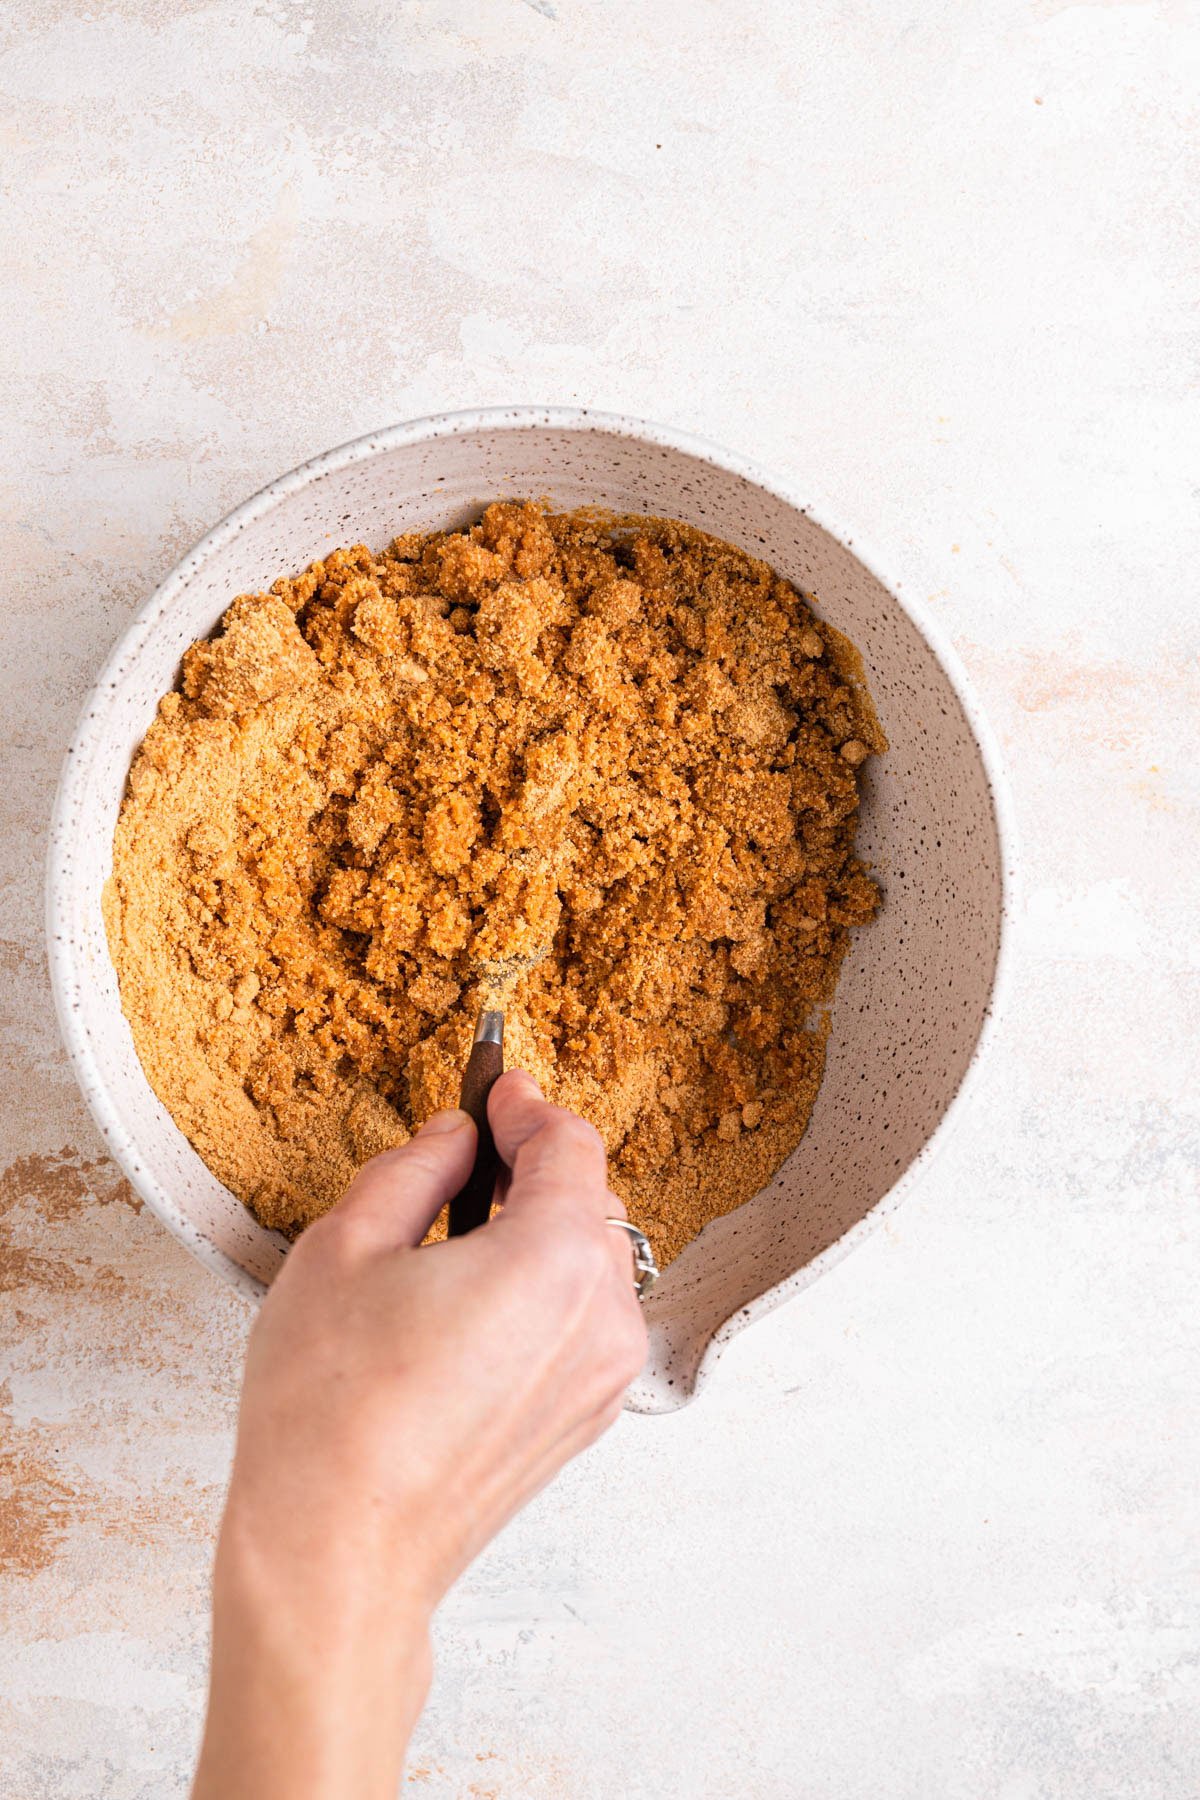
- Add the Brown Sugar and Salt: Combine the graham cracker crumbs with the brown sugar and salt.
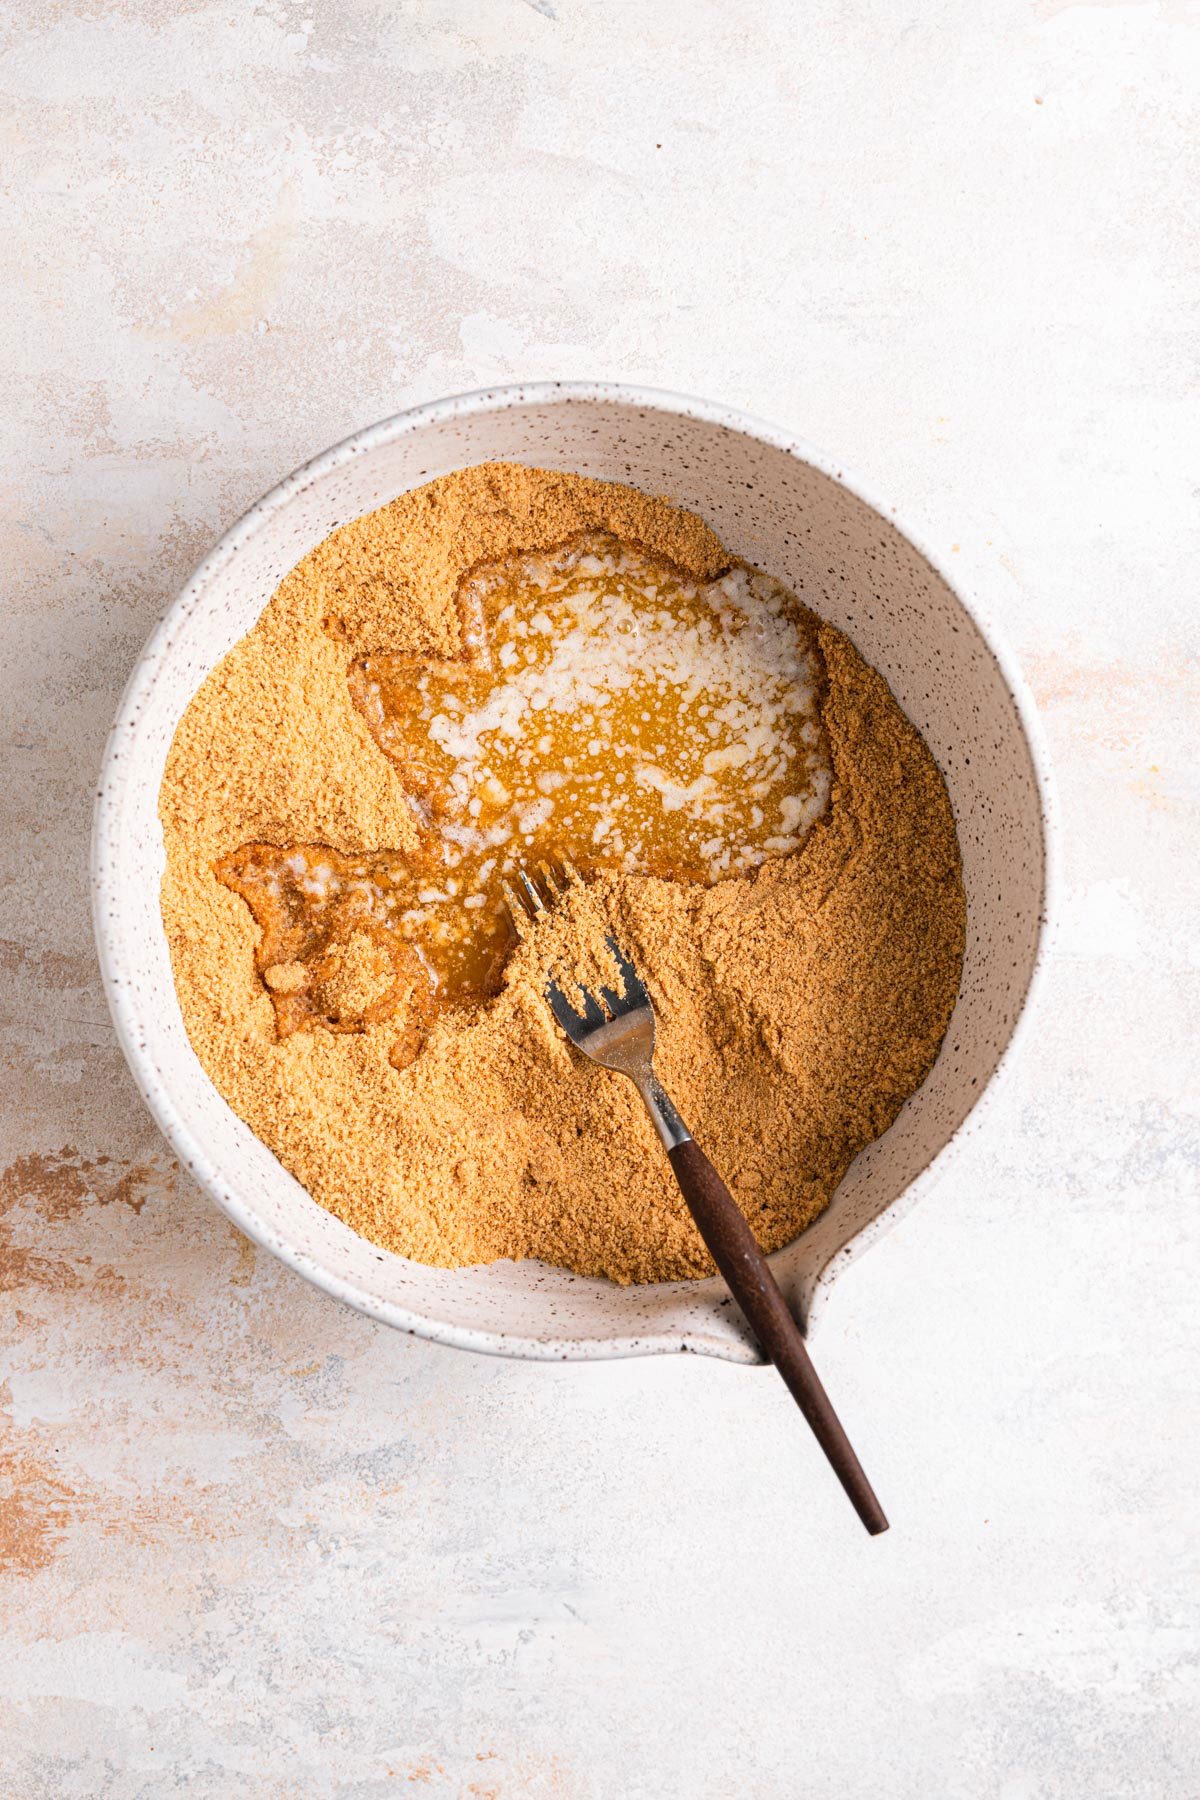
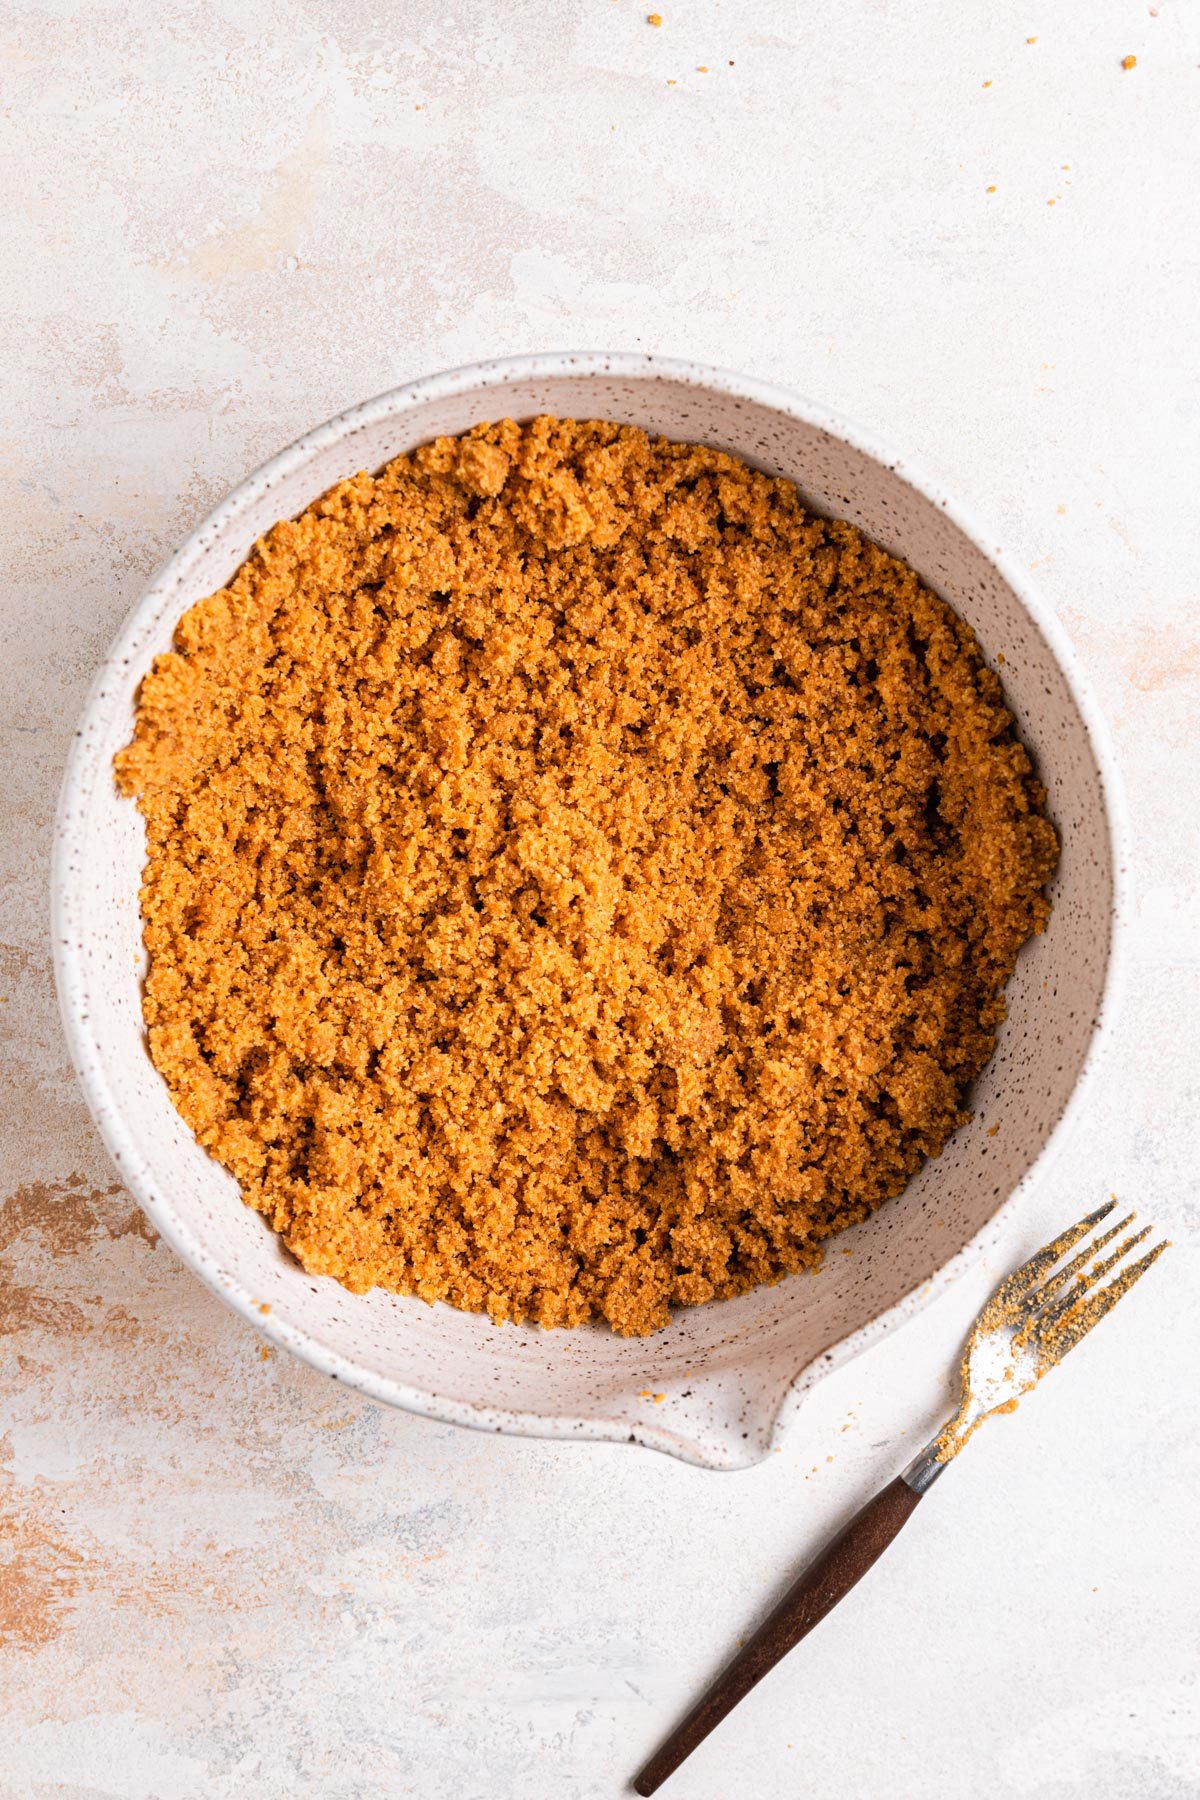
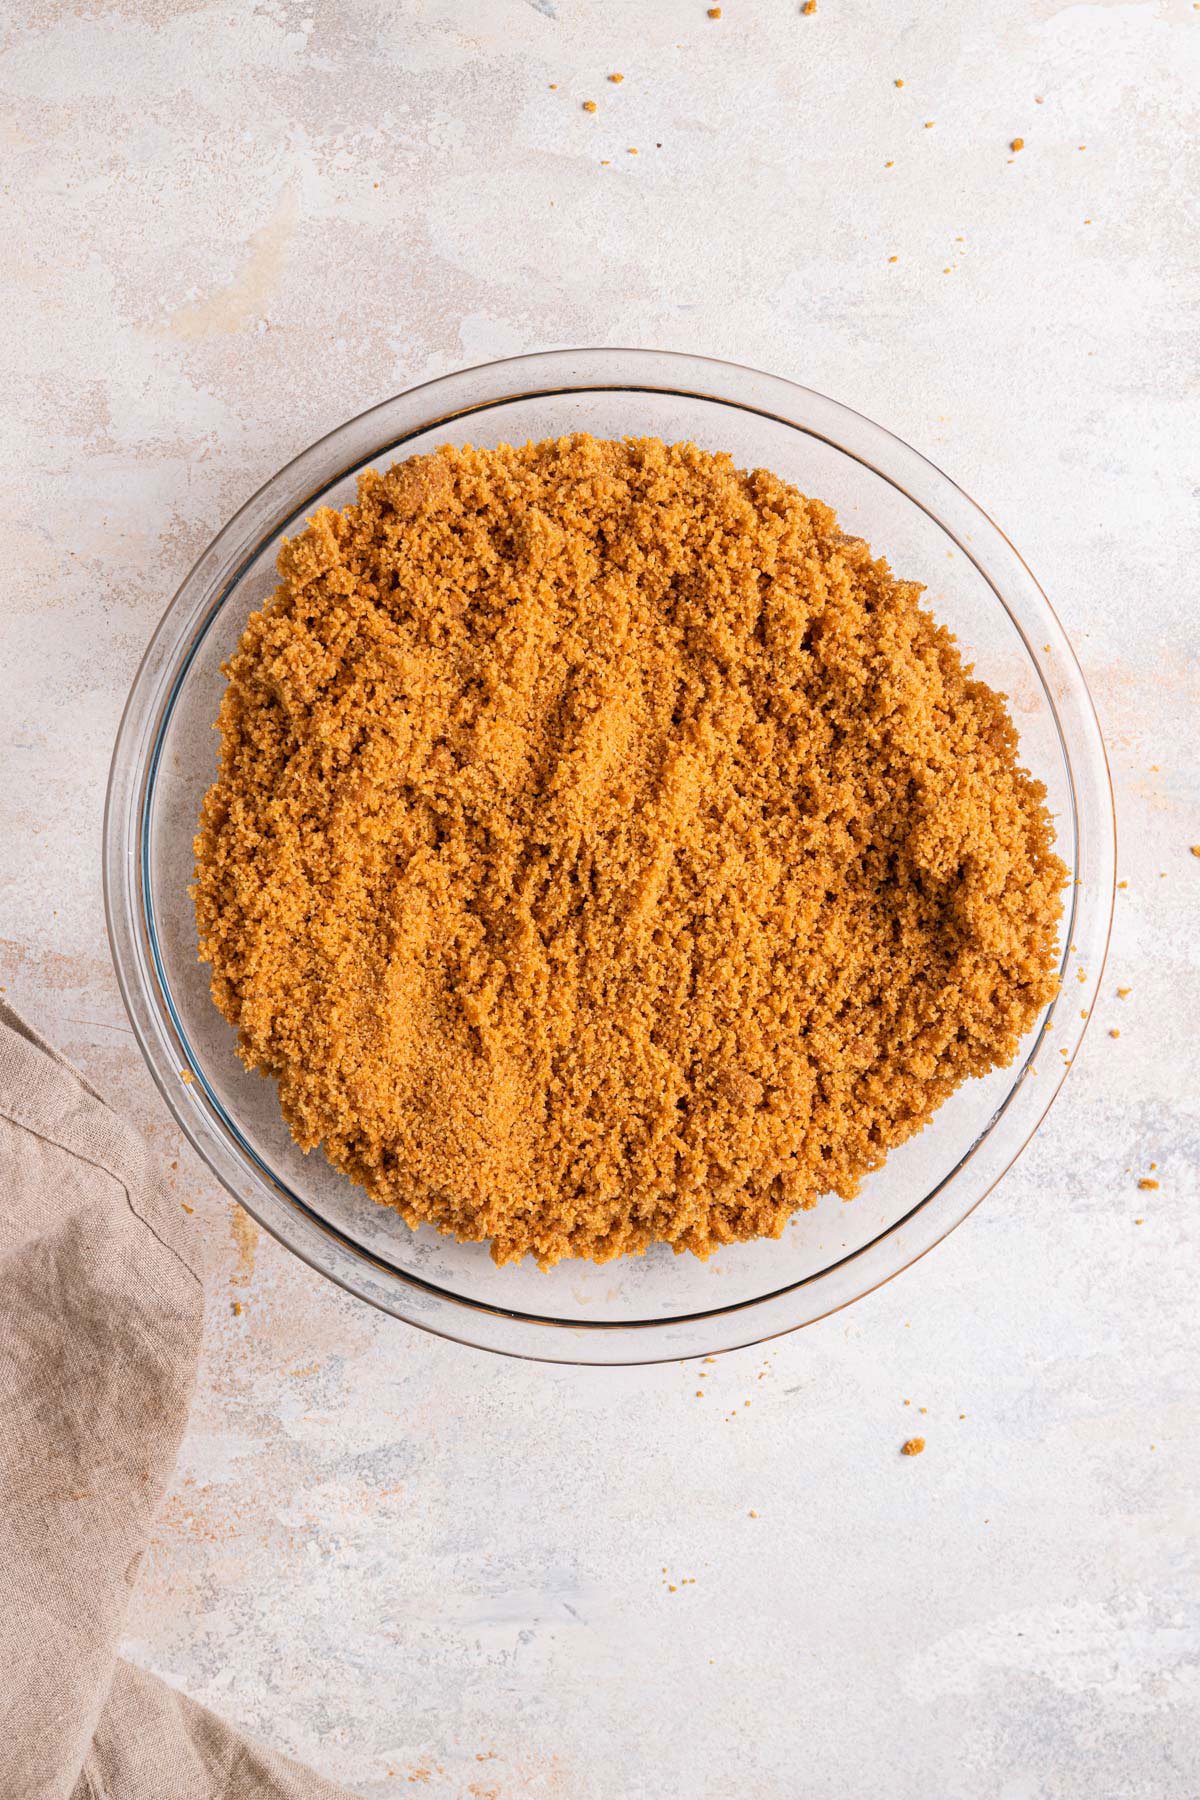
- Stir In the Melted Butter: Drizzle the melted butter over the graham cracker mixture and use a fork to mix everything together, ensuring that it is evenly moistened.
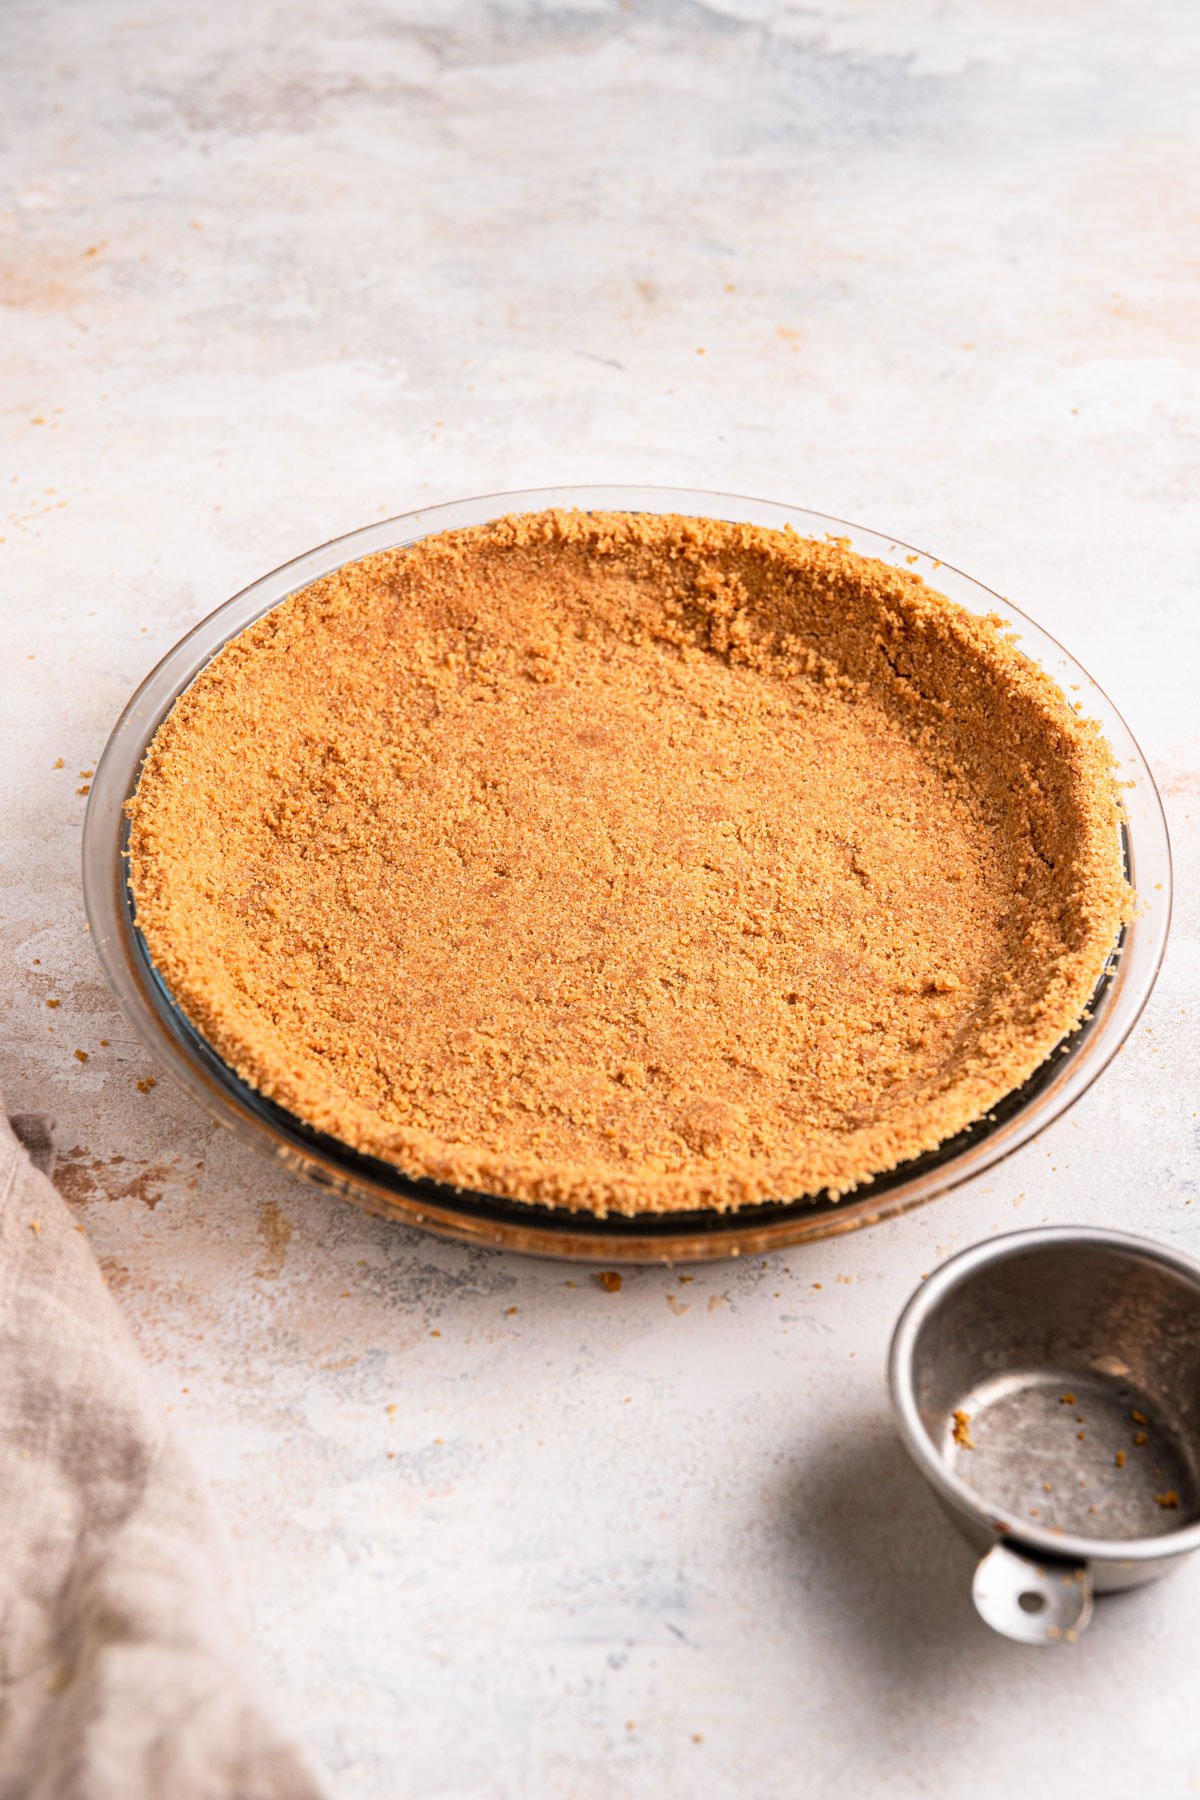
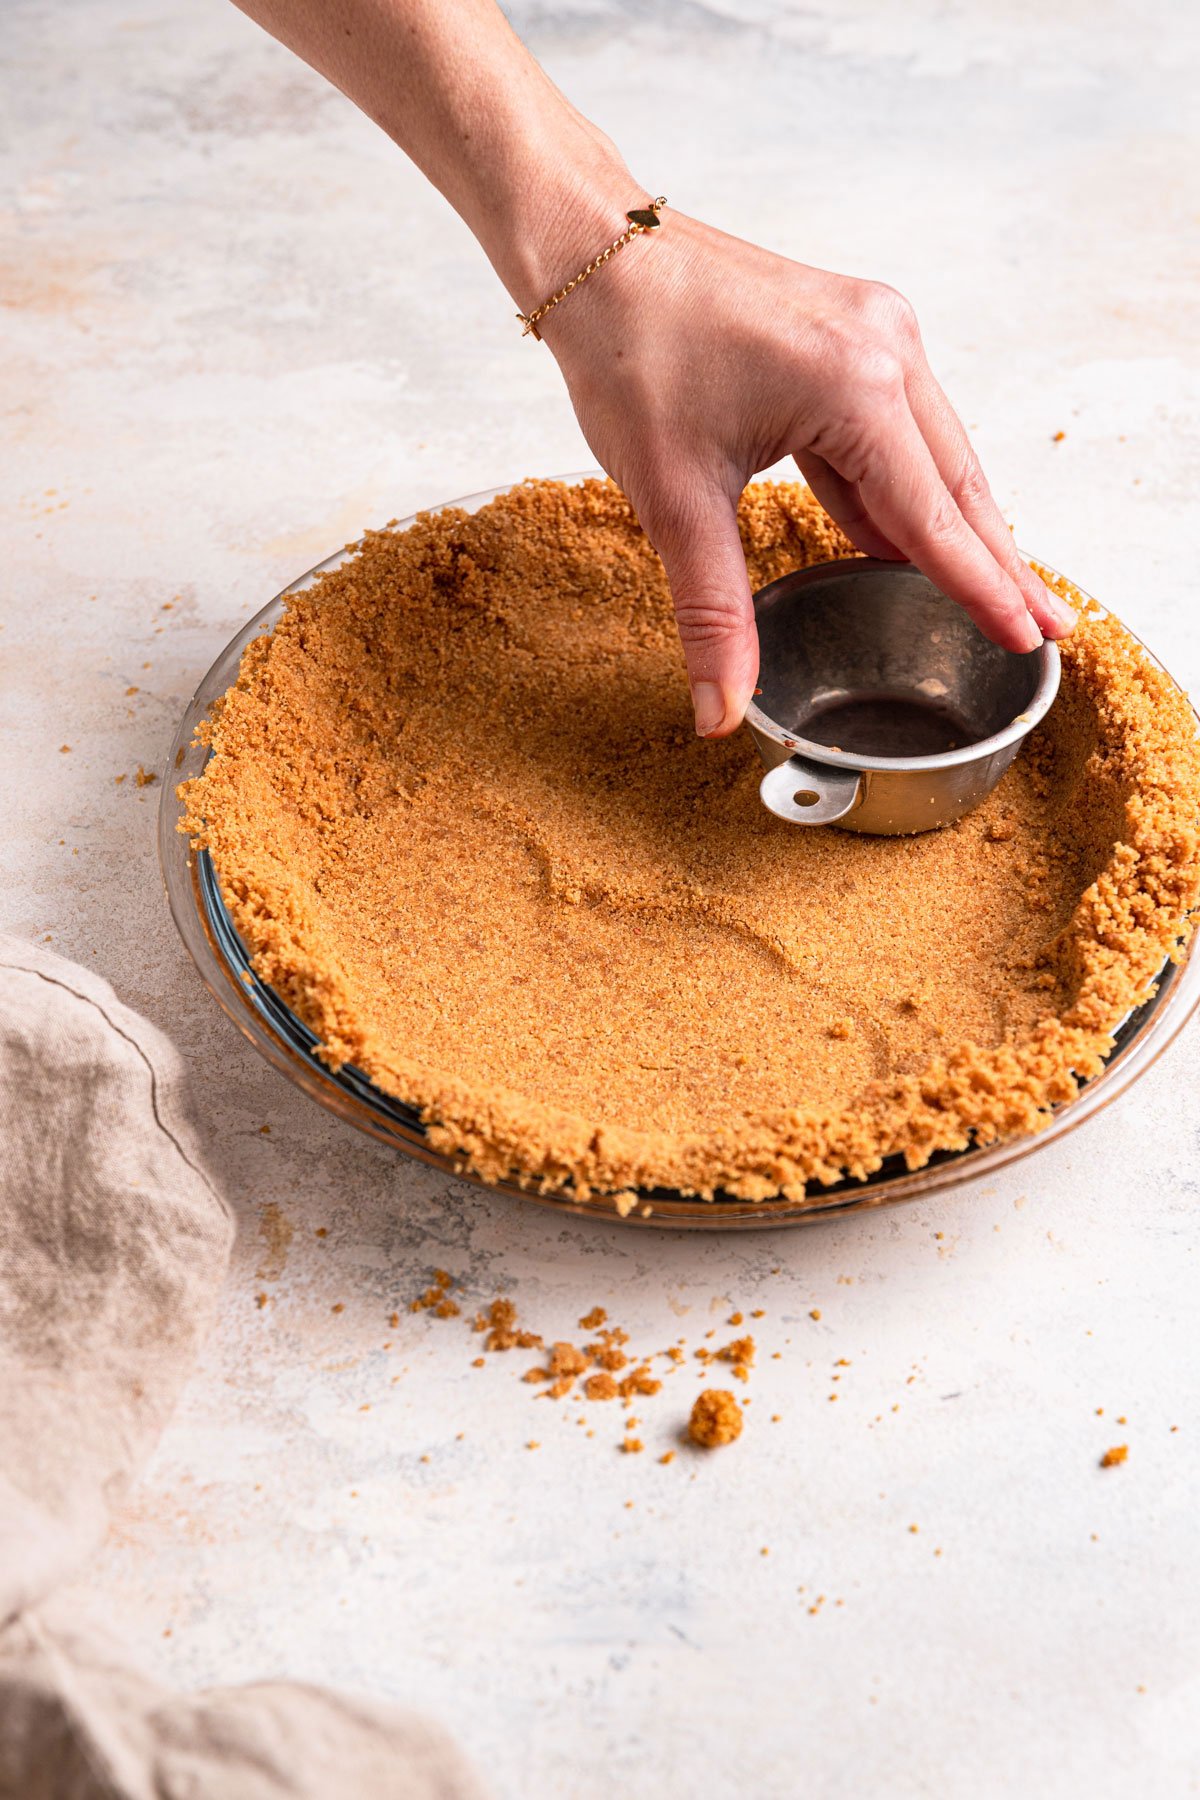
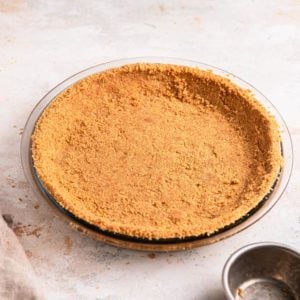
- Press and Pack: This is crucial! Press and pack the crust into the pan. Years ago, I heard a tip about using the bottom and sides of a measuring cup to press a graham cracker (or Oreo) crust into the pan. It’s a total game-changer! You can use anything – dry measuring cups, a liquid measuring cup, a regular drinking glass – anything that has a round bottom will do. A tightly packed crust means that it will hold together beautifully when sliced instead of crumbling all over the place.
Pan Note: This recipe works for a standard 9-inch pie plate, 8-inch or 9-inch square pan, or a 9-inch or 10-inch springform pan. Double this recipe to use in a 9×13-inch pan.
Graham Cracker Pie Crust Substitutions
There aren’t many ingredients in this pie crust, but below are suggestions for substitutions, should you need to make them:
- Graham Crackers: Use any flavor or variety of graham cracker you like, crushed digestive biscuits, gingersnaps, vanilla wafers, or cornflakes. Regardless of which you use, be sure to crush as finely as possible and use 2 cups of crumbs.
- Brown Sugar: Replace brown sugar with an equal amount of granulated sugar, coconut sugar, or muscovado.
- Butter: Vegan alternatives or coconut oil work great.
No-Bake vs Baked Graham Cracker Crust
The beauty of this pie crust recipe is that it can be used in both types of recipes (no-bake and baked)! Whether your recipe calls for making the crust, adding a filling, and chilling, or for baking the crust, these are my recommendations:
- No-Bake Recipes: If the crust and pie will not be baked, prepare the pie crust as directed, then place the pan in the freezer for at least 15 minutes before filling it.
- Baked Recipes: If the graham cracker crust needs to be pre-baked, bake at 350 degrees F for 10 minutes, then proceed with your recipe as written.
Make Ahead and Freezing Instructions
- Make Ahead: Prepare the graham cracker crust up to 2 days in advance of filling it. Simply cover it with plastic wrap and refrigerate it until ready to fill.
- Freeze: Prepare the crust as instructed, then wrap the pie plate in plastic wrap and then in a layer of aluminum foil. Freeze for up to 3 months; thaw in the refrigerator overnight before using.
Use This Graham Cracker Crust Recipe To Make:
The possibilities are endless! With the best (and easiest!) graham cracker crust recipe, add these desserts to your must-make list!
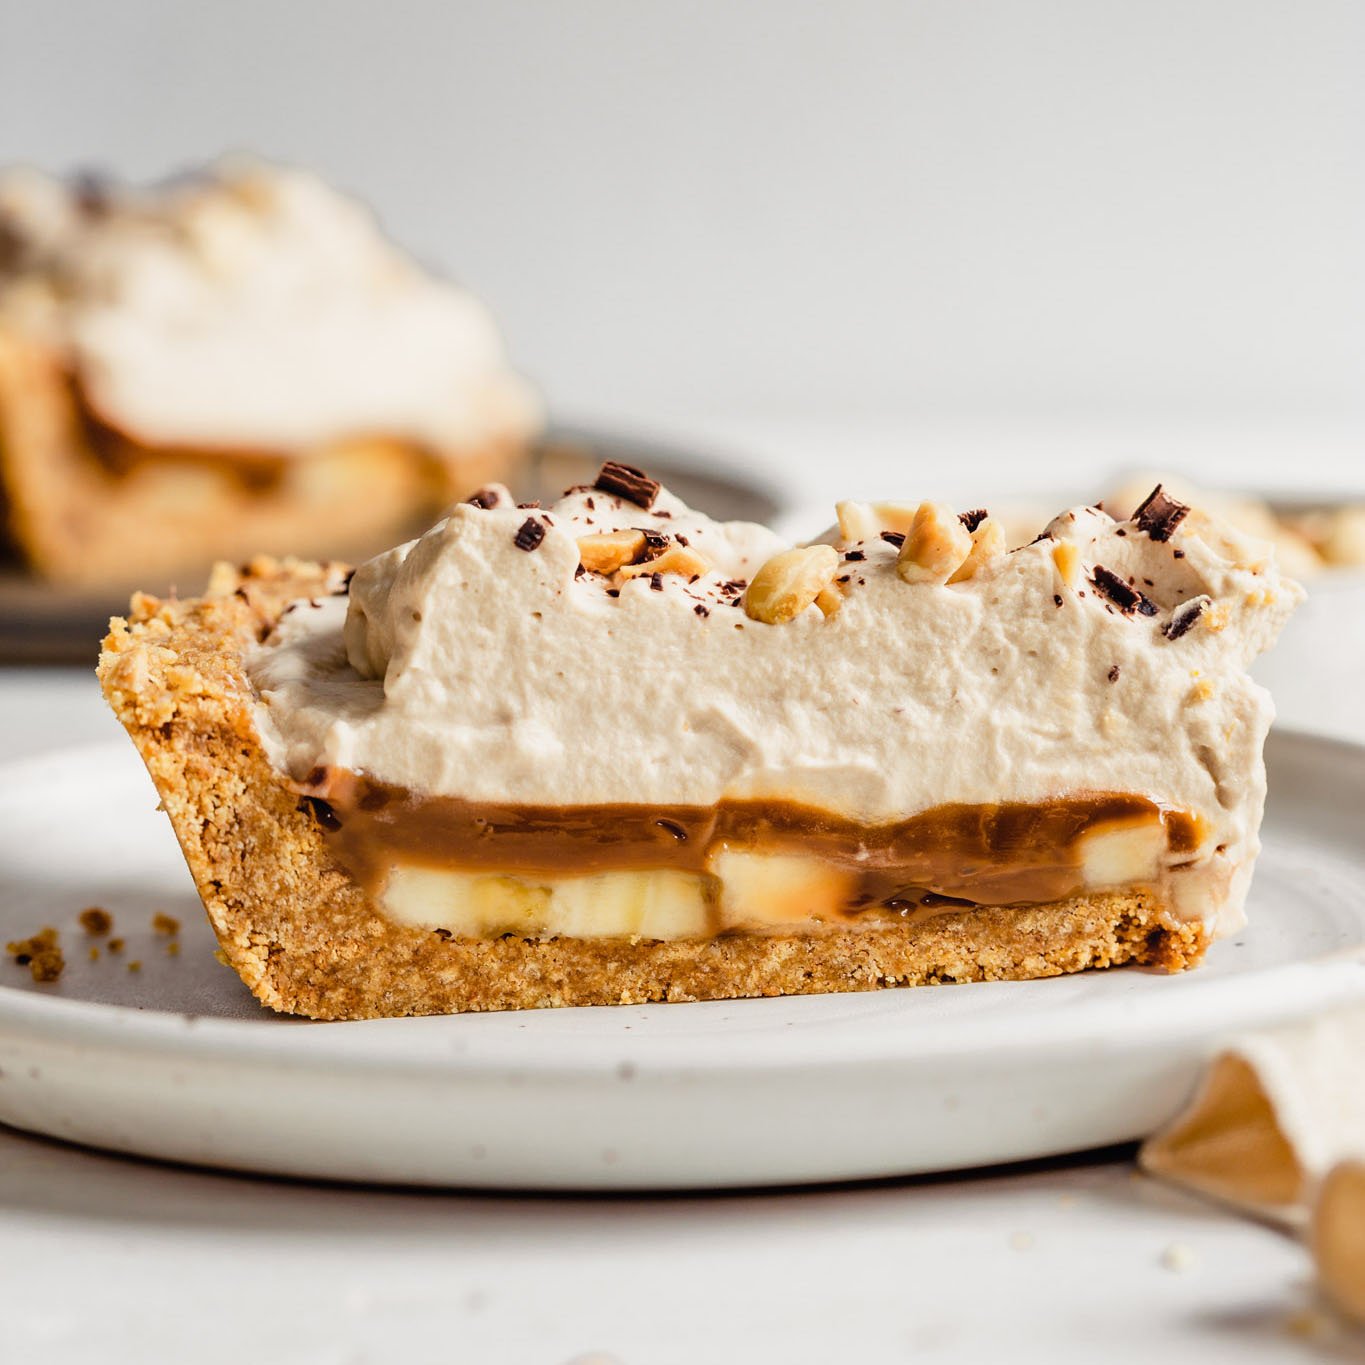
Graham cracker crust is the base of so many amazing desserts – cheesecakes, pies, bars, and more! Which makes it all the more important to have a tried-and-true, reliable recipe that you can use time and again. This thick, buttery, and DELICIOUS crust can be used for both no-bake and baked desserts; be sure to save it to your recipe arsenal today!
If you make this recipe and love it, remember to stop back and give it a 5-star rating – it helps others find the recipe! ❤️️
Graham Cracker Crust
Ingredients
- 2 cups graham cracker crumbs, approximately 14 full graham crackers
- ⅓ cup light brown sugar
- ½ cup unsalted butter, melted
- Pinch salt
Instructions
- In a medium bowl, stir together the graham cracker crumbs, brown sugar, and salt, ensuring no lumps of brown sugar remain.
- Drizzle the melted butter over the graham cracker mixture and toss to combine with a fork, ensuring that the mixture is evenly moistened.
- Press the crust mixture evenly into the bottom and up the sides of a 9-inch pie plate, 9-inch or 10-inch springform pan and pack tightly using the back of a measuring cup.
- If using in a no-bake recipe, place the pan in the freezer for at least 15 minutes while you prepare the filling and proceed with the recipe.
- If the graham cracker crust needs to be pre-baked, bake at 350 degrees for 10 minutes, then proceed with the recipe as written.
Notes
- Equipment: This recipe works for a standard 9-inch pie plate, 8-inch or 9-inch square pan, or a 9-inch or 10-inch springform pan. You will need to double the recipe to use in a 9×13-inch pan.
- Graham Crackers: You can use any flavor or variety of graham cracker you like (and you can buy a box of graham cracker crumbs!), or you can also use crushed digestive biscuits, gingersnaps, vanilla wafers, or cornflakes. Whichever of these you use, just be sure to crush as finely as possible and measure out 2 cups of crumbs.
- Brown Sugar: You can substitute regular granulated sugar, coconut sugar, or muscovado.
- Butter: You can substitute vegan alternatives or coconut oil. For an extra oomph of flavor, go the extra step of making browned butter instead of simply melting the butter.
- No-Bake Recipes: If the crust and pie will not be baked, prepare the pie crust as directed, then place the pan in the freezer for at least 15 minutes before filling it.
- Baked Recipes: If the graham cracker crust needs to be pre-baked, bake at 350 degrees for 10 minutes, then proceed with the recipe as written.
- To Make Ahead: You can prepare the graham cracker crust up to 2 days in advance of filling it. Simply cover it with plastic wrap and refrigerate it until ready to fill.
- To Freeze: Prepare the crust as instructed, then wrap the pie plate in plastic wrap and then in a layer of aluminum foil. Freeze for up to 3 months; thaw in the refrigerator overnight before using.
Did you make this recipe?
Leave a review below, then snap a picture and tag @thebrowneyedbaker on Instagram so I can see it!
Photography by Dee Frances


I’ve been scrolling for too long just trying to find the recipe…. Oh my goodness all recipes are nowdays is just ads, popups, stories and more stories
First time making this recipe, what had me decide on this recipe was brown sugar instead of white sugar, I did add cinnamon teaspoon, maybe….
I don’t know what I did but I could have made two pies with 2 cups of gram crackers.
I did not bake the crust but put it in the freezer while i finished making dinner . Put the crust and chocolate pie filling in the crust, popped it in the fridge until after dinner , I did wipe the bottom of the pie plate with a hot cloth as you suggest and it worked great getting the slices out.
I will make this pie crust again.
Hi
I followed your recipe precisely, even got the exact ingredients as indicated, but crust broke up / all crumbly when I sliced it.
My graham cracker crust is hard to slice through – I usually use if for a key lime or lemon pie which I keep in the fridge. When it comes to slicing, I have to “dig” it out. Any suggestions?
At 1 time I used a measuring cup to pack the crumbs into the pie pan. If you want to try a real game changer try using another pie pan instead of a measuring cup. It is much easier & quicker & the crust is perfectly even as well.
Great idea! Thank you for sharing.
I’m going to try this, Michelle. Years ago, I always made my own graham cracker crusts, but I don’t remember ever using brown sugar, and I can imagine that really does make a key difference!
But am I the only one who has a hard time finding graham cracker crumbs on the grocery shelves now? It used to be in every, but a year or so ago, when I really needed it, I had a very hard time finding it. EventuallyI did, but I may even have had to order it online.
I’ve also crushed my own crumbs, but it’s hard to get them uniform, and at this point, I really do not have space for a food processor. Maybe the pulse setting on the blender would work?
Thank you.
This is the most amazing, by far, graham cracker crust I’ve ever made or eaten. The secret- I believe- is browning the butter! When pressed into an 8” fairly deep pie pan, this made a beautiful thick crust- perfect for my Key Lime Pie!
What am I doing wrong? I firmly press into the pan so it won’t crumble apart when serving. I prebake but it ALWAYS comes out hard as a rock and nearly impossible to cut through. I follow directions to a T. GAHSOFRUSTRATING!
If you add a teaspoon of cinnamon to the crumbs, you’ll be amazed at how much better it tastes!
I went through a couple dozen recipes before I found yours — and originally I was only looking for a baking time! But I liked all of what you had to say so I am going to try your recipe this coming week and I WILL led you know how things turn out. Interestingly enough I will be using a springform pan so that will add another dimension to things.
Thanks for all the interesting info.
The recipe is good but I used the crust in cupcakes, for a strawberry cheesecake spin using cake and filling etc. The crust for my particular application was way too toffee flavor forward and over powered all of the strawberry flavor. Would be good maybe for a regular cheesecake or something.
The first time I made this it turned out fine. The second time, the crust wouldn’t stay together, and I had packed it tight. Why do you suppose this happened?
How does it work with GF graham crackers?
Hi Ruthie, I haven’t tested it, but I imagine it would work just fine.
This recipe is delicious!
One of my secrets for cheesecake is to use crushed gingersnaps instead of graham cracker crumbs in the crust. I’ll have to try that swap in your recipe!
Yes, that would totally work, too!
I would think that using honey grahams rather than plain graham crackers would also add a nice touch to the flavor of this crust. Or even cinnamon grahams depending upon what you’re filling your graham cracker crust with. Which graham crackers would you recommend or use? The brown sugar rather than granulated is a great idea. Next time I need a graham cracker crust I’ll give this one a try.
Hi Michelle, I always use honey grahams, since that’s what I always have in the house, delicious! :) I used to adore cinnamon graham crackers with peanut butter :) For all-purpose uses, I go with the honey grahams, but could definitely use cinnamon depending on what you’re making!
Thank you so much for this recipe. It could be a game-changer, as I too am sick of crumbling crusts!
You’re welcome! Hope you love it as much as I do :)
I have never thought to swap out regular sugar for brown sugar…cannot wait to try that! Have you ever made it with gluten free grahams? Honestly, that would be so amazing because a quick and easy, and delicious, gf dessert would be fantastic! I will give it a go soon and let you know how it turns out :-)
Hi Marty, I’ve never tried it with gluten free graham crackers, but I have confidence it would work! If you try it, come back and let us know!
Your recipe lists salt as an ingredient, but the directions don’t indicate when to add it
Salt is listed in the first step of the directions.
Hi Jen, Thanks for the catch, I’ve fixed it!
I hate having graham crackers crusts crumble on me, so I’ve got to try your idea of using brown sugar! I know it’s pretty obvious when the salt should be incorporated, but it’s not mentioned in the recipe or in the post above… (I usually just use salted butter.)
Hi Jenny, Thanks for the catch, I fixed that above! Enjoy the crust :)
I love graham crackers crust! It’s so easy and quick – perfect for quickly making no bake pies. Looks gorgeous!
Thank you, Natalie! Hope you enjoy!
ITs a little irrigating that you dont list how much of graham crackers then how much brown sugar and then how much butter etc on each “how to section!!: