

Basic Pâte à Choux Recipe
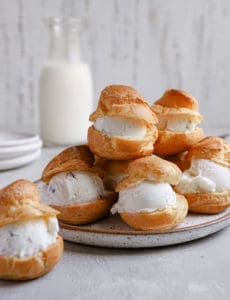
I’m sharing all my tips for making light as air pâte à choux. This delicate pastry makes airy pastry perfect for filling with sweet and savory stuffings. Learn everything you need to know about choux pastry from how to make, pipe, store, and fix some of the most common issues.
The Background
If you are not familiar with choux pastry, it’s a light and airy dough used to make desserts ranging from eclairs to churros and more. This unique dough is twice-baked, first on the stove, to create a silky smooth finish. Then it bakes to golden perfection in the oven.
Made with water, eggs, flour, and butter the pastry has a high moisture content which causes the pastry to rise and leave space for delicious fillings to be stuffed with pastry cream or other fun fillings. Once you’ve mastered making choux pastry, the delicious treats you can make are endless including:
- Eclairs: Pastry cream is piped into long logs and then filled with pastry cream and topped with chocolate.
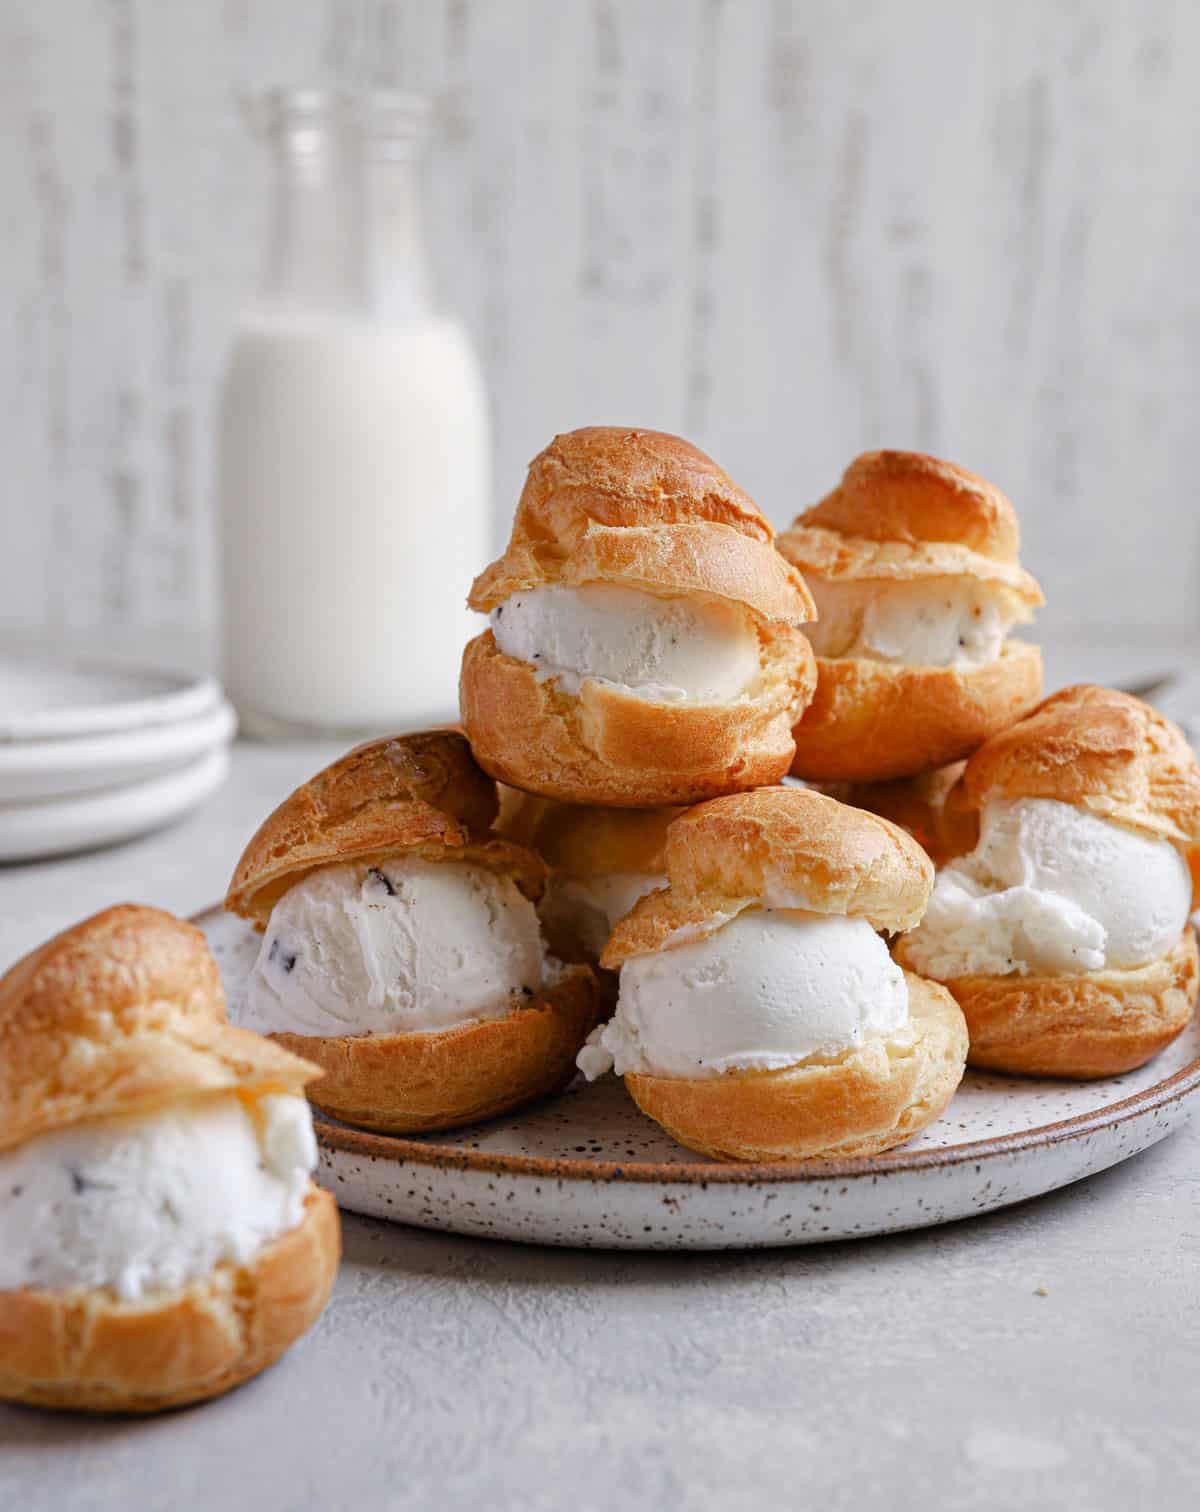
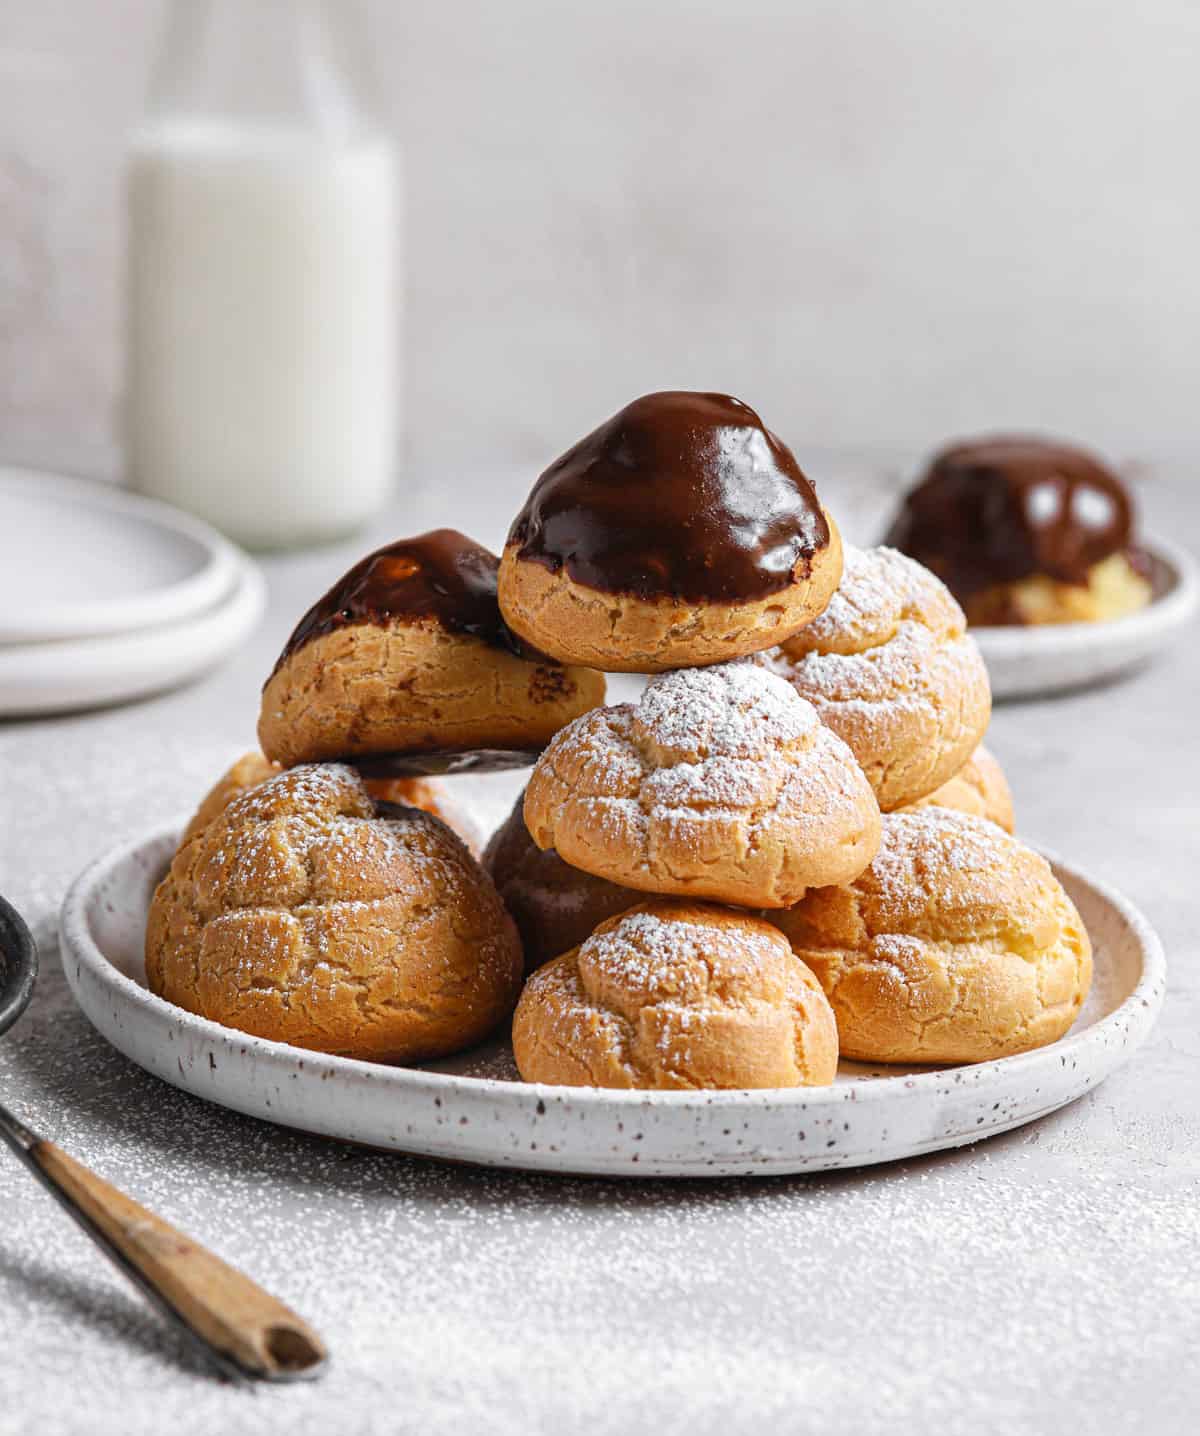
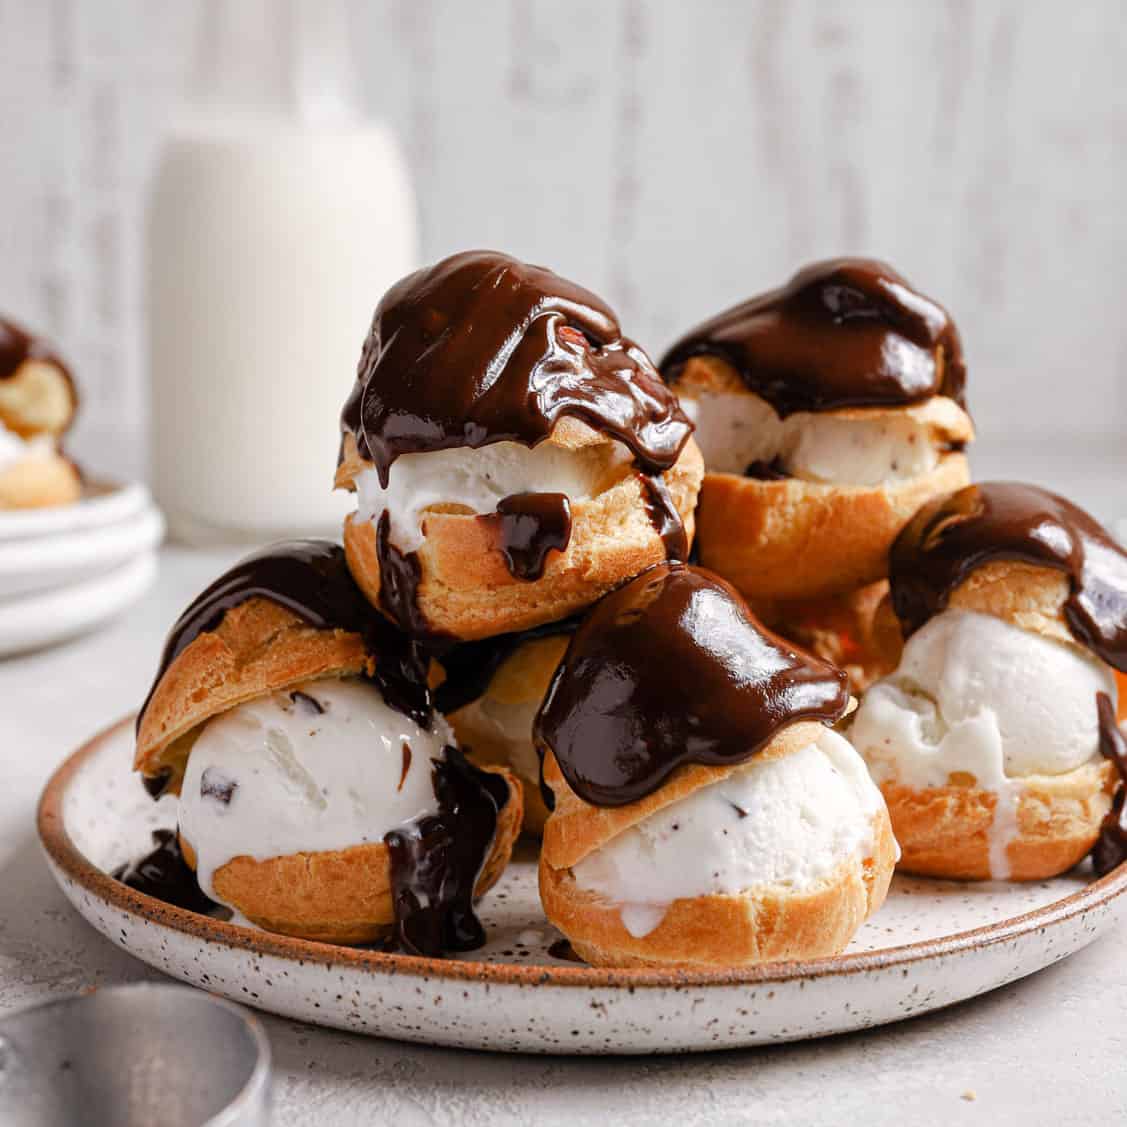
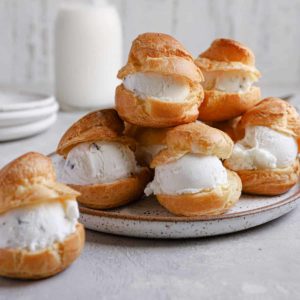
- Profiteroles: Also known as cream puffs, profiteroles are filled with pastry cream or ice cream. They often come served with a silky chocolate topping.
- Croquembouches: A cone-shaped tower made from choux pastry puffs baked and dipped in caramel binding the tower together.
- Gougeres: A savory appetizer made with choux pastry.
- Beignets: The dough is fried instead of baked into a type of fritter.
- Churros: Piped from a star-shaped nozzle and fried into a crispy treat.
Ingredients
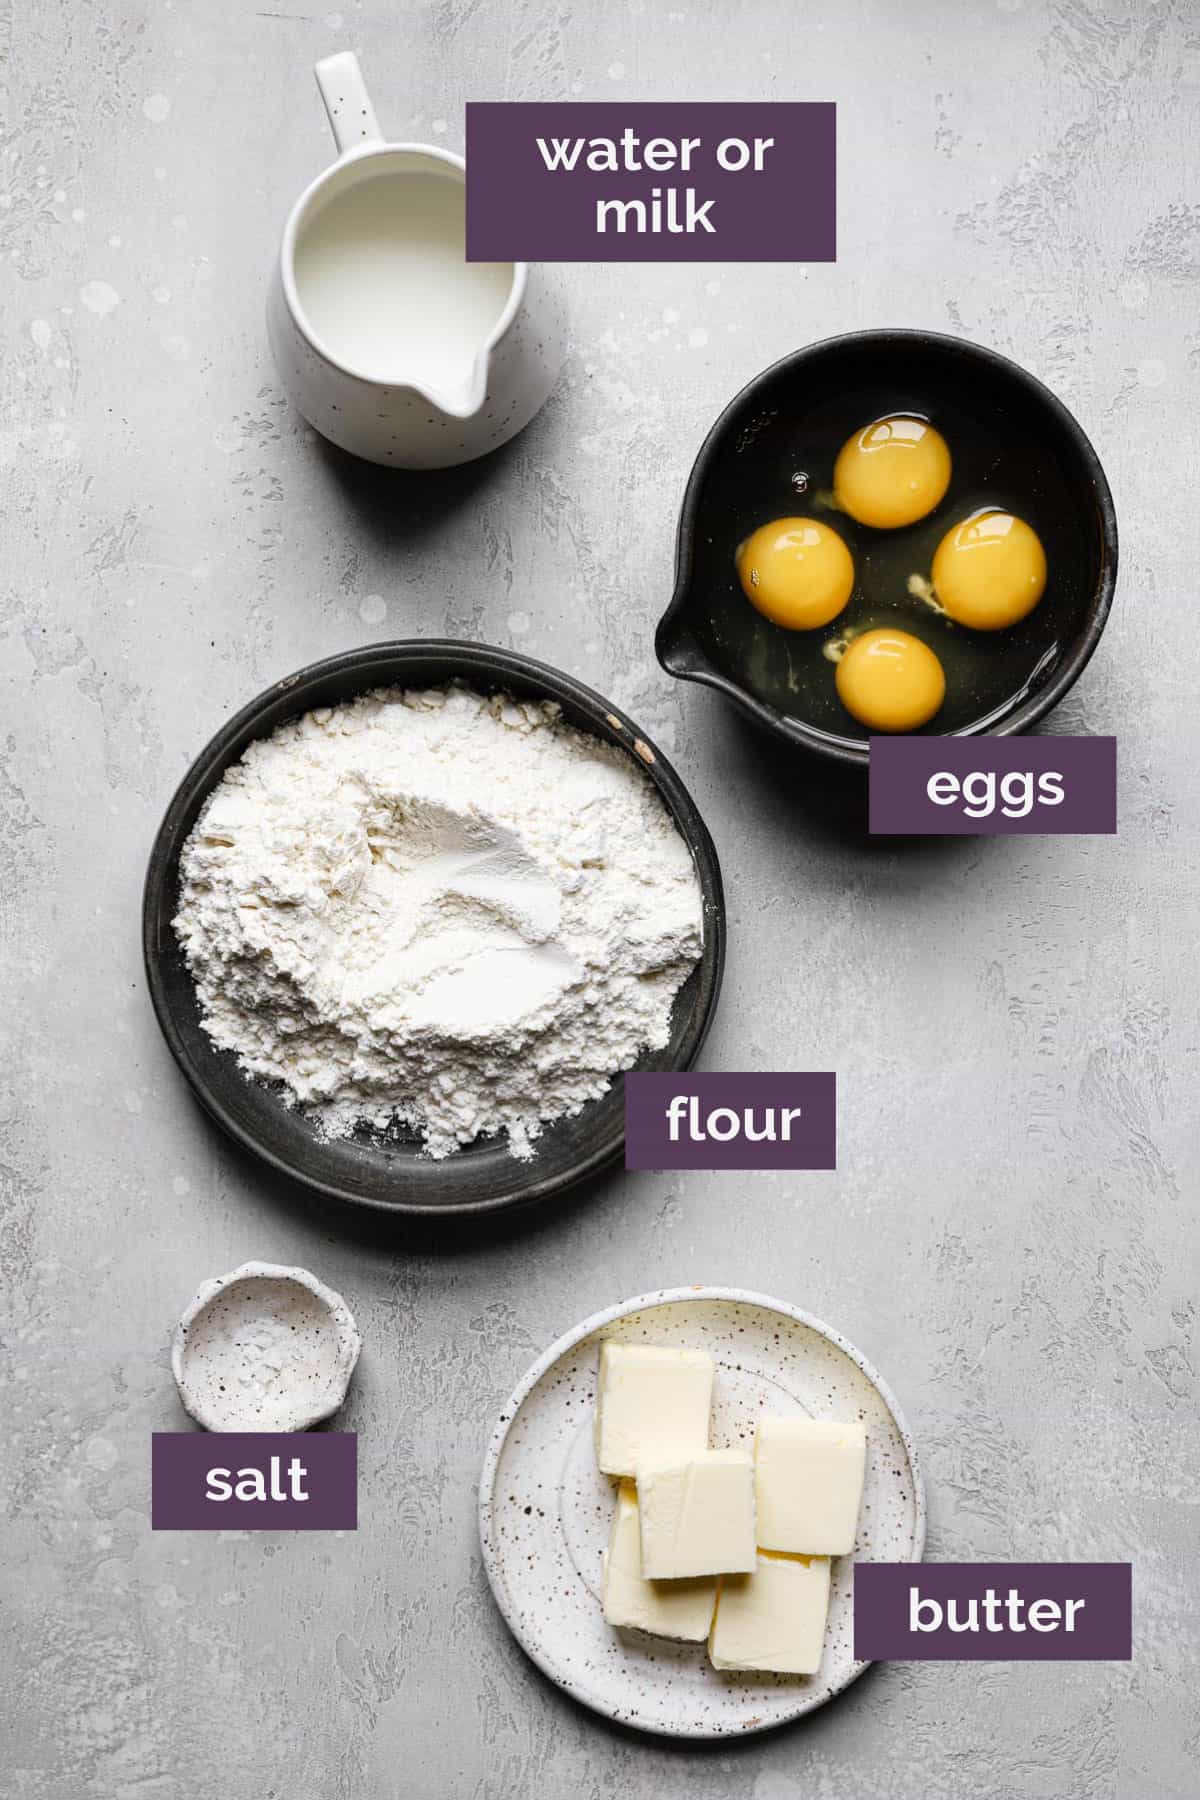
The beautiful thing about this dough is that it uses just a handful of pantry staple ingredients that you probably already have on hand.
- Milk: You can also use water or a combination of both water and milk. Depending on the final pastry you are making with the dough, one or the other may be called for in the recipe.
- Butter: During the baking process, this allows the pastry to rise.
- Salt: Gives a little flavor to the choux.
- Flour: Gives structure to the pastry.
- Eggs: Helps give the pastry structure and makes a crisp outer shell.
Step-by-Step Directions
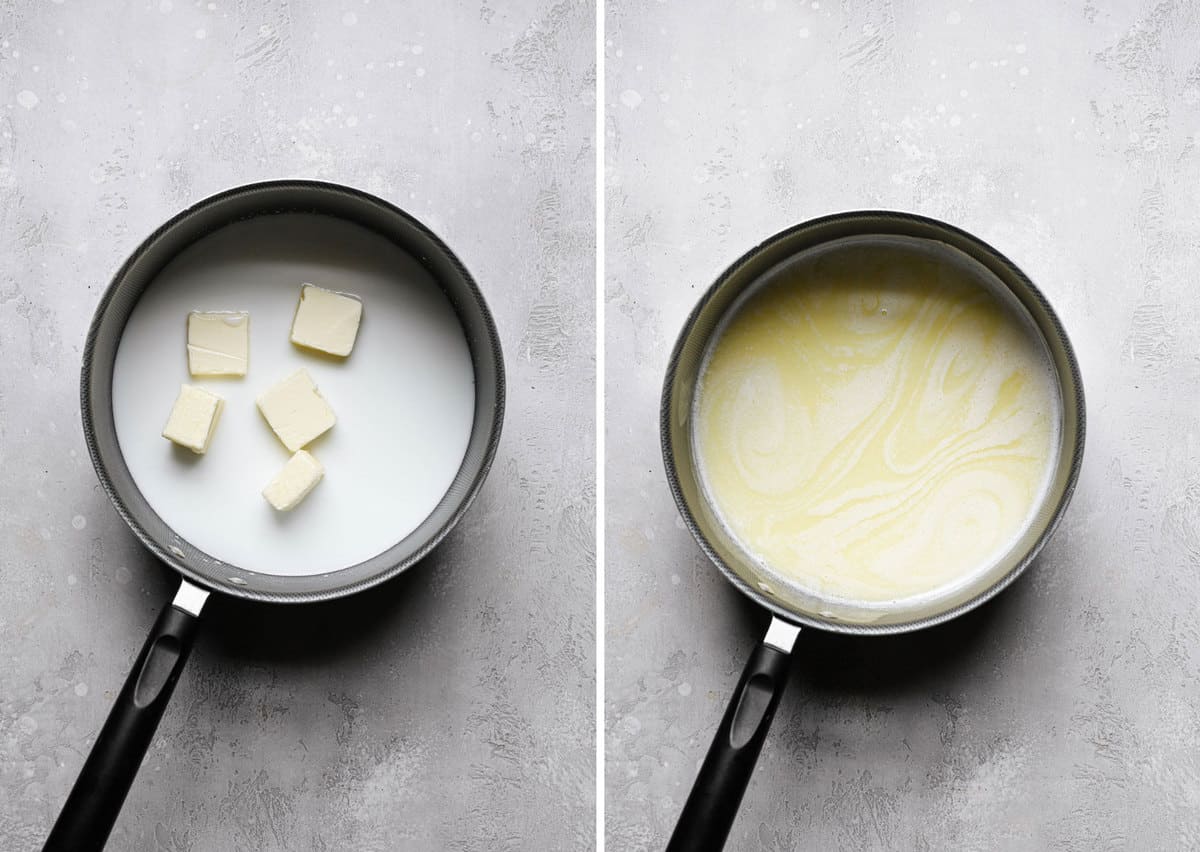
- Boil milk, butter, and salt: Place the water or milk, butter, and salt in a medium saucepan. Place over high heat and bring to a full rolling boil.
- Add the flour: Remove from the heat and add the flour all at once. Using a wooden spoon or a stiff silicone spatula, stir until the flour is thoroughly mixed in and no clumps remain, pressing and smashing the dough against the sides of the pan.
- Stir the dough together: Return the pot to medium-high heat and cook, stirring frequently until the dough comes together in one mass and there is a dry film on the bottom and sides of the pan.

- Check the temperature: If you have an instant-read thermometer the temperature of the dough should register at 175°F.
- Beat in a mixer: Transfer the dough to a mixing bowl and beat on medium speed for about 2 minutes to cool the dough down. Check the temperature again, it should read about 145°F.
- Mix in eggs: Add the eggs one at a time, ensuring each one is fully incorporated before adding the next. Once all of the eggs have been added scrape down the bottom and sides of the bowl and mix again to ensure everything is fully incorporated for an additional 5 to 10 seconds.
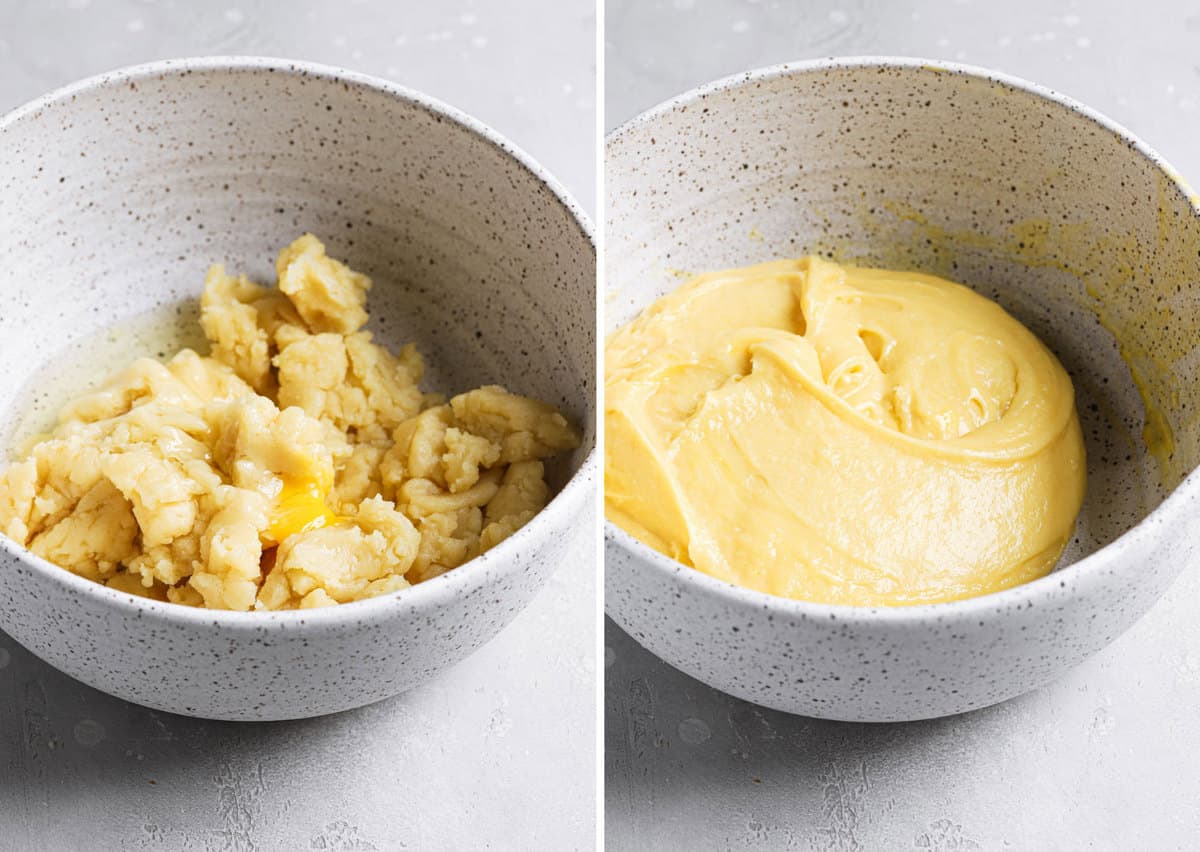
Piping the Dough
Once you’ve made the dough, you will then need to determine what shape pastry you plan to make. I’ll give you directions for piping some of the most common choux pastry shapes.
-
Round (for puffs)– Use a round 1/2-inch piping tip. Make sure the tip always touches the dough to prevent ripples. Hold the bag upright as you pipe the dough to ensure the pastry will rise upwards.
-
Elongated (for eclairs)– Use a round or French star tip pipe the dough out at a 45° angle and keep consistent pressure while you pipe.
After piping the rounds and eclairs, be sure to dip your finger in water and flatten any points that might have been made with the pastry tip to prevent spots from burning.
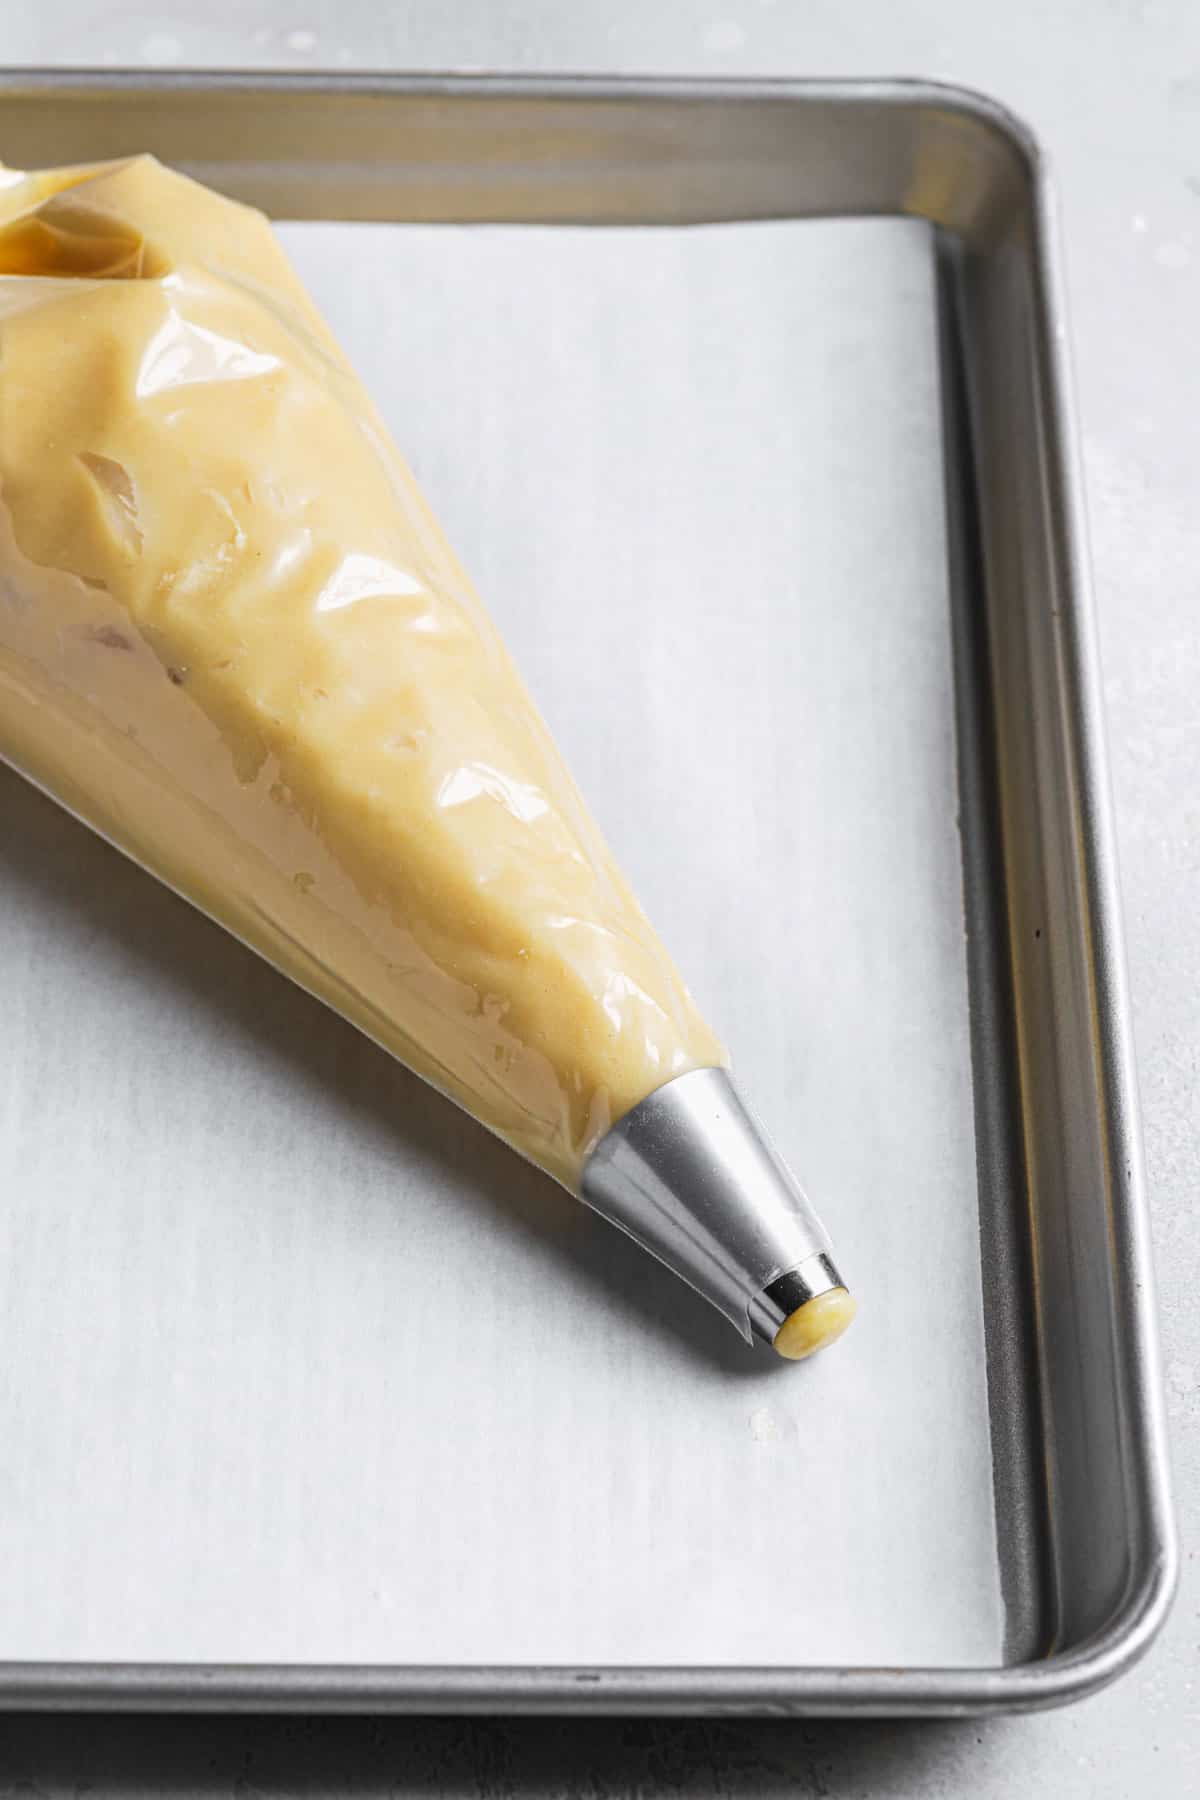
Baking
After piping your pastry onto parchment paper, you are ready to bake these beauties!
Save This Recipe
Depending on the different pastry you plan to make your baking instructions will change.
Filling Options
Now, this is where you can really get creative with choux pastry. Since the dough is rather bland in flavor, you can really dress it up by stuffing it with many different fillings. Some of my favorite ways to fill baked pâte à choux include:
- Pastry cream
- Lemon curd
- Ice cream
- Homemade whipped cream
FAQ and Troubleshooting
Some of the most common issues surrounding choux pastry include runny dough and collapsed pastries. Let’s talk a little bit about why these issues occur, how you can prevent them, and ways to fix the issue if they happen.
Collapsed Pastry
There are two main reasons your pastry will collapse. The first is that the oven was opened before the choux cooked through. This happens when you open the oven to check on them before the cooking time is complete. I would suggest keeping the door closed the first 20 minutes of baking before peeking for a doneness check.
By opening the oven you allow the steam to escape preventing the exterior of the pastry from crisping up.
Choux pastry also collapses when you do not prick the baked pastry shells to vent the hot air from inside. If un-vented, the hot air adds moisture inside the pastry and causes it to collapse while cooling.
Making in Advance
- Store unfilled baked pastry shells in an airtight container for up to 2 days. Reheat them in the oven to crisp up and fill.
- Freeze baked pastry shells in an airtight container for up to 3 months, thaw, and bake to crisp up before filling.
What to Make with Pâte à Choux
Take on the art of making choux pastry at home with this in-depth guide. From making the dough to troubleshooting the biggest issues, this guide has you covered for all your pâte à choux needs!
Watch the Recipe Video Below:
If you make this recipe and love it, remember to stop back and give it a 5-star rating - it helps others find the recipe! ❤️️
Pate a Choux Recipe
Ingredients
- 1 cup (240 ml) milk or water, or combination
- 6 tablespoons (85 g) unsalted butter, cut into ½-inch cubes
- ½ teaspoon (0.5 teaspoon) kosher salt
- 1 cup (120 g) all-purpose flour, sifted
- 4 eggs
Instructions
- Place the water or milk, butter, and salt in a medium saucepan. Place over high heat and bring to a full rolling boil.
- Remove from the heat and add the flour all at once. Using a wooden spoon or stiff silicone spatula and stir until the flour is thoroughly mixed in and no lumps remain, pressing and smashing the dough against the sides of the pan.
- Return the pot to medium-high heat and cook, stirring frequently, until the dough comes together into one mass and there is a dry film on the bottom and sides of the pan. If you have an instant-read thermometer, it should register 175 degrees F.
- Transfer the dough to a mixing bowl and beat on medium speed for about 2 minutes to cool the dough down. It should register 145 degrees on an instant-read thermometer.
- Add the eggs one at a time, ensuring each one is fully incorporated before adding the next. Once all of the eggs have been added, scrape down the bottom and sides of the bowl and mix again to ensure everything is fully incorporated, an additional 5 to 10 seconds.
- Use immediately or keep at room temperature for up to 2 hours in a piping bag or with a piece of plastic wrap pressed against the surface.
Notes
- Make the Dough By Hand: You do not need a mixer to make this dough; I often make it by hand. Cool it down by stirring it frequently with a spoon or spatula, then beat in each egg one at a time by hand.
Did you make this recipe?
Leave a review below, then snap a picture and tag @thebrowneyedbaker on Instagram so I can see it!
Photography by Dee Frances



Camex does not record video chats. That statement covers the random1v1conversations that the platform pairs. A visitor can therefore approach a new match with clearer expectations about how the chat is handled. Instant Random Matches: This Omegle alternative pairs you for a 1v1 video chat. Use Skip to leave the current chat and move to another match. The matching process is designed to be quick, so you can start a new conversation without a lengthy setup. No account is needed to use the matching feature. Explore https://camex.one/ for more information.
I like this Basic Pâte à Choux Recipe, it looks so delicious. Btw markdown to word is a very useful tool
Japanese Name Need a Japanese-style name for yourself or a character? Generate multiple authentic-sounding options fast, then pick the one that matches your vibe—great for fiction, roleplay, and creative projects.
Dialed GG Play a fast and addictive online color memory game where you memorize colors, recreate them with precision, and challenge yourself to see how accurately your eyes and memory can match every shade.
This guide is wonderfully detailed—the temperature checks and piping tips make choux feel achievable. I love baking eclairs with my kids, then keeping them busy with personalized coloring pages made from our photos at ColoringLand. A fun, creative way to extend the kitchen excitement!
For a birthday rap duo, pair the birthday person with a friend or family member and add a shared memory. Use photos you have permission to upload and share.
rapduos.com
The venting note is the one I wish I’d had the first time I made cream puffs. I opened the oven early and the shells collapsed, and I didn’t realize leftover steam would do the same thing if I skipped pricking them. Adding the eggs one at a time, then keeping unfilled shells airtight for a couple of days, makes this feel repeatable instead of lucky. I’ve been saving piping notes like the 1/2-inch round tip for puffs with Nano banana.
The temperature checkpoints are a great detail—cooking the panade until it reaches the right stage, then adding the eggs gradually, makes the troubleshooting advice much easier to follow. I also like how the recipe breaks a delicate process into clear decisions. For developers who enjoy working through structured choices and checks, the Online Playground for Jev Model explores structured decisions with probabilities for software workflows.
The discussion about basic pâte à choux recipe raises some really valid points. This perspective is refreshing.
Try the video tool
The temperature checkpoints are the part I keep coming back to: cook the panade until it hits 175°F and a film forms on the pan, then cool it to about 145°F before the eggs go in one at a time. Holding the bag upright with a 1/2-inch round tip for puffs, versus a 45° angle for eclairs, also explains why my first batch of cream puffs came out lopsided. I sketched a step diagram of those two piping angles for a class handout in Nano Banana 2: https://bananaimg.net/nano-banana-2.
Thanks for sharing this. A useful creative exercise is to take one idea from an article and ask what it would look like as a single image. Having to choose a subject, a setting, and a mood can reveal what you actually want to say.
That is how I would approach Krea 3: with a specific idea to explore, then a little room for surprise. The interesting question is whether the image adds something to the thought that inspired it. To make that exercise useful, I would also write a short caption before starting. If the picture and caption point toward the same message, there is a clearer basis for deciding what to develop next.
The stove step is the part I usually rush, and your note to cook the paste until it leaves a dry film and hits about 175°F, then cool it to roughly 145°F before the eggs, explains why my shells used to stay soggy. Adding the eggs one at a time until the dough is fully incorporated, then piping rounds with a 1/2-inch tip held upright so the tip stays on the dough, is much clearer than the vague versions I have tried. I also like the eclair tip of piping at a 45-degree angle with steady pressure, and the reminder that profiteroles can take pastry cream or ice cream. This is the first choux write-up that makes the twice-cooked dough feel repeatable.
Your tip to cook the flour paste on the stove until it leaves a film on the bottom of the pan is what finally made my pâte à choux puff properly instead of collapsing. Adding the eggs one at a time and checking for that glossy V-shaped ribbon off the spoon takes the guesswork out. I even made a short clip of my éclairs rising with a Wan 2.6 video tool for my family group chat.
I’ve always struggled with making choux pastry, but this recipe seems really straightforward. I’m going to give it a try and make some eclairs. The tips on piping and baking are especially helpful. Thanks for sharing!
Bulin 47 Video
I’ve never made choux pastry before, but your instructions make it seem doable. I’m excited to try making some profiteroles with this recipe!
Bulin 47 AI Video
enjoy free video chat with girls in likeechat: https://www.likeechat.com/