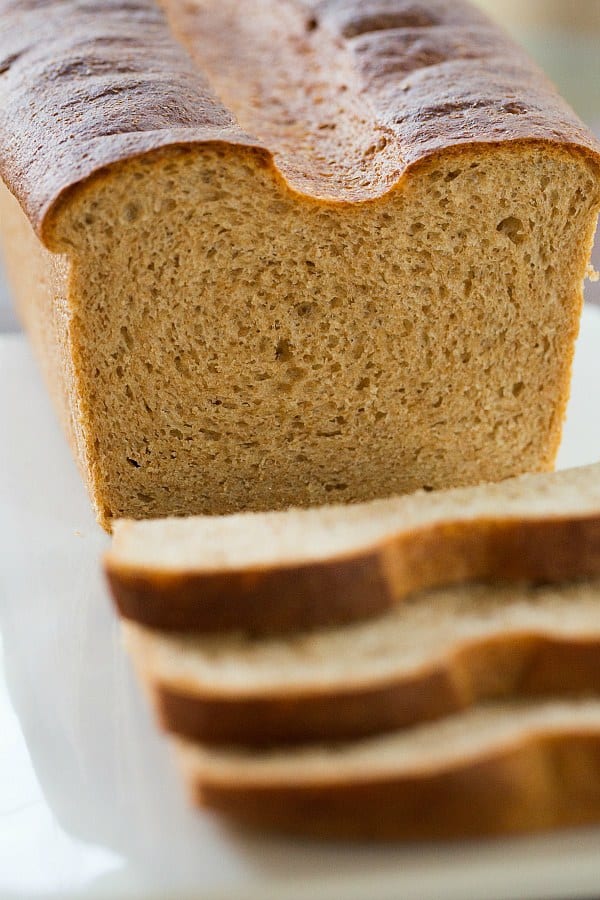
Whole Wheat Sandwich Bread
I have woefully neglected my bread-making over the last couple of years. Even though I’ve always to be that person that baked fresh bread every single week, it just didn’t happen. We’ve been keeping a steady stream of grocery store bakery bread in the house, and a couple of weeks ago I decided to revisit my attempt to keep our kitchen stocked with homemade bread. Around the same time, one of my best friends texted me and asked if I had a good whole wheat bread recipe that she could use for making her daughter’s sandwiches for school lunches. She had made the honey-oatmeal bread, but we both agreed that it was better suited for toast – a little bit too heavy for everyday sandwiches. I told her I hadn’t come across anything that I loved, each whole wheat bread recipe that I tried was on the heavy and dense side, not the light and fluffy variety you want for your run-of-the-mill turkey sandwiches.
On Friday, I asked for suggestions and I got tons of responses – thank you! I went ahead and tried the Cook’s Illustrated version, since it was specifically formulated to be a soft and light sandwich bread. Not surprisingly, it was everything I was looking for in a loaf of whole-wheat bread suitable for everyday sandwiches.

The one caveat with this recipe is that it is more time-consuming than its white bread cousin. You’ll definitely need to plan ahead to make this, but if you have been on the hunt for a great whole wheat sandwich bread, then you’ll love that you found this. Plus, the recipe yields two large 9×5 loaves – you can use one right away and pop the other one in the freezer. Depending on how many sandwiches you go through each week, you could have enough bread for at least two weeks worth of lunches.
The day before you plan to make the bread, there are two components that you’ll need to prepare. The good news is that they each only take about 5 minutes to mix together!
The biga (pictured below, immediately after mixing and then the next day) acts as a bit of a starter, which helps to develop the flavor of the bread. The soaker, meanwhile, is a combination of whole-wheat flour, wheat germ and milk, and softens the bran, which creates a less-dense loaf of bread. It also helps to cut the bitterness in the flour, giving the bread a sweeter flavor.
Save This Recipe
On the day that you bake the bread, there are three different raising times, though very, very little actual hands-on time. After the dough is partially risen the first time, it is folded onto itself multiple times just like the ciabatta bread I made recently. After that, it is left to finish its initial rise, then the loaves are shaped and left to rise again before baking.
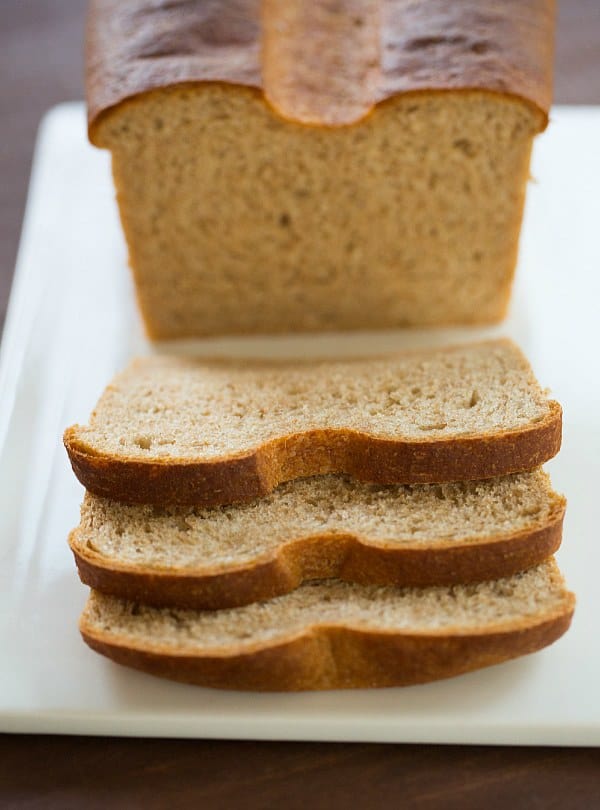
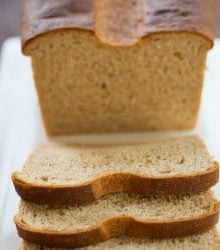
To say that I am thrilled with this bread is an understatement. While a thick and hearty bread is great for toast or some “special” sandwiches, I’d rather get filled up by what is between the slices of bread than the bread itself, if that makes sense. This bread is absolutely perfect for your everyday sandwiches, whether you’re eating at home, taking something to work, or packing a lunchbox. It’s light, fluffy, and tastes just wheaty enough with a hint of sweetness.
One year ago: DIY: Homemade Greek Yogurt
Two years ago: DIY: Homemade Yellow Cake Batter Mix
Three years ago: Refrigerator Bread and Butter Pickles
Four years ago: Spinach Artichoke Dip
Six years ago: Blueberry-Buttermilk Scones and Fontina-Stuffed Bacon-Wrapped Dates
Seven years ago: Ranch Pretzels
Whole-Wheat Sandwich Bread
Ingredients
For the Biga:
- 2 cups (312 g) bread flour
- 1 cup (240 ml) warm water (100-110 degrees F)
- ½ teaspoon (0.5 teaspoon) instant or rapid-rise yeast
For the Soaker:
- 3 cups (468 g) whole-wheat flour, plus extra for kneading
- ½ cup (57 g) wheat germ
- 2 cups (480 ml) whole milk
For the Dough
- ¼ cup (85 g) honey
- 4 teaspoons table salt
- 2 tablespoons instant or rapid-rise yeast
- 6 tablespoons unsalted butter, softened
- 2 tablespoons vegetable oil
- Bread flour, for work surface
Instructions
- 1. Prepare the Biga: Combine the bread flour, water and yeast in a large bowl and stir with a wooden spoon until a uniform mass forms and no dry flour remains, about 1 minute. Cover the bowl tightly with plastic wrap and let stand at room temperature overnight (at least 8 hours and up to 24 hours).
- 2. Prepare the Soaker: Combine the whole-wheat flour, wheat germ and milk in a large bowl and stir with wooden spoon until a shaggy mass forms, about 1 minute. Turn out the dough onto a lightly floured work surface and knead until smooth, 2 to 3 minutes. Return soaker to the bowl, cover tightly with plastic wrap, and refrigerate overnight (at least 8 hours and up to 24 hours).
- 3. Prepare the Dough: Tear the soaker into 1-inch pieces and place in the bowl of a stand mixer fitted with the dough hook.
- Add the biga, honey, salt, yeast, butter and oil. Mix on low speed until a cohesive mass starts to form, about 2 minutes. Increase speed to medium and knead until the dough is smooth and elastic, 8 to 10 minutes. Turn out dough onto lightly floured counter and knead for 1 minute. The dough will be very soft and slack. Transfer the dough to a large clean, lightly greased bowl. Cover tightly with plastic wrap and allow to rise at room temperature for 45 minutes.
- 4. Lightly flour your fingertips. Gently press down on center of dough to deflate.
- Holding the edge of the dough with your fingertips, fold the dough over itself by gently lifting and folding edge of dough toward the middle. Turn the bowl 90 degrees and fold again. Turn the bowl and fold the dough 6 more times (for a total of 8 folds).
- Cover and allow to rise at room temperature until doubled in volume, about 45 minutes.
- 5. Adjust the oven racks to middle and lowest positions, place a baking stone on the middle rack, and preheat the oven to 400 degrees F (200 degrees C). Spray two 9×5-inch loaf pans with non-stick cooking spray. Transfer the dough to a well-floured work surface and divide into 2 equal pieces. Working with 1 piece of dough at a time, pat each into an 8×17-inch rectangle. With the short side facing you, roll the dough toward you into firm cylinder, keeping the roll taut by tucking it under itself as you go. Turn the loaf seam side up and pinch it closed. Place the loaf seam side down in the prepared loaf pan, pressing it gently into the corners.
- Repeat with the second piece of dough. Cover the loaves loosely with plastic wrap and allow to rise at room temperature until almost doubled in size, 60 to 90 minutes (the top of the loaves should rise about 1 inch above the edge of the pan).
- 6. Place an empty baking pan (not glass!) on the bottom oven rack and bring 2 cups of water to boil on the stove. Using a sharp serrated knife or single-edge razor blade, make one ¼-inch-deep slash lengthwise down the center of each loaf.
- Pour the boiling water into the empty loaf pan on the bottom rack and place the loaves on the baking stone.
- Reduce the oven temperature to 350 degrees (177 degrees C). Bake until the crust is dark brown and the internal temperature registers 200 degrees F (93 degrees C) on an instant-read thermometer, 40 to 50 minutes, rotating the loaves 180 degrees and side to side halfway through baking.
- 7. Transfer the pans to a wire rack and let cool for 5 minutes. Remove the loaves from the pans, return to the wire rack, and cool to room temperature, about 2 hours. The bread should be double-wrapped in plastic wrapped and stored at room temperature for up to 3 days. The loaf can be wrapped with an additional layer of aluminum foil and frozen for up to 1 month.
Notes
Did you make this recipe?
Leave a review below, then snap a picture and tag @thebrowneyedbaker on Instagram so I can see it!


Hi,
I really want to try this recipe but someone in my family is allergic to honey. Can I replace the honey for brown sugar 85 grams? I also do not have a baking stone. Is the baking stone mandatory?
Is it the fat in the milk that softens the dough? I was wondering how this would be using oat/almond/soy milk.
Aloha Michelle, is the soaker supposed to be so wet? There was no way to knead with out adding quite a bit more flour. The Biga was nice and bubbly. The dough came together very nicely. After the last rise when dividing dough to put in pans it seemed like more dough than for 2- 9×5″ loaf pans. I put in and it rose in 30 min. It was at least 1 1/2″ above the edge. I baked for the 40 min and the dough was flowing over the side if the pan. It was 181 degrees when I tookout and the let it cool for 15 min and tipped out of pan. Loaves sunk. :( Help please
I love this recipe! It is by far the best sandwich bread recipe out there. Tastes delicious!!!
Hi Michelle , I want to thank you for your really well thought out recipes . So far I am a total fan of your “ Favorite White bread “ recipe. It’s a stellar recipe that I have made 5 times now.
I wanted to talk about the whole wheat bread recipe . 2 things that I didn’t have on hand were a pizza stone and wheat germ. I have an electric oven and I have to bake on the lower racks to prevent over browning.
I did the hot pan with boiling water when I placed them in the oven and kept my heat at 400 for 8 minutes then turned down to 350.
My loaves sunk in the oven . Not sure why this happened ,but your picture shows a more dense loaf than mine. The flavor is nice ,but a lot of work to get there.
I made this with my freshly ground whole wheat flour. I didn’t add wheat germ since I don’t sift the bran or germ out of the flour, I did add an extra half cup of WWF in place of germ. It was wet but I added an extra cup of bread flour in the final mix. It was still pretty moist but I have never gone wrong with any of your recipes and this one was no exception. 2 big beautiful Fluffy delicious loaves, perfect for soft squishy peanut butter and jelly sandwiches!!
I like all your recipes!
I just wanted to leave a review because I see a lot of people complaining that the dough is too wet. It does seem wetter than other.m breads, but I encourage you not to add any extra flour. It comes together well if you knead it enough, and the finished product is truly out of this world soft. This will be a regular bake in my kitchen!
I don’t have any instant or rapid rise yeast. Can I use regular active dry yeast, and if so, do I need to make any changes to the recipe prep, rise times, etc? Thanks!
p.s. From Helen K, Ontario, Canada. I may have found the answer to some of us having over sticky dough. The recipe calls for “Whole Wheat” flour. I use “Red Fife Stone Ground Whole Grain” flour.
Next time I may reduce both the white bread flour and the water by half in the biga and will add that water to the soaker instead. Along with a cup of whole wheat flour to make up the subtracted white flour. The goal being to keep the whole wheat ratio up a bit more b/c I will still be using the added white flour later on.
BTW, Cook’s Illustrated has an equally delicous bread recipe called: Easy Multigrain Sandwich bread from “Cook’s All Time Best Bread Recipes” magazine Dec. 2018. I make it as directed, but sub 1 oz of Fancy Molasses for 1 oz of the honey. And I use non-oxidized salt.
Hi Michelle! I enjoy your gorgeous and interesting site. I’ve made this recipe twice now and it is delicious. I used the Cook’s Illustrated magazine, but this is the same recipe. Once I made it by hand and once I used my new KA stand mixer. I’m a very experienced bread maker – about 5 decides of making bread. I went online to see if anyone else had the over-stickiness problem and I can see from some of the reviews on your site, that they have. I added more white bread flour whilst kneading it in the mixer in order to give it some substance. And even more later when shaping them – or else the loaves wound have fallen flat in the loaf pan. Surprisingly, I probably used about FOUR extra cups of flour! My loaves are nice and certainly not stuff or dry. I use organic flours, perhaps that makes a difference? Though b/c of the added flour, I should have used a bit more fine non-iodized salt. Thanks!
I made the bread today and it turned out great. I substituted 1/2 cup of the ww flour for rye flour and I didn’t have wheat germ so I used flax seed.
Note that the website currently does not have pictures of the biga as indicated in the text.
I loved the looks of your loaves and the comments below and really want to try this recipe but I have one concern…. I the past when I make slashes in the loaves my bread deflates completely and I end up with dense bread and I am worried that will happen again and given the time required for this recipe I am nervous. Do you know what would have caused the bread to deflate or how to prevent that from happening when slashing the bread? Thank you!
Hi Cassandra, A couple of things could cause that to happen – #1 too heavy of a hand; or (and more likely – I’ve done this) – #2 if the dough has been left to proof for too long, just the slightest touch can cause it to deflate.
I just baked this bread even though I messed up at the end I like the taste…its more towards sour side…I would love to reduce sourness.I left biga at room temp for 24 hours … if I reduce this time should i get less sour taste?
Hi Karuna, Potentially, but it won’t be THAT sour after 24 hours.
learning from few mistakes I did while baking this bread first time…I have been baking this bread quite frequently now… And it turns out perfect every time!
Thanks for sharing.
It gave me encouragement to try few other recipes as well on your blog! :)
I just finished baking this bread….Ohhhhh I am so impatient…first time took it out of oven too early… cooled it so noticed its underdone..so popped it n oven again…when it was done did not let it cool and now its broken…but it tastes so good.. soft… Will do it again…I loved the taste and texture (even after doing it wrong at the end!)
This recipe is fantastic. I’ve made it several times as written, but I really wanted to make it 100% whole wheat. After several flops, I think I’ve finally made the right tweak. I noticed that my favorite 100% whole wheat breads at the store had apple cider vinegar on the ingredient list. I added 2 tablespoons of acv to the soaker with the milk, used whole wheat flour in the biga, and made the rest as written. It turned out soft and fluffy and rose well. Thanks for a great recipe!
Hi Michelle,
Good day!
I already made the white bread and honey oatmeal bread. Both delicious. Based on the comments from the white bread recipe, I can divide the ingredients into two which I did. It worked perfectly fine.
I would like to ask if I can divide the recipe into two for this recipe?
Looking forward to hearing from you soon.
Thanks in advance.
Regards,
Anne
Oooppss… I just saw your comment that I can divide the recipe. Thanks anyway. :)
Would it be possible to make this recipe into buns (following exactly up until the final step)?
Hi Jack, I think that would work okay!
Would this recipe be successful to half, making only one 9 x 5 loaf?
Hi Andrea, Yes, I think that would work just fine.
Fantastic recipe. Thank you. This is so much better than the traditional single-day sandwich bread where you just mix dough, ferment, shape dough, proof, and bake. This is the first homemade sandwich bread recipe I’ve found that actually re-creates much of what makes grocery store sandwich bread so delectable. It’s soft, flexible, squishy, but holds up well to toasting, sandwiches (obviously), or just for snacking. I’ve tried several variations on it and would like to share with everyone.
— I was able up the whole wheat percentage a bit more by adding some vital wheat gluten to the soaker and making the biga be about half bread flour and half whole wheat, and adding a little more vital wheat gluten. I try to use as much whole grain as possible.
— This bread also turns out great if you just use water for the soaker, instead of milk. Milk makes the bread a little softer, but using water helps the gluten really develop for a finished bread slice that can pass the “fold test” without breaking. The dough is wet enough that I did not feel this sacrificed any softness and the finished product was still fantastic.
— I bake mine in an 8×4 pan rather than a 9×5 pan and I still get great results. Proof time is really only about 30 minutes until it’s crowned an inch over the top of the pan and it’s time to throw into the oven. I get great oven spring and I get that classic sandwich bread shape when the loaf bulges over the sides of the pan. The first time I made it, I only had a 9.5×5.5 pan on hand, and after the 90 minute proof if just didn’t have any oomf left and sunk in the middle after baking.
— I don’t bother with the score down the middle. The dough is quite wet and sticky and even an oiled lame can get stuck and mess up the top of the dough. I brush the top of the dough with milk right before putting it in the oven and the crust is flexible enough to survive the impressive oven spring.
Hello Michelle
I was hoping you could point me in the direction for a good white sandwich bread, most recipes I have tried have been on the heavier side.
Thanks
Hi Natasha, Yes! I LOVE this bread – I make a batch every few weeks – one loaf to eat fresh and one to slice and put in the freezer! https://www.browneyedbaker.com/white-bread-recipe/
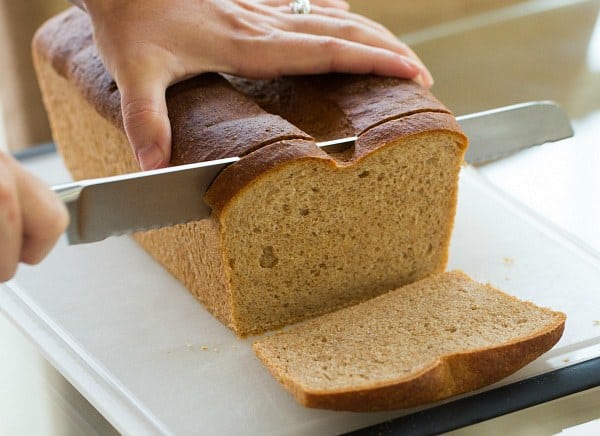
I finally got around to making this bread, and it came out perfectly! Thanks for the detailed instructions and step by step photos.