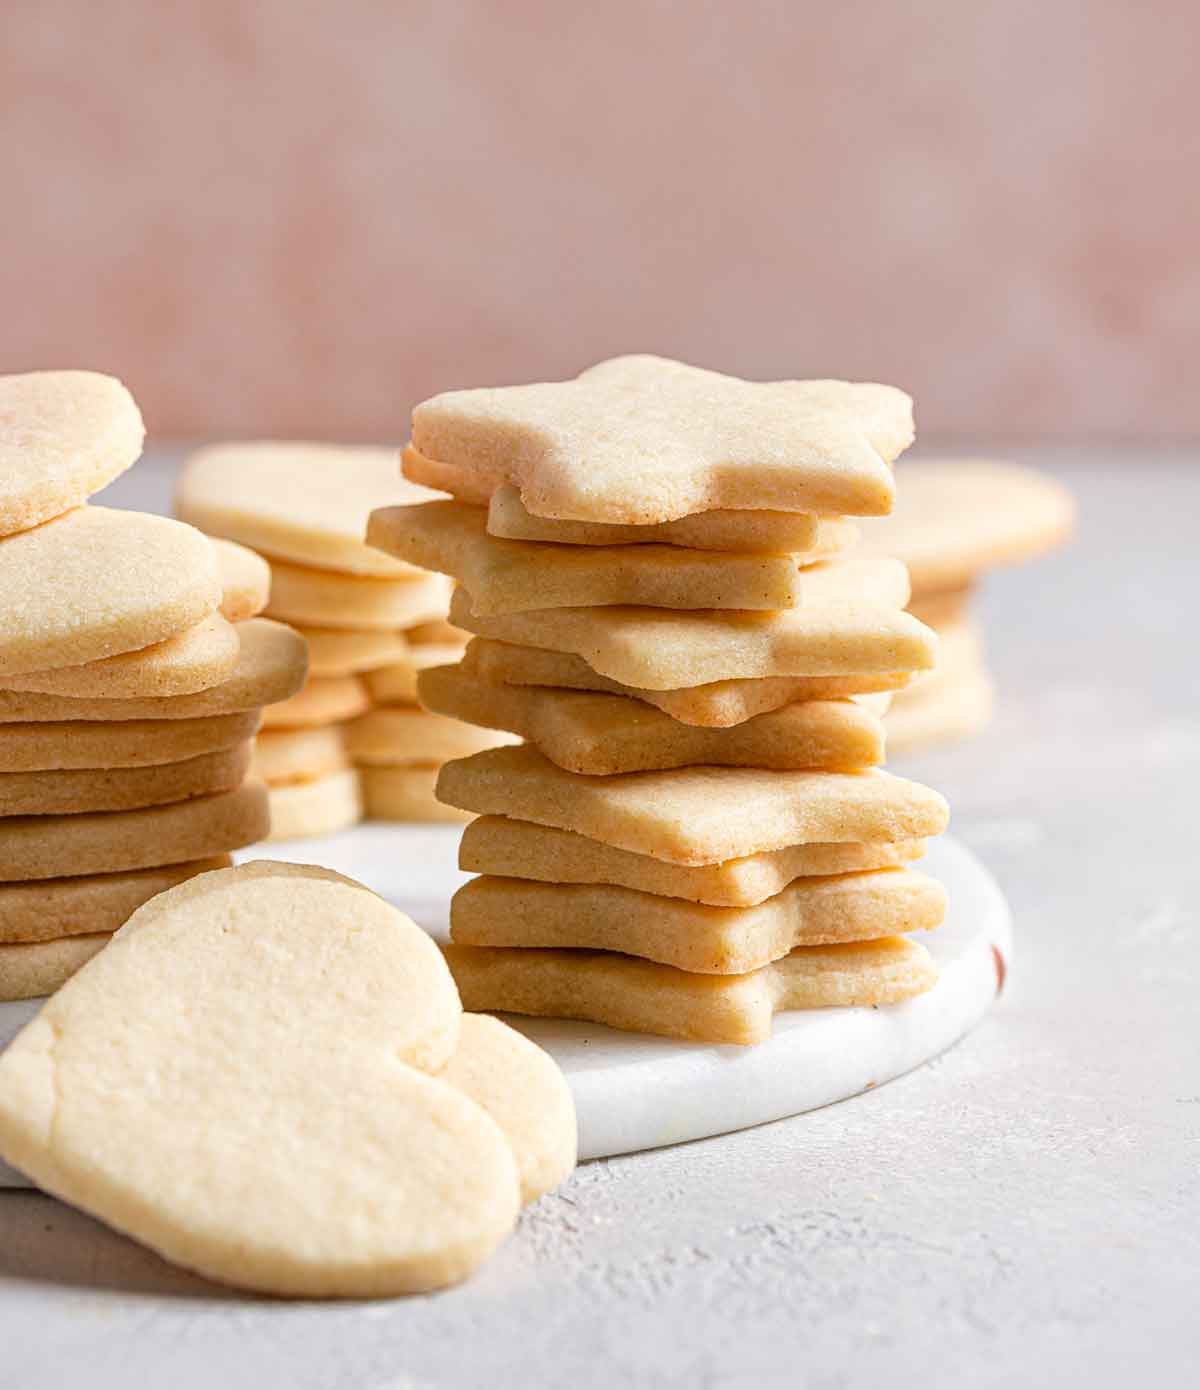
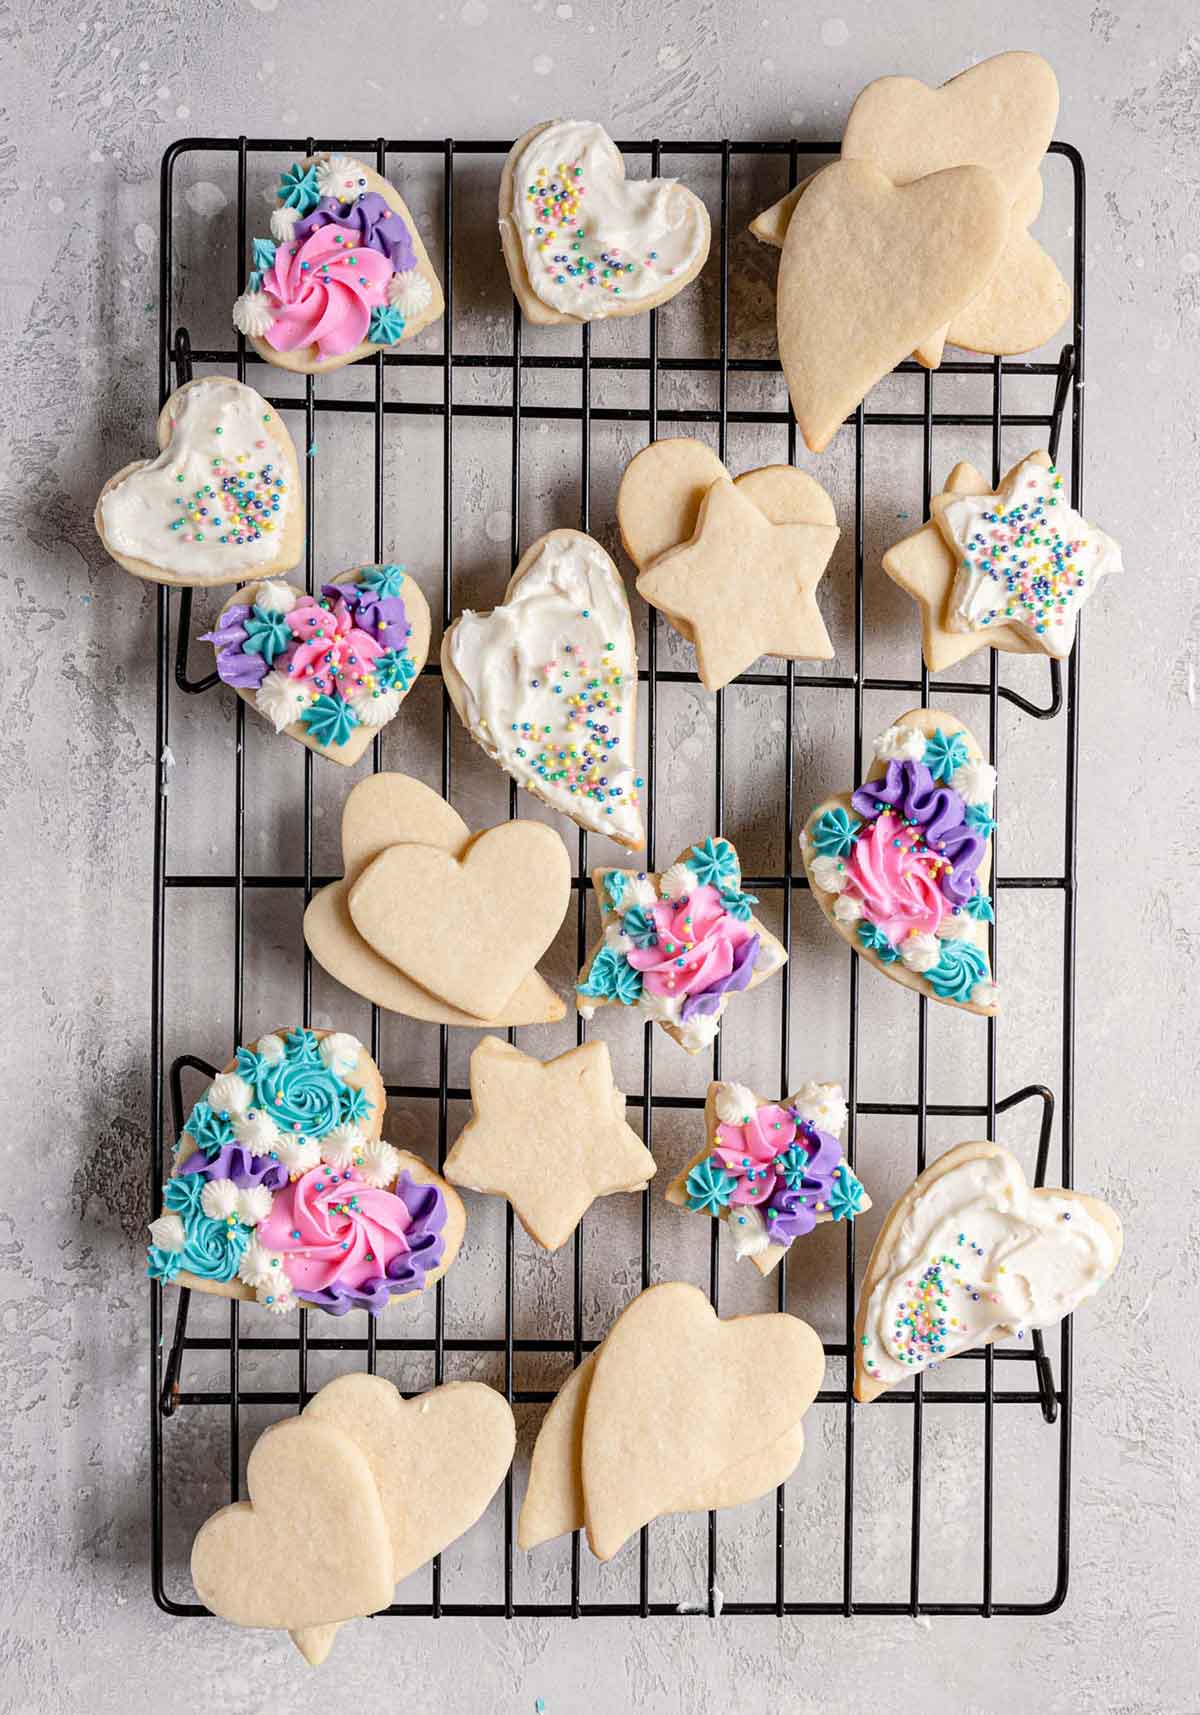
Best-Ever Cut-Out Sugar Cookies

This is the absolute BEST cut-out sugar cookie recipe, hands-down! No softening butter, no chilling dough, they bake up super soft with no spreading and keep their shape each and every time. Use your favorite cookie cutters and eat them plain or decorate them with an easy buttercream or royal icing. I guarantee you will never need another cut-out cookie recipe again!

Let's be honest, here. While cut-out sugar cookies from scratch always sound awesome in theory (the shapes! the icing! the decorations! the epitome of Christmas cookies!), they can be daunting both in time required and execution.
Sometimes you need to soften butter, and almost always you need to chill the dough… by the time you're pulling cookies out of the oven, you're crossing all of your fingers and toes hoping that they didn't spread and lose their shape, or become too brown or crunchy.
A couple of years ago when my boys begged to make classic sugar cookies, I unearthed this recipe that was perfectly suited to baking with kids - you use cold butter, you don't need to chill the dough, and the cookies were absolutely amazing time and again. It's the only recipe I've used since and will be a forever family favorite!
Why This Recipe Will Be Your Forever Favorite, Too:
Seriously, the buck stops here. This is the best sugar cookie recipe, and here's why:
- You don't need to bring butter to room temperature.
- You don't need to chill the cookie dough (but you can!).
- The cookies bake up super thick and soft (and STAY soft for days after baking!).
- They do not lose their shape.
- Absolutely delicious plain (yes, vanilla and butter!) but perfect for decorating, too.
- They don't puff up, which makes them a perfect surface for decorating.
- Freeze exceptionally well.
Step-by-Step: How to Make Them
I love the simplicity of this recipe and that it’s perfect for impromptu baking sessions! Here’s how the rolled sugar cookies come together:
- Preheat the oven and line baking sheets with parchment paper. An important note: I always, always line with parchment paper, not a silicone baking mat (which I find causes more spread).
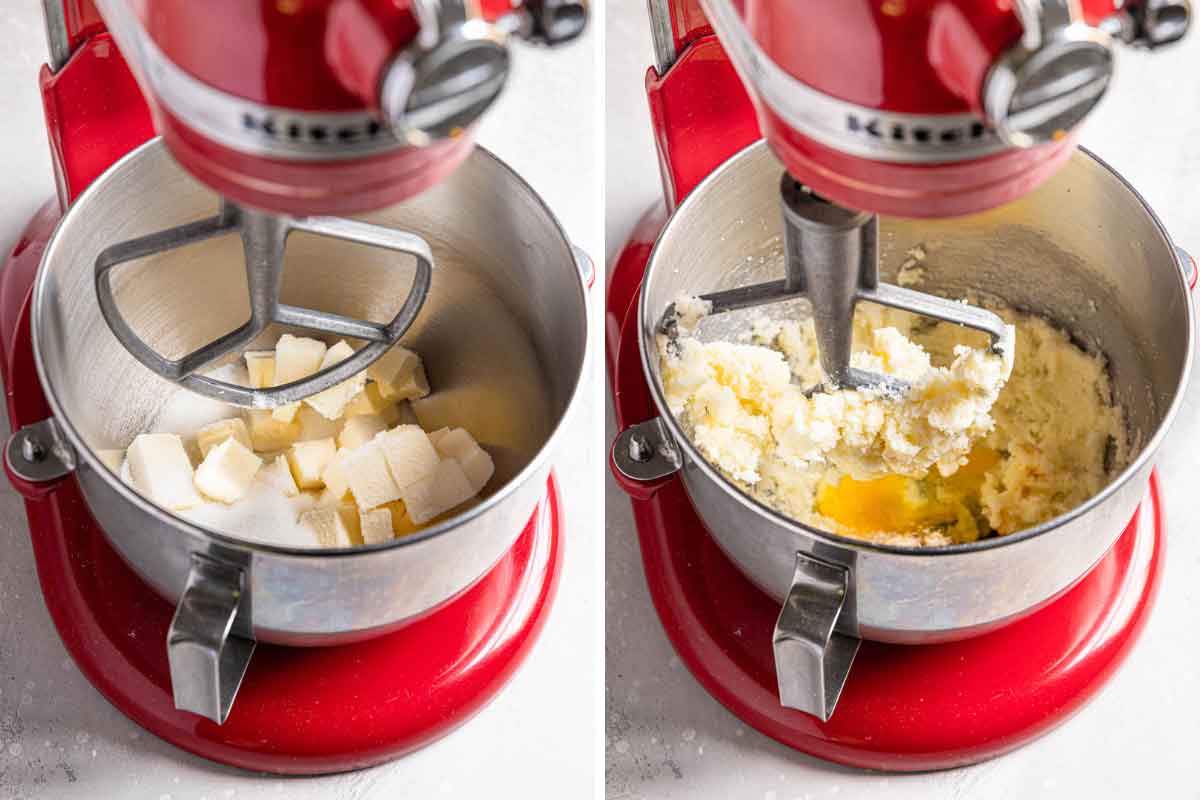
- Beat the butter and sugar together until light and fluffy. An important note: A stand mixer is ideal for this recipe; since we are starting with cold butter, the paddle attachment does a good job of beating it into the sugar. A hand mixer tends to send the butter and sugar flying; if all you have is a hand mixer, I recommend using your fingers to smash the cubes of butter into the sugar before starting the mixer to give everything a little headstart.
- Add the egg, vanilla, baking powder, and salt, and mix until combined and smooth. Scrape the sides of the bowl.
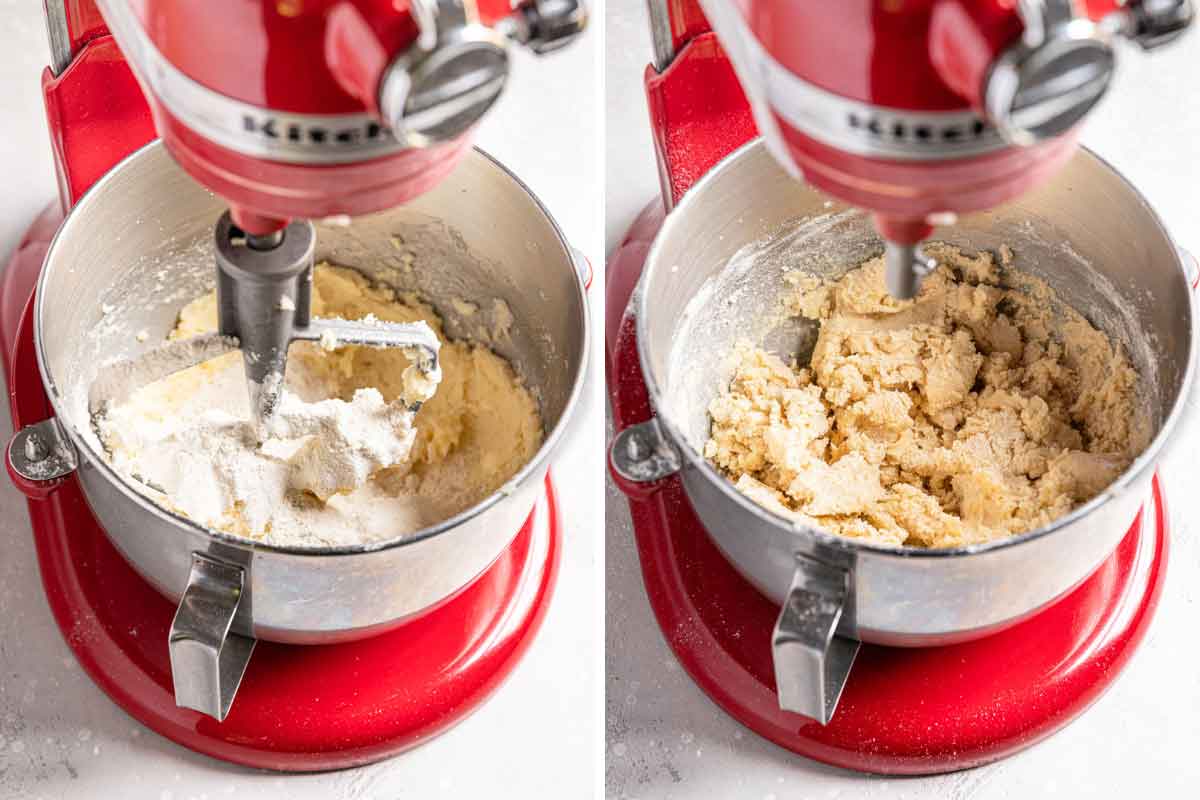
- On low speed, gradually add the flour and mix until just barely combined. Give it a final mix with a rubber spatula so no pockets of flour remain.
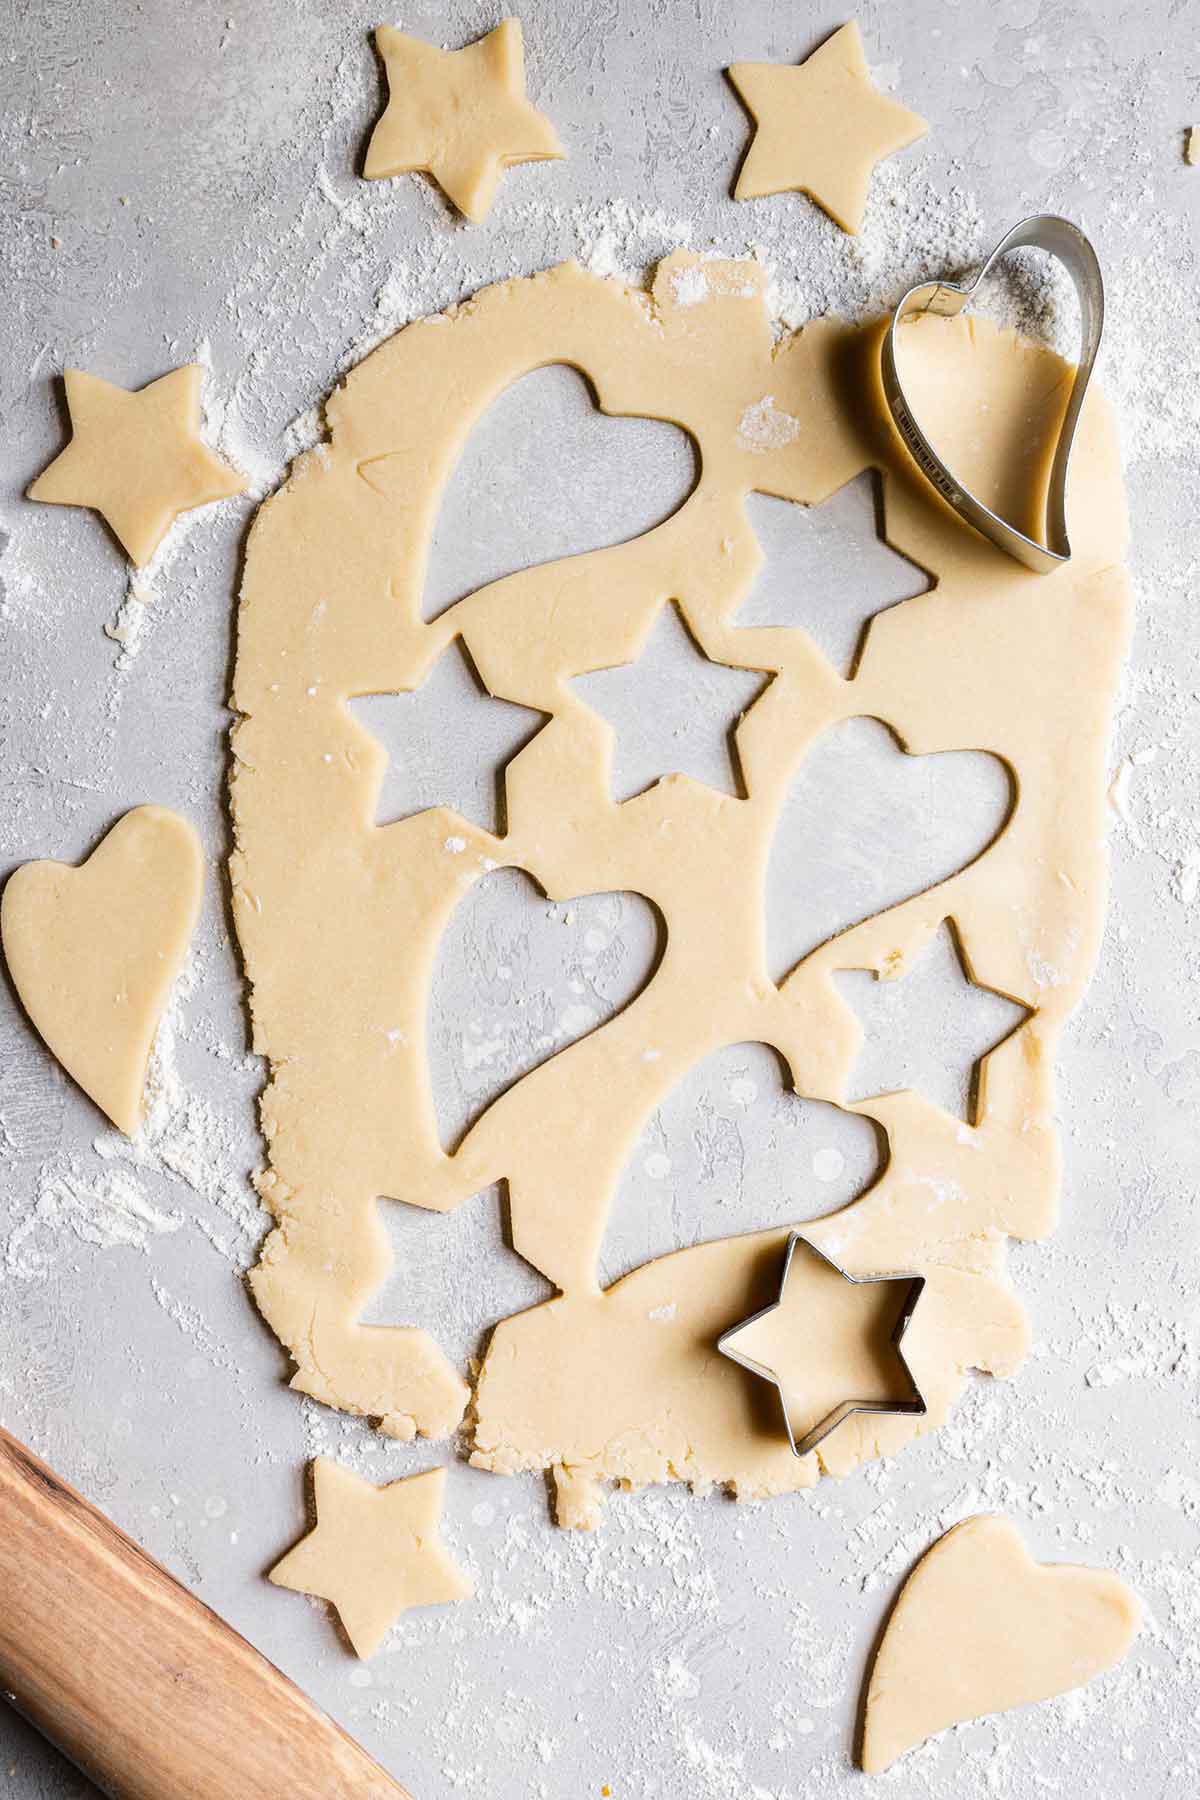
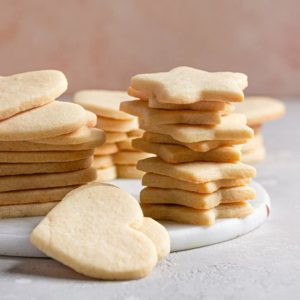
- On a lightly floured work surface, roll out the sugar cookie dough to ¼-inch thick. Cut out shapes as desired, transfer to prepared baking sheets, and bake cookies until set but still pale, 10 to 12 minutes. Cook for 5 minutes on the baking sheets, then transfer to a cooling rack. Cool completely before decorating.
How Thick to Roll Your Sugar Cookie Dough
This is a super key point! To ensure the wonderfully soft sugar cookies of your dreams, you want to roll the dough about ¼-inch thick. This may seem too thick when you are rolling and cutting, but it's absolutely vital.
If you've found your cut-out sugar cookies lose their shape in the past, it could have been due to a few factors (too much butter in the recipe, dough too warm, dough not rolled thick enough, etc.), but I can tell you that this recipe yields absolutely beautiful edges that do not spread if you take care to roll to the appropriate thickness (if rolled too thin then they can spread).
Use a thin metal spatula to carefully transfer your cut-out cookies from the rolling surface to your baking sheets.
Save This Recipe
If you prefer thinner cookies with some crispness to the edges, then roll the dough thinner and reduce the baking time a bit.
The Best Tools for Cut-Out Cookies
- Baking Sheets: I use my favorite rimmed half-sheet pans.
- Stand Mixer: For this particular recipe, since we do not soften the butter, a classic stand mixer works best. You can still use a hand mixer if that is all you have, but see note above.
- Rolling Surface: You can use a clean countertop, butcher block, or your favorite non-stick dough mat. A marble pastry board isn’t necessary, but if you have one, it's great for keeping sugar cookie dough and pie crust cold!
- Rolling Pin: A simple wooden one is all you need.
- Cookie Cutters: You can use absolutely any, so pick your favorites! I have had this 100-piece set for nearly 20 years and I love them… includes all letters, numbers, and cutters for every season and holiday.
- Food Coloring: I swear by gel food coloring! It creates a beautifully saturated color without thinning out the frosting.
Recipe Notes
A quick rundown of my best tips for making this easy sugar cookie recipe!
- Flavors: I adore the pure vanilla flavor, but some people like a little bit of almond - I would recommend starting with ¼ teaspoon of almond extract in addition to the vanilla. You can also use things like cake batter extract, lemon, maple, coconut, etc. You can also add a little bit of cinnamon to the cookie dough if you'd like!
- Scaling: You can double (or more!) this recipe without issue.
- Buttercream frosting: For a simple frosting (with or without sprinkles!), then I recommend my favorite vanilla buttercream. It is easily colored and tastes amazing!
- Royal Icing: To do more detailed decorating, see my tutorial on how to decorate cookies with royal icing.
- Storage: The cookies can be stored in an airtight container at room temperature for up to 5 days.
- Make-Ahead: While I love that you can whip up these cookies immediately, you can mix together the dough, divide it in half, form it into disks, wrap it in plastic wrap, and refrigerate for up to 2 days.
- Freezing the Dough: You can also freeze the dough (place the wrapped disk in a ziploc freezer bag) for up to 1 month; thaw it in the refrigerator overnight, then bring it to almost room temperature, roll it out, and proceed with the recipe.
- Freezing the Cookies: These cookies freeze exceptionally well! You can freeze them plain or decorated; if decorated, let the icing set before freezing. Store in an airtight container or ziplock freezer bag (with parchment paper between the layers if they are decorated). The cookies can be frozen for up to 3 months.
Ideas for Decorating Cut-Out Cookies
Use royal icing to create fun, beautiful cookies to celebrate holidays and special occasions:
- Valentine's Day Conversation Heart Cookies
- Baby Shower Cookies
- Easter Egg Cookies
- St. Patrick's Day Shamrock Cookies
- Football Cookies
More Sugar Cookie Recipes:
- Soft and Chewy Sugar Cookies (Drop-Style)
- Chocolate Sugar Cookies
- Frosted Sugar Cookie Bars
- Lofthouse Style Frosted Sugar Cookies
If you make this cut out cookie recipe and love it, please stop back and give it a 5-star rating - it helps others find the recipe! ❤️️
Cut-Out Sugar Cookies
Ingredients
- 1 cup (227 g) unsalted butter, chilled and cubed
- 1 cup (198 g) granulated sugar
- 1 egg
- 2 teaspoons vanilla extract
- 1½ teaspoons baking powder
- ½ teaspoon salt
- 3 cups (390 g) all-purpose flour
Instructions
- Preheat oven to 350 degrees F. Line two baking pans with parchment paper and set aside.
- Using an electric mixer on medium speed, beat the butter and sugar together until light and fluffy, about 2 minutes.
- Add the egg, vanilla, baking powder, and salt, and mix until combined and smooth, scraping the sides of the bowl as needed.
- Reduce the mixer speed to low and gradually add the flour, only mixing until the dough just comes together. Give it a final mix with a rubber spatula, folding and pressing it together, to ensure all of the flour is mixed in.
- Separate the dough in half and work with one piece at a time, roll the dough ¼-inch thick. Cut out shapes as desired and place them on the prepared baking sheets, leaving at least 1 inch of space between cookies.
- Bake until the cookies look set and are slightly firm to the touch but still pale, about 10 to 12 minutes.
- Cool on the baking sheet for 5 minutes, then remove to a wire rack to cool completely.
Notes
- Mixer: A stand mixer is ideal for this recipe; since we are starting with cold butter, the paddle attachment does a good job of beating it into the sugar. If all you have is a hand mixer, I recommend using your fingers to smash the cubes of butter into the sugar before starting the mixer to give everything a headstart.
- Baking Sheets: I use my favorite rimmed half-sheet pans. I always, always line with parchment paper, not a silicone baking mat (which I find causes more spread).
- Rolling Surface: You can use a clean countertop, butcher block, or your favorite non-stick dough mat. A marble pastry board isn’t necessary, but if you have one, it's great for keeping sugar cookie dough and pie crust cold!
- Rolling Pin: A simple wooden one is all you need.
- Cookie Cutters: You can use absolutely any, so pick your favorites! I have had this 100-piece set for nearly 20 years and I love them… includes all letters, numbers, and cutters for every season and holiday.
- Food Coloring: I swear by gel food coloring! It creates a beautifully saturated color without thinning out the frosting.
- Flavors: I adore the pure vanilla flavor, but some people like a little bit of almond – I would recommend starting with ¼ teaspoon of almond extract in addition to the vanilla. You can also use things like cake batter extract, lemon, maple, coconut, etc. You can also add a little bit of cinnamon to the cookie dough if you’d like!
- Scaling: You can double (or more!) this recipe without issue.
- Buttercream frosting: If you want to do a simple frosting (with or without sprinkles!), then I recommend my favorite vanilla buttercream. It is easily colored and tastes amazing!
- Royal Icing: To do more detailed decorating, see my tutorial on how to decorate cookies with royal icing.
- Storage: The cookies can be stored in an airtight container at room temperature for up to 5 days.
- Make-Ahead: While I love that you can whip up these cookies immediately, you can mix together the dough, divide in half and form into disks, wrap in plastic wrap, and refrigerate for up to 2 days.
- Freezing the Dough: You can also freeze the dough (place the wrapped disk in a ziploc freezer bag) for up to 1 month; thaw it in the refrigerator overnight, then bring it to almost room temperature, roll it out, and proceed with the recipe.
- Freezing the Cookies: These cookies freeze exceptionally well! You can freeze them plain or decorated; if decorated, let the icing set before freezing. Store in an airtight container or ziplock freezer bag (with parchment paper between the layers if they are decorated). The cookies can be frozen for up to 3 months.
- Recipe slightly adapted from Cookies & Cups.
Did you make this recipe?
Leave a review below, then snap a picture and tag @thebrowneyedbaker on Instagram so I can see it!
[Photography by Dee of One Sarcastic Baker]


I made these as wedding favors and they came out great. I was able to bake the cookies a week ahead of time and store them in the freezer so it wasn’t a hassle to get everything together before the big day. Thank you for sharing this recipe, it worked super well!
These are incredible
Why use cold butter? Is this for convenience or does it enhance the texture of the dough?
Best cut out cookies. Thank you Michelle. I have made cut out cookies for the kids in our after-school Bible club. It was such a mess with flour all over plus you had to refrigerate the dough. I continued because my husband who is fussy liked the taste. He likes the taste of these as well. I will always use this recipe for my cut-out cookies.
Hi Michelle, this is definitely my go to recipe and the best! I was wondering can I use salted butter with this recipe? I have always used unsalted for what the recipe calls for but I have a lot of salted butter in my fridge and want to use it.
Yes, absolutely! You can omit the salt from the recipe if you use salted butter.
Recipe was perfect. We made teapot shaped cookies using this recipe. They kept their shape and didn’t get brown. We also used the recommended vanilla buttercream recipe for decorating. I used the grams listed vs cups. Delish!!!!
This is a sturdy, shortbread-like cookie. Not too sweet. Delicious with a cup of tea. It came together quickly as well.
thank
I’ve used this recipe over and over it is honestly THE BEST! Easy to make with my little kids. They love to help. We have used them the last 2 years. The only one we tried that works so well. They always turn out so perfect. Keep their shape very well. Only problem is I have a hard time only eating a couple 🫣 They are so good! I had to review because I used this so many times its rude not to! GREAT RECIPE THANK YOU!!!
I have been using this recipe for years and give it out all the time . It’s perfect!
Made these with my 4 year old step son and did dinosaur cut-outs. It worked so well and loved that we didn’t have to wait around and chill the dough before! Everything kept its shape and the end texture was so good– like a softer short bread. I will be making again!
Followed all instructions and mine is dry and crumbly. What could I have done wrong?
Probably didn’t measure your
Flour correctly.
So easy, as advertised! My new go-to for quick cookies.
The very best and easiest cookies.
So easy to make and really delicious!!
Do we use eggs or no? Recipe calls for eggs but they’re not in the ingredients …
There is 1 egg clearly listed in
The recipe!
wow… wow… wow. just amazing!
Super easy to pull together & cold enough to work with right away- no spread, no mess- easy delicious!!
You have to read about thirty pages and still not find how much butter, how many eggs?How much flour?What a stupid trick.
Please be kind.
Just scroll down from the top until you see the actual INGREDIENT LIST, gosh.
There is a button at the top of the page that says “jump to recipe” – click that and everything you need is there. Merry Christmas
Excellent cookie to start with. No difficult and maintained their shape when baked.
This is a great recipe that lives up to its promises. Most importantly, it tastes good! It’s very easy to make – no fussing! It rolls well, cooks perfectly, and holds its shape, even with textured rolling pins. This will be my go-to sugar cookie recipe from now on. I rolled some of the dough a little thin, but they still turned out fine. Some of the thin ones got a little brown if they were on a pan with the thicker ones. I didn’t mind; I like a crispier cookie, but my daughter prefers a soft one, so we were both satisfied using the same recipe. I only put one pan in the oven at a time because I can’t keep track of more than one at once. I cut out shapes while one pan was in the oven, and if there was enough time, I put the pan in the fridge while I waited for the other one to come out of the oven. I don’t know if that was necessary, but I wanted to be sure nothing spread. It worked out great.
These were so easy to make! And they taste delicious. Made a bunch of cut out Christmas cookies for a fundraiser and they were a big hit. Thank you!!!
Excellent recipe! Very easy to make.
These cookies are delicious and easy to make! My grandson rated them as “very yummy”, which is his ultimate food compliment. And my friend loved them!
Going to try this for Christmas cookies! However, I took butter out to make cookies before I read this recipe so just curious if you could use softened butter. I would think it would make a difference. Thanks!
Hi Georgia, If you use softened butter, the cookies will spread more than if you use cold butter. You could pop it back it the fridge for a little bit to firm back up!
new favorite sugar cookie recipe! almost in between a shortbread and a classic sugar cookie. My wife ate a whole batch in like 3 days so i’ll be making them for her from now on
You say “COOK for five minutes on a baking sheet” at the top of this post under ‘step by step.’