Italian Bread Recipe
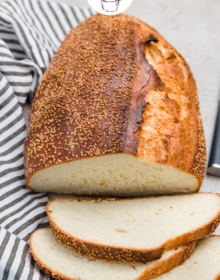
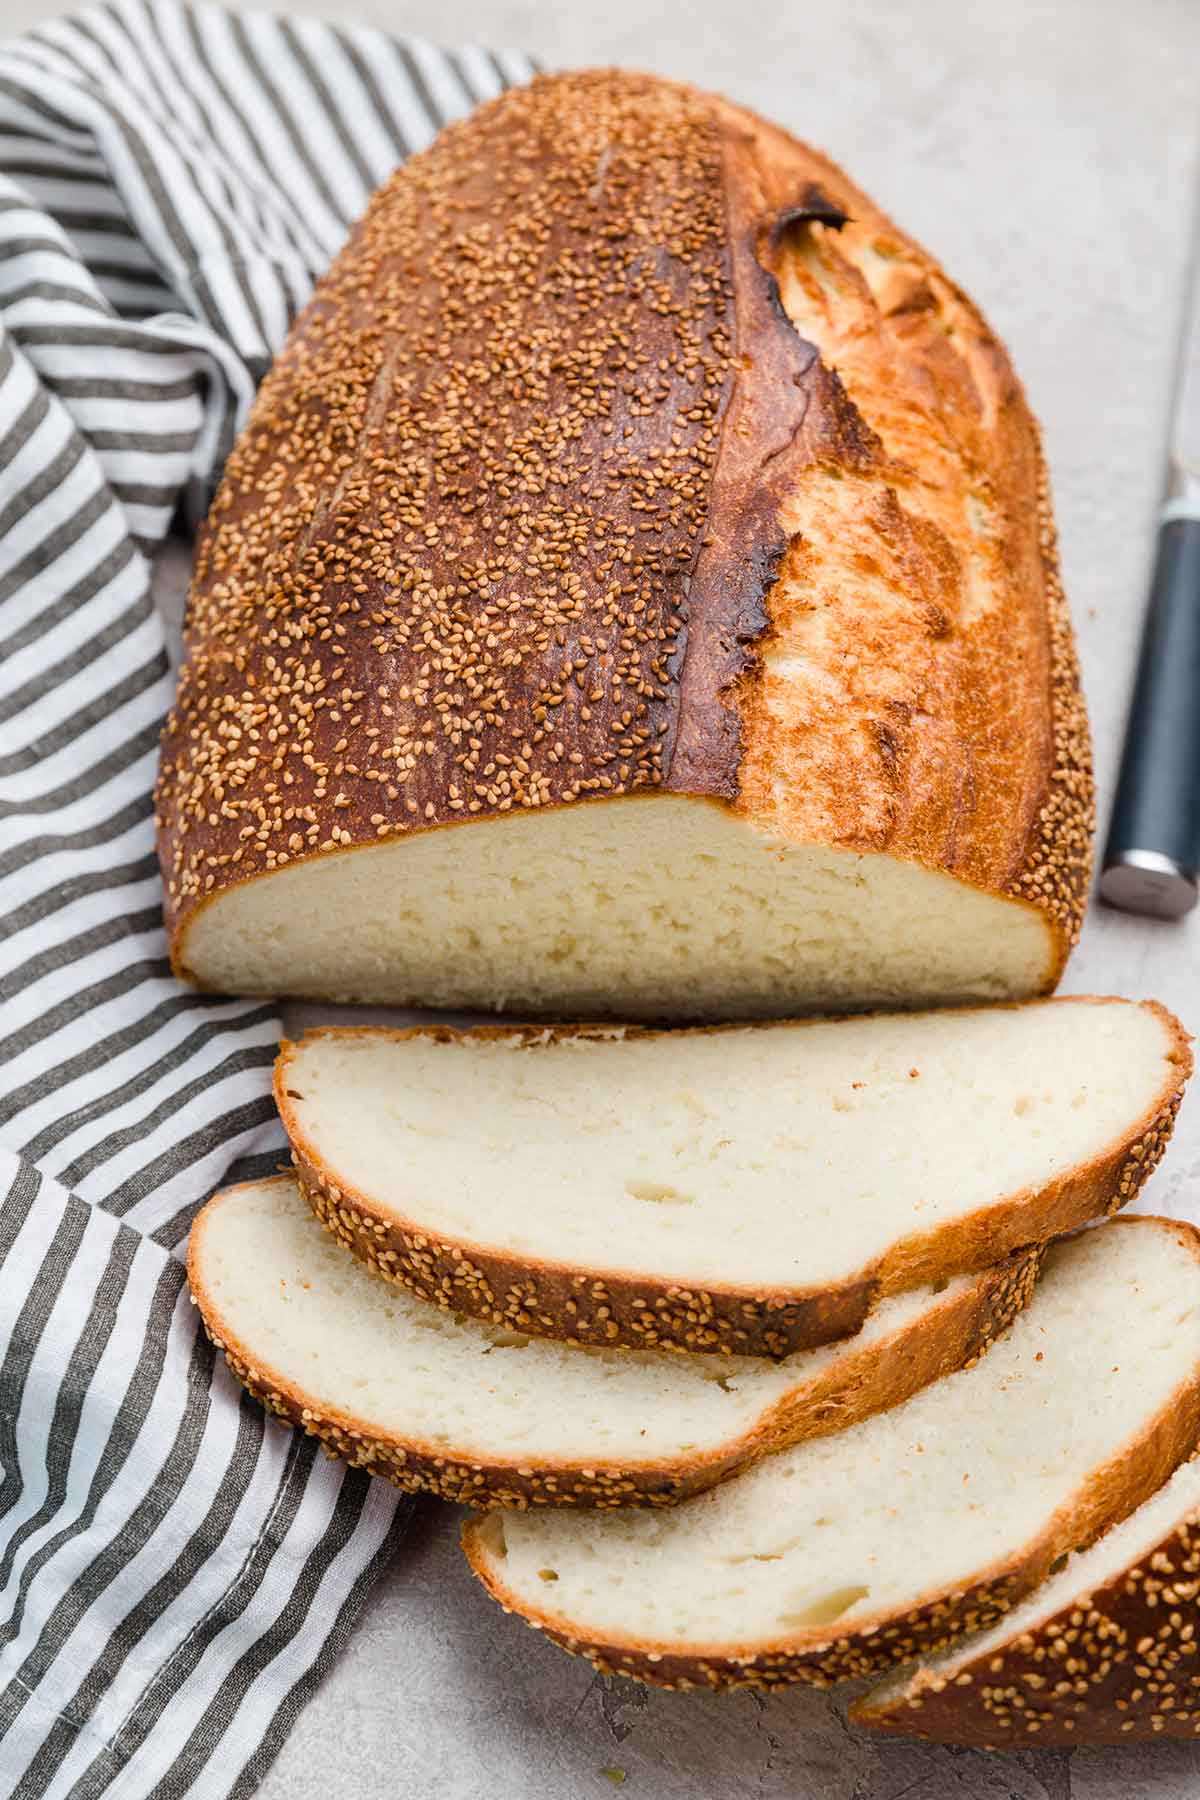
You won't believe how easy this Italian bread recipe is to make! With its soft interior and crusty exterior, it tastes like a loaf straight from your favorite bakery. With hardly any hands-on time and a very forgiving dough, this is a perfect beginner yeast recipe. Be sure to have a lot of softened butter ready to slather on these slices!
Well over a decade ago, I had planned to make spaghetti and meatballs on a Sunday afternoon when I was suddenly hit with the craving for a loaf of Italian bread to soak up all of the extra sauce on the plate.
Not wanting to venture to the grocery store while in the middle of the meal, I began looking up recipes. I mashed a couple together and ended up with the most enormous, most delicious loaf of homemade Italian bread. For the very first time making Italian bread, I had seriously hit the jackpot. I've never wavered from this recipe and it remains a favorite of many of my friends.
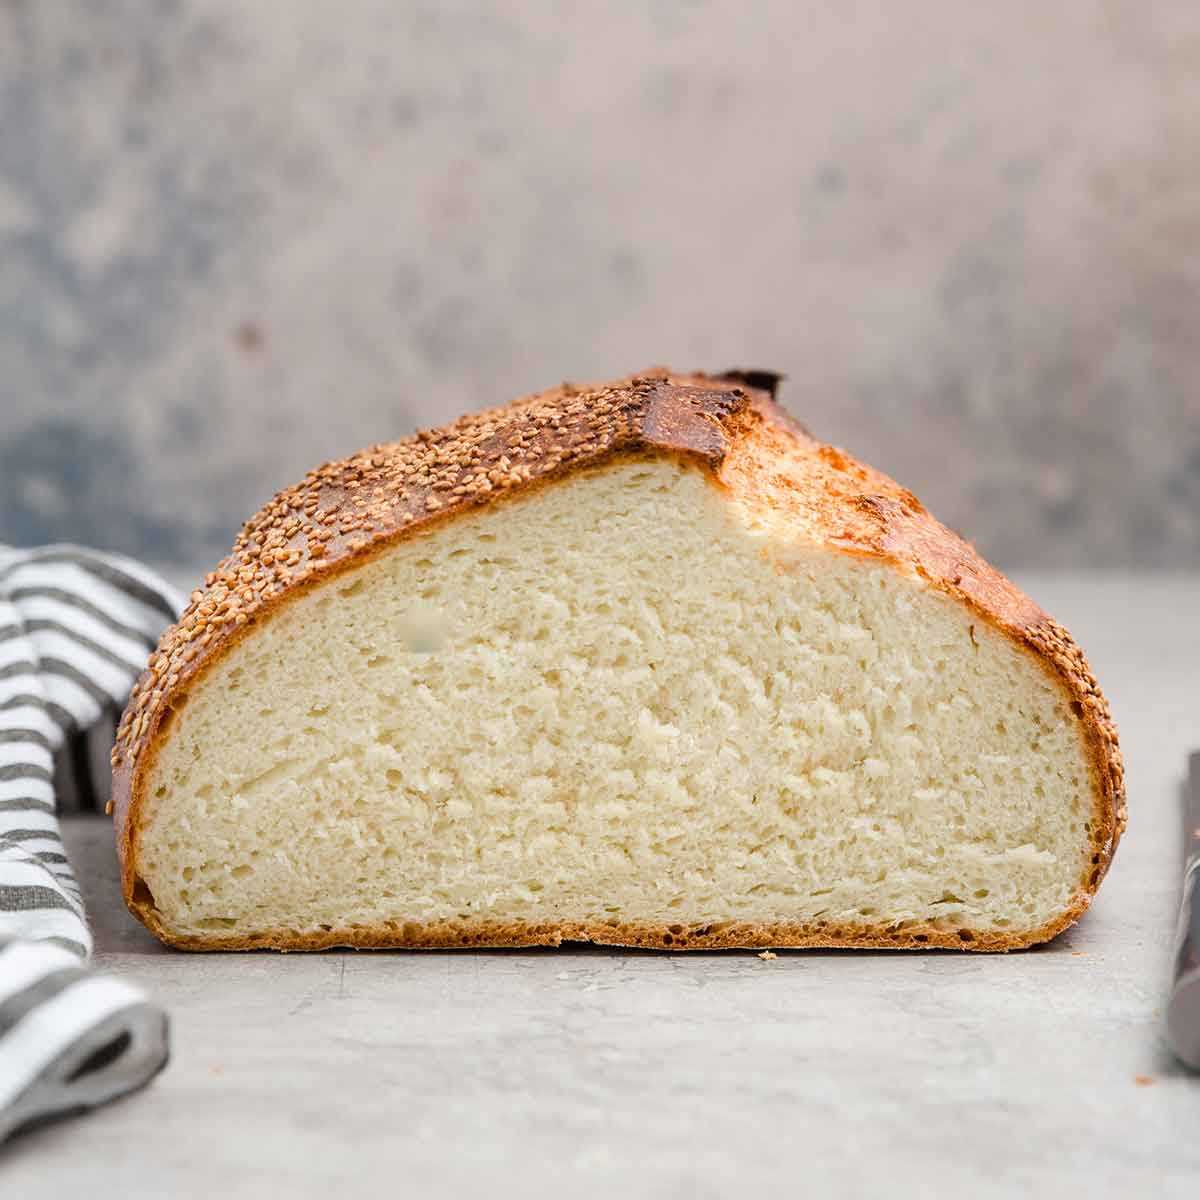
It's easy to see why - with a perfectly crisp outer crust and a soft, chewy interior with a tight crumb, it's a bread dream come true!
Why We Use Bread Flour
If you've made my favorite white bread recipe, you may remember that I opt for all-purpose flour because it produces a super light and fluffy bread.
In contrast, we want to use bread flour for this Italian bread due to its higher protein content, which will create a bread that is chewier in texture and a bit denser. Since this is a free-form loaf of bread, using bread flour also helps the bread to retain its shape while rising.
Creating Steam for a Crisp Crust
The one unconventional step to this recipe comes during the baking step. While the oven is preheating, you'll place a metal baking pan on the bottom rack of your oven. Once you place the bread in the oven, you'll pour a cup of water into the pan, which will create a ton of steam, resulting in a wonderfully crisp crust on the bread.
Important Note: Please be sure to use a metal pan, NOT GLASS. If you pour water into a glass pan that has been heated, it has the potential to shatter. Go ahead and ask me how I know this ;-)

How to Make This Italian Bread
You won't believe how many times I've received the comment, "I couldn't believe how easy this was to make, and it was just like a loaf from the bakery!" It truly is incredibly simple and mostly hands-off; even better is that you can have fresh-baked homemade bread in just a few short hours.
Here's what you'll need to do:
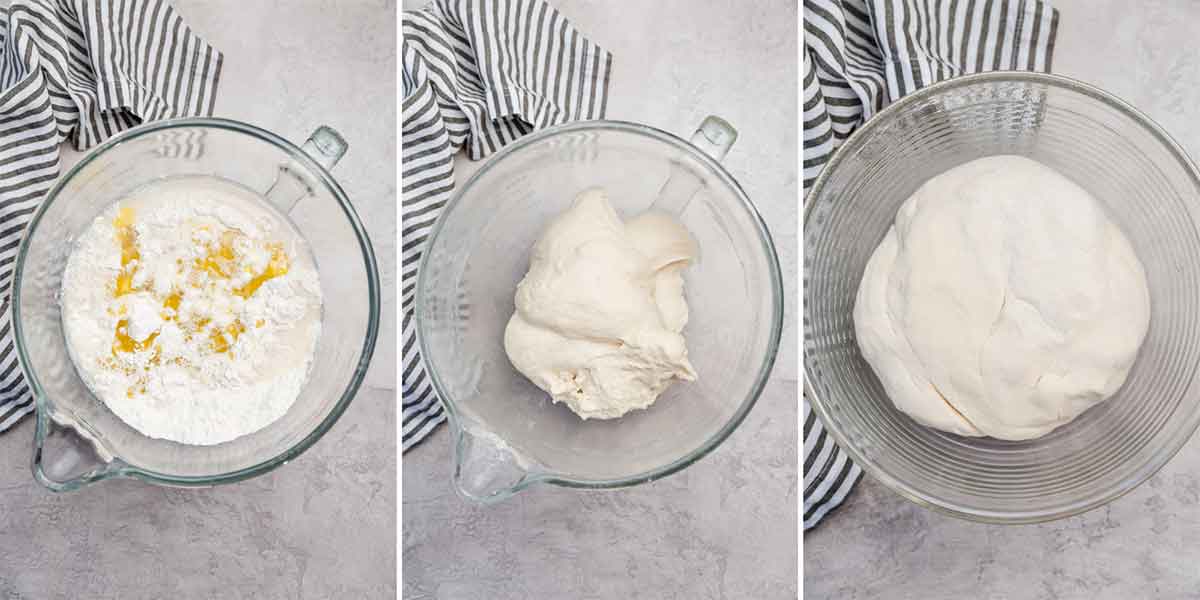
- Combine the yeast in warm water, then add it to the flour, salt, brown sugar, and olive oil in the bowl of a stand mixer.
- Mix on low speed until a dough starts to form (you may need to add more flour here!).
- Knead for 7 minutes, then do a couple of minutes by hand for a smooth, firm, and elastic dough.
- Rise! Put the dough in an oiled bowl and allow to rise at room temperature until doubled in size.
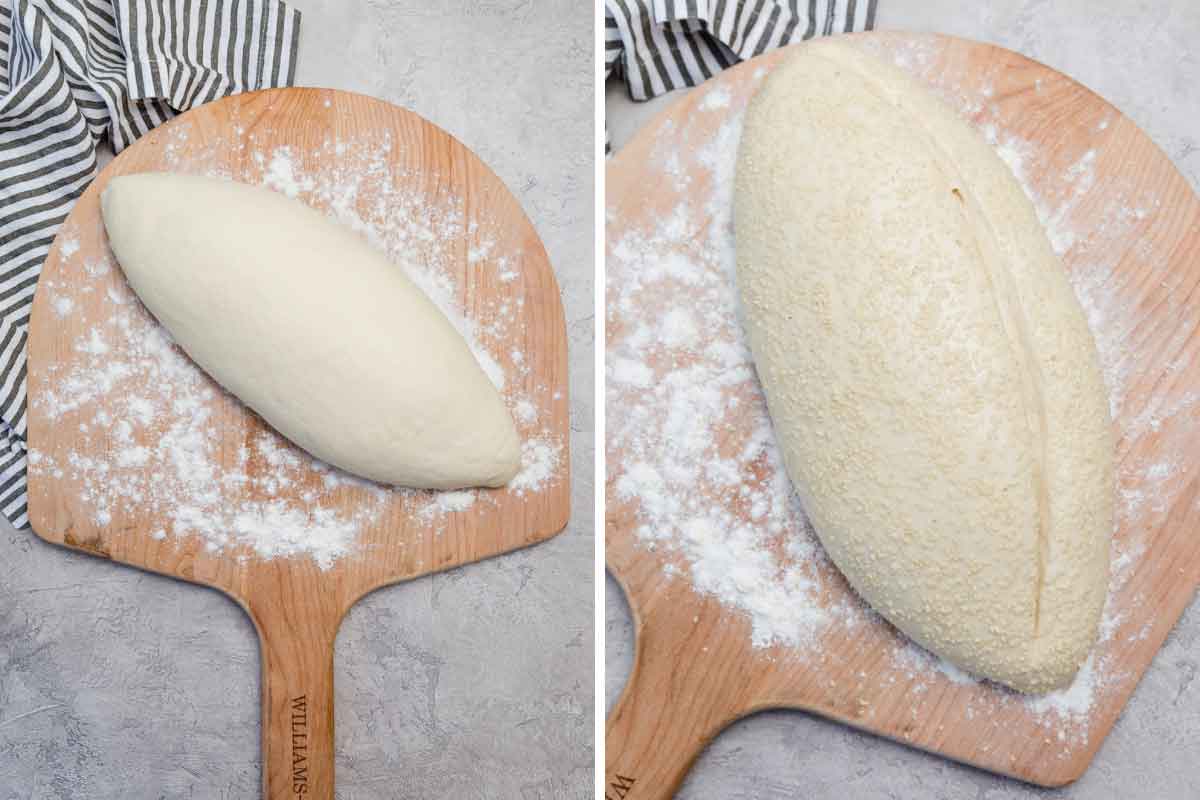
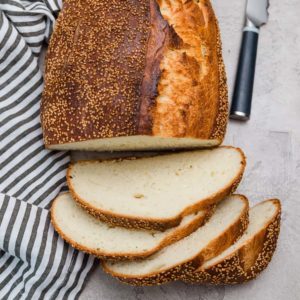
- Shape & Rise - The bread dough will be shaped into a torpedo and left to rise once more until doubled in size again.
- Top & Bake - Brush the dough with egg wash and sprinkle with sesame seeds (if desired), then pop it into the oven.
Tips for Bread Success
- Bread Flour - I outlined above why I'm a big advocate of bread flour for this particular recipe; you can find it in nearly all grocery stores or can buy it online. If you substitute all-purpose flour, the bread will still turn out, but there will be a definite difference in texture.
- Yeast - This recipe calls for active dry yeast, but you can substitute instant yeast without an issue or any modifications.
- Mixing by Hand - While using a stand mixer with a dough hook makes this easier, you can absolutely use a large mixing bowl and mix and knead entirely by hand.
- Extra Flour - Note that the recipe states you may need to add a little extra flour during the mixing process to get a dough to come together. I find that this varies during different times of the year, as well as what the weather is like. If it's warmer/more humid, you may need more flour. When it's colder and drier, I rarely, if ever, need to add more flour.
- Metal Pan - I want to emphasize once more that the pan you place on the bottom rack of the oven to create steam needs to be METAL and not glass. If you don’t already have one, I recommend this one.
- Baking Stone - This is the baking stone that I use, and this is the pizza peel you see pictured above. If you don't have a baking stone, you can flip a baking sheet upside down, put a sheet of parchment paper on top, and bake the bread on there (you would not need to place the upside-down pan in the oven during preheating).
Freezing Bread Dough and Baked Bread
You can successfully freeze both unbaked bread dough and completely baked bread. Below are instructions for both:
Save This Recipe
Freezing Bread Dough
You can freeze the unbaked bread dough by following steps #1-4 in the recipe below, finishing with shaping the dough.
Immediately place the shaped dough on a parchment-lined baking sheet, cover with plastic wrap, and place in the freezer for 12 hours to freeze completely. Once completely frozen, remove the dough from the baking sheet, wrap the frozen bread dough tightly in plastic wrap, then in a layer of aluminum foil, and place in a ziploc freezer bag. Freeze the dough for up to 3 months.
When ready to bake, remove the dough from the freezer and allow to thaw in the refrigerator overnight. Remove from the refrigerator and proceed with step #5, getting the oven ready and allowing the bread to do its final rise. It may take a little longer for that second rise since the dough will be cold. Bake as directed.
Freezing Baked Bread
Once the bread has cooled completely, you can decide to freeze it sliced or unsliced. I prefer to freeze my loaves sliced, which makes it easier to remove just a couple of pieces at a time, but you can do either.
If you want to freeze the whole loaf unsliced, simply wrap it tightly in plastic wrap, then place in a ziploc freezer bag for up to 3 months. Thaw in the refrigerator or at room temperature before slicing and serving.
To freeze a sliced loaf, wait until the bread has cooled completely, then slice evenly. Keep the loaf pushed together as well as you can and wrap it in a double layer of plastic wrap, then store and thaw as directed above for the whole loaf.
How to Enjoy This Italian Bread
While you can absolutely use this to make sandwiches, it’s also a wonderful accompaniment to hearty meals with rich sauces and gravies. Serve it alongside these dishes with salted butter for spreading:
- Cheesy Lasagna Bolognese
- Italian Meatballs
- Hearty Beef Stew
- Homestyle Chicken Noodle Soup
- Use it as a base for your own homemade garlic bread
More Bread Recipes
If you love to bake bread, you will thoroughly enjoy these recipes as well:
Watch the Recipe Video Below:
If you make this Italian bread recipe and love it, remember to stop back and give it a 5-star rating - it helps others find the recipe! ❤️️
Italian Bread Recipe
Ingredients
For the Dough
- 2 cups (480 ml) lukewarm water, ~100°F
- 1 package active dry yeast, (2.25 teaspoons)
- 5 cups (600 g) bread flour
- 1 tablespoon light brown sugar
- 2 tablespoons olive oil
- 2½ teaspoons salt
For the Topping (Optional)
- 1 egg white, lightly beaten
- 2 tablespoons sesame seeds
Instructions
- Stir the yeast into ½ cup of the warm water. Let proof as you measure out the dry ingredients.
- Combine 5 cups flour, sugar and salt in the bowl of an electric mixer. Add the yeast mixture, remaining water, and olive oil. Using a dough hook attachment, mix on the lowest speed of electric mixer (stir setting on a KitchenAid) until a dough starts to form, adding more flour as needed, up to an additional ¾ cup. Knead on low speed (2 on a KitchenAid) for 7 minutes. Transfer dough to a lightly floured surface and knead by hand for 1 to 2 minutes, or until a smooth, firm, elastic dough is formed.
- Transfer the dough to a lightly oiled bowl and spray the dough with a thin coating of cooking spray. Wrap the bowl with plastic wrap and set aside to proof in a warm, draft-free place for 1½ hours or until doubled in size.
- Remove the plastic wrap, punch down and flatten the rounded dough with the heel of your hand. Roll the dough up tightly, sealing the seam well after each roll. The dough should be elongated and oval-shaped, with tapered and rounded (not pointed) ends.
- Place a baking stone on the center oven rack and preheat the oven to 425°F. Place a metal baking pan on the lowest rack.
- Place the dough on a baker's peel heavily dusted with flour, or alternately on an inverted baking sheet. Allow the dough to proof, loosely covered with a floured dish towel, for 30 minutes, or until doubled in size.
- If using the topping, brush the dough with the egg white and sprinkle the sesame seeds over the top. Using a razor blade or sharp knife, slash the dough lengthwise about 1/4-inch deep, keeping the blade at a 45-degree angle.
- Just prior to placing the bread in the oven, pour 1 cup of water into the metal pan you placed on the bottom rack of the oven. Then, transfer the loaf from the peel to the stone in the oven.
- Bake the dough until golden brown and a hollow thud is heard when tapping the bottom of the bread (it should register at least 195 degrees F on an instant-read thermometer), about 30 to 40 minutes. Allow the bread to cool on a wire rack before slicing.
Notes
- Bread Flour - I outlined above why I'm a big advocate of bread flour for this particular recipe; you can find it in nearly all grocery stores or can buy it online. If you substitute all-purpose flour, the bread will still turn out, but there will be a definite difference in texture.
- Yeast - This recipe calls for active dry yeast, but you can substitute instant yeast without an issue or any modifications.
- Mixing by Hand - While using a stand mixer with a dough hook makes this easier, you can absolutely use a large mixing bowl and mix and knead entirely by hand.
- Extra Flour - Note that the recipe states you may need to add a little extra flour during the mixing process to get a dough to come together. I find that this varies during different times of the year, as well as what the weather is like. If it's warmer/more humid, you may need more flour. When it's colder and drier, I rarely, if ever, need to add more flour.
- Metal Pan - I want to emphasize once more that the pan you place on the bottom rack of the oven to create steam needs to be METAL and not glass. If you don’t already have one, I recommend this one.
- Baking Stone - This is the baking stone that I use, and this is the pizza peel you see pictured above. If you don't have a baking stone, you can flip a baking sheet upside down, put a sheet of parchment paper on top, and bake the bread on there (you would not need to place the upside-down pan in the oven during preheating).
- Freezing Bread Dough – Once the dough is shaped, it can be placed on a lined baking sheet and placed in the freezer for 12 hours. Wrap tightly in plastic wrap and freeze in a ziploc freezer bag for up to 3 months. Thaw in the refrigerator overnight, then remove and proceed with step #5 of the recipe. The final rise may take longer since the dough has been cold.
- Freezing Baked Bread – Once the bread has been completely cooled, you can wrap a whole sliced or unsliced loaf in a double layer of plastic wrap, place in a ziploc freezer bag, and freeze for up to 3 months. Thaw in the refrigerator or at room temperature.
Did you make this recipe?
Leave a review below, then snap a picture and tag @thebrowneyedbaker on Instagram so I can see it!
[photos by Ari of Well Seasoned]
Recipe originally published in August 2008.


I live this recipe. One question when I try and cut the dough prior to cooking oats too gummy, even with a razor sharp knife, any thoughts would be great.
Hi Jimmy, Try a serrated bread knife. I have the best luck with those! Use a quick motion to “slash” and try not to drag the knife through the dough, if that makes sense.
This is my first ever Italian bread. It came out FABULOUS and delicious! Thanks so much for sharing the recipe!!!!
I’m so glad you enjoyed it!
Can you split dough and bake as 2 smaller loafs?
Does baking time change?
Hi Geri, Yes, you can make two smaller loaves, and yes, the bake time will be shorter. Enjoy!
can this recipe be divided in half without impacting the final product?
Hi Laurel, Yes definitely!
This bread turned out amazing! Is it possible to make it in two smaller loaves instead one really large loaf? Would the baking time change?
Hi Karen, Yes you could definitely make two smaller loaves. The baking time would be less.
Beautiful 😍 My family was shocked I could create such a masterpiece without a mixer😅. Thanks for sharing this recipe!
Is there a way to make the dough beforehand and bake the next day. Have time today for all the prep but want the bread tomorrow
Hi Ellen, I have not tried splitting this up, but you MIGHT be able to mix the dough, then pop it in the fridge, take it out tomorrow and let it finish rising, then shape and rise, then bake.
This bread was delicious!!! Just the texture that I’ve been looking for in a homemade bread and with good flavor! The only issue I had was that my loaf was too big for my pizza stone so next time I’ll make 2 loaves out of the recipe and put them side by side on the stone.
Thanks for this recipe! I’ve tried others that needed a starter and whatnot that took forever and yours is by far the EASIEST recipe and makes the most delicious bread. ever. My entire family loves it too and it’s perfect for sandwiches. I didn’t even knead it by hand at all and let my mixer do everything. (Not a KitchenAid)
Hi! I wonder how this bread would turn out if I added raisins to it. I love the texture of this bread and would also like it as a raisin bread. What do you think?
Hi Sarah, I think that would work just fine!
I made this Italian Bread last weekend as my first yeast bread in about 25 years. It turned out beautifully! And delicious. It was a great big loaf and has a wonderful slightly chewy texture, just like a really good bakery loaf. Had a question… you recommend covering with plastic wrap for the 90 minute rise. Any reason for that? I typically would cover with a clean kitchen towel.
I’m thinking about making your ciabatta recipe sometime soon. I love your site, so many great recipes.
Hi Lisa, I usually do plastic wrap over my first rise just to keep the top from drying out and creating a “crust” on the dough. The first rise is typically longer than the second, and for that one I will often use a kitchen towel, too. I hope that helps!
OMG!…made this during quarantine. This was the best bread ever and so easy to make!
I tried making this together in my mixer not a KitchenAid but dough was all sticky almost like a batter. I couldn’t get it together into a ball. What am I doing wrong?
Hi Kathy, Did you try adding a little extra flour to get the dough to come together as it notes in the recipe?
My dough also came out much stickier than your video. I had to add more than 3/4 cup of extra flour just to make it manageable. It still came out great though. I’ll be making it again. Wonder what I did wrong though !
The bread was delicious! Thank you for sharing the recipie. It turned out exactly how it looked in the picture. Very easy to make.
I have made a number of your recipes and all have been great, thank you! I want to try this Italian bread next, but can’t find bread flour right now. I do, however, have some vital wheat gluten on hand. Would it help to add some to the AP flour I have? I’m pretty new to bread baking so still learning about flour protein, gluten, etc. Thank you!
Hi Nancy, I actually haven’t experimented with vital wheat gluten, so I can’t give you a definitive answer on how it would work with this particular recipe. If you try it, please stop back and let us know!
I’ve done this 3 times, and I’ve always gotten a loaf of Italian bread that’s better than what I can buy at my local bakery.
Here’s what I did: I measured out the 5 cups of flour, removed 7.5 teaspoons of it, and replaced it with 7.5 teaspoons of vital wheat gluten. Make sure to give it a good whisk to mix it all together before adding to the wet ingredients!
That is what I did not much malt a few tablespoons
I was thrilled when I made it. It wasn’t hard to make and it was delicious ….. especially when it was warm.
My son just said this was the best bread he’s ever eaten in his entire life! (13years).
The texture and taste was phenomenal! Definitely making this again.
Hi! I have made this fantastic bread five times now. My quest is the first time I made it, the load came out beautifully! It baked high and not wide! Every time after though, it has spread out and not risen high like a loaf. Any advice would be appreciated!!!
Thank you!
I never leave reviews but I made and shared and now all my extended family has made, with the same incredible results. My husband told me to get rid of any other recipe I have. Thanks so much. Made as per recipe. I am in the south, needed a little more flour. My family in Canada needed a little less.
The bread came out just as the picture.very nice.My only comment is that the bread is just to dense for me. I would like it a bit airy. Next time I think I’ll try reg. Flour instead of bread flour.
That may make a difference.otherwis it was easy and made a beautiful loaf.
Can’t find video and if kneading all of it by hand how long should it be kneaded. I don’t have a mixer.
Made it and turned out pretty good. Not sure if I kneaded it enough .
Just kneed for around 6-7 min by hand or when you can play with the dough, and stretch it and it doesn’t spilt too much 😊 Although I have a mixer, to me it’s bread that you’ve made with your hands and a little love. Whilst we have been through some tough and unusual times, this isolation time at home has made us realise what my Nonna did all day every day Back in the day and made bread with much heart and passion. If it ain’t about family, what is it about. 🙏🏻
How do you store cooled bread
This looks delicious and I’m anxious to try it. My question is since we’re stuck at home amid the lock down can all purpose flour be used? Or perhaps a blend of all purpose and cake flour (since those are the two in my pantry)? I’m not normally one for substitutions but I can’t get out to get bread flour and I NEED this bread! =)
I only used all purpose and it turned out just as great :)
Me too. I only used all purpose and even my very persnickety husband was wowed.
Since the Covid stay at home order I have been trying new recipes to feed the family~ lots of bread since our grocery store only has it sporadically. I baked this bread exactly as the recipe was written while I was making a classic bolognese sauce. I wish I could have posted a picture of my huge, beautiful loaf but it was DEVOURED by my family in minutes! One of my boy’s said it was absolute “genius” and the best I had ever made. It didn’t even get a chance to cool…. fantastic recipe from BEB!
I hadn’t made this in years but I live this recipe! I made it this way, with the pan of water but we much preferred the spray bottle method. I cannot remember the timing of that method and it seems to have disappeared since I last made this. Will you refresh my memory please?
This made a massive loaf of bread. We loved it. I’m going to email you a pic be it was so pretty!
So you made a loaf of bread in the middle of eating as opposed to going to the bakery in the middle of eating?
I think she said in the middle of cooking….the sauce😊
This came out great!I added the additional 3/4 cup flour and let rise in my warm oven. Made a very large and delicious loaf!
I made the bread today. One loaf was way too much so I cut into two loafs. I also didn’t have a stone to cook on so I used a flat baking pan. My crust browned but nothing like yours. Also can I freeze the other loaf. It is cooked?
Thanks, RoseAnne
PS. Tastes great
Great recipe and very easy to follow. Can’t wait to taste it!
Would baking this in a loaf pan work?
I know, im wierd ;-)
I think it would be too much dough for one loaf pan, but not quite enough to split it between two unless you make rather small loaves.
I spent hours making this to only have it ruined in the last step. I tried to transfer it before putting in the oven and ruined the whole thing:( It says in step 8 to transfer from peel to stone but in the video I do not see this transfer. My bread could not handle the transfer, looked great before and horrible after. How do you do this? Can you add a video of what this looks like?
Make sure the pizza peel you are using is well floured particularly under the dough. Open the oven and shimmy the dough from the peel onto the hot pizza stone. Because the dough is particularly long I placed the dough on a diagonal across the stone to fit it all without it going over the edge of the stone.
I hope that helps
Steven L
I’ve never had luck with the pizza peel transfer. So I use parchment paper. Form loaf on the parchment (NOT wax paper) on a baking sheet, then just drag the paper onto the pizza stone to bake, then drag off onto pan again when removing from oven. MUCH easier!