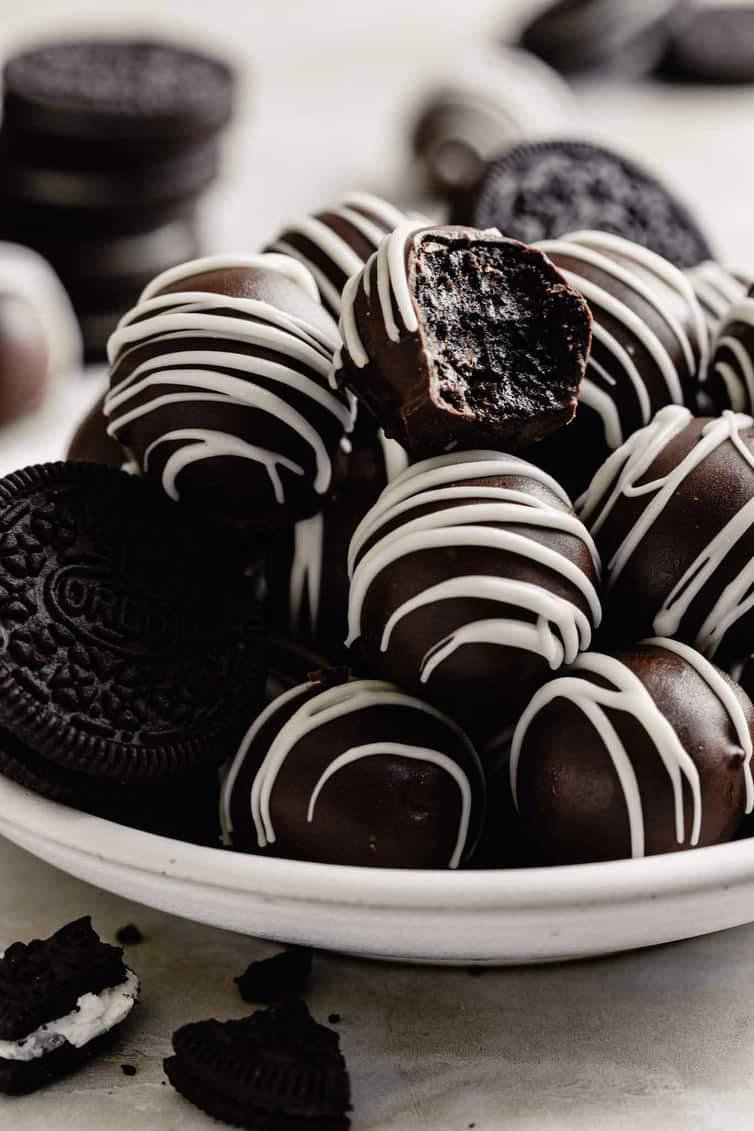
Oreo Truffles

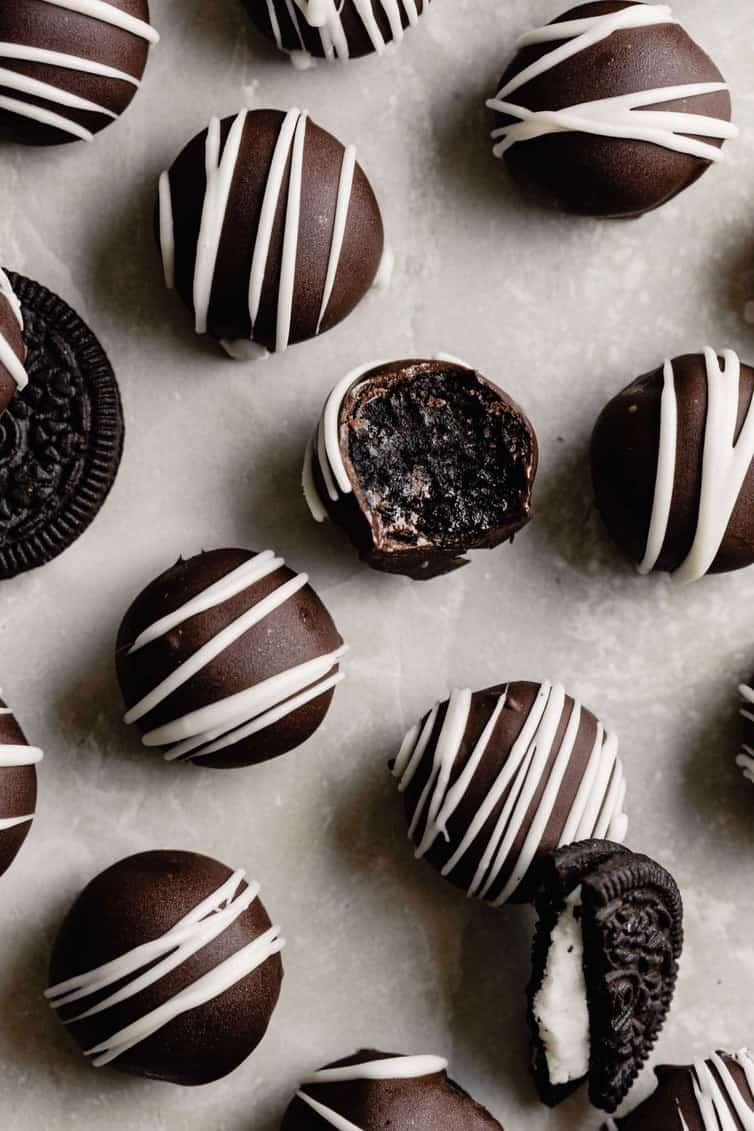
These Oreo Truffles are packed with Oreo cookie crumbs and cream cheese then covered in chocolate. With no bake time and only four ingredients, these are the perfect quick dessert for holiday cookie trays and gifts!
We are right on the edge of the holiday season, which is the sign of something I love! Cookie trays! I mean, you can put together delicious treats for any occasion (obviously), but there is something so special about planning, baking, and plating some pretty creations. I love finding new things to add every year, but one of my absolute must-haves is these amazing Oreo truffles.
They are classic, no-bake, EASY, and crazy delicious, which is why people absolutely devour them.
What are Oreo Truffles?
An Oreo truffle, just like any truffle, is a filling of soft, creamy Oreo and cream with a hard outer chocolate shell. I wasn’t kidding when I said this was wildly simple! This is a great recipe to involve kids in, and mine love helping me make these. We only need the following things:
Save This Recipe
- Oreo Cookies or a similar chocolate sandwich cookie
- Cream cheese
- Chocolate chips
- Vegetable shortening
- A baking sheet that fits in your fridge!
- Some parchment paper
How to Make Oreo Truffles
- Line your baking sheet with parchment paper.
- Crush up your entire package of Oreos (cream included!) using a food processor, and put them n a large bowl.
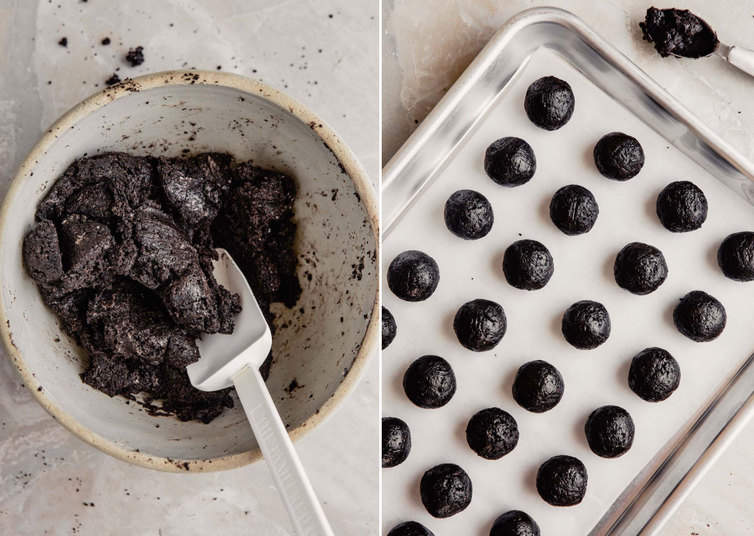
- Add your cream cheese to the bowl, and mix until it’s soft. The cookie crumbs should be evenly distributed in the filling.
- Scoop out balls of the filling (this small cookie scoop is the perfect size), place them on the parchment, and let them firm up in the fridge for an hour. (If you want to turn these into Oreo cake pops, this is the time to add some popsicle sticks so these can be dipped and eaten more easily.)
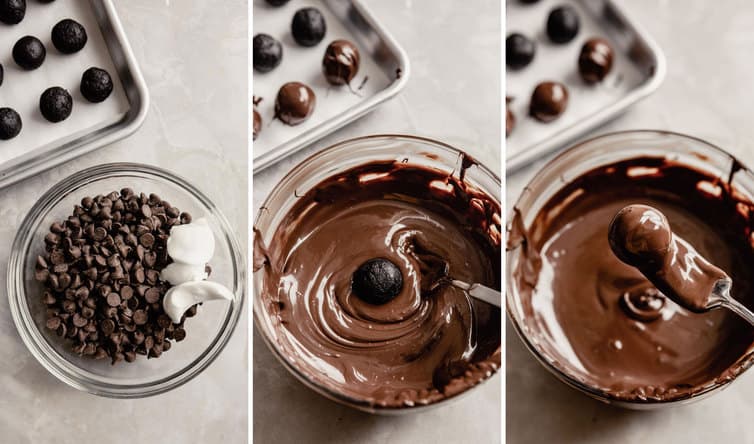
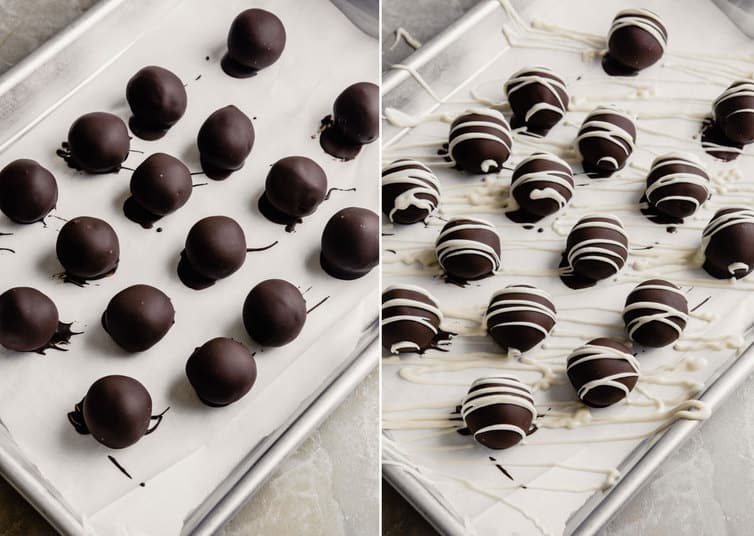
- Once the Oreo truffles are firm, melt the chocolate with the vegetable shortening, and dip the truffles in using a fork or the popsicle stick.
Kitchen Tips and Hacks
- No food processor? No problem! Using a food processor ensures even, fine crumbs, but if you don’t have one, you can put the cookies in a large resealable bag and crush with a rolling pin, mallet, or something similar. Just be sure that there aren’t any large chunks of cookies left when you’re done.
- To get the best shape for your Oreo truffle, a cookie scoop makes it incredibly easy, but a soup spoon works really well to give you an even scoop, too.
- Tips for coating: Not every truffle recipe has vegetable shortening in their melted chocolate, but I think it creates a smoother, glossier coating. The easiest way to dip is to use a fork or a stick (if you’re making cake pops) to pick up the truffle and dunk it into the coating. After excess chocolate drips from the truffle, put it back on the parchment paper and let it set.
Decoration and Variation ideas
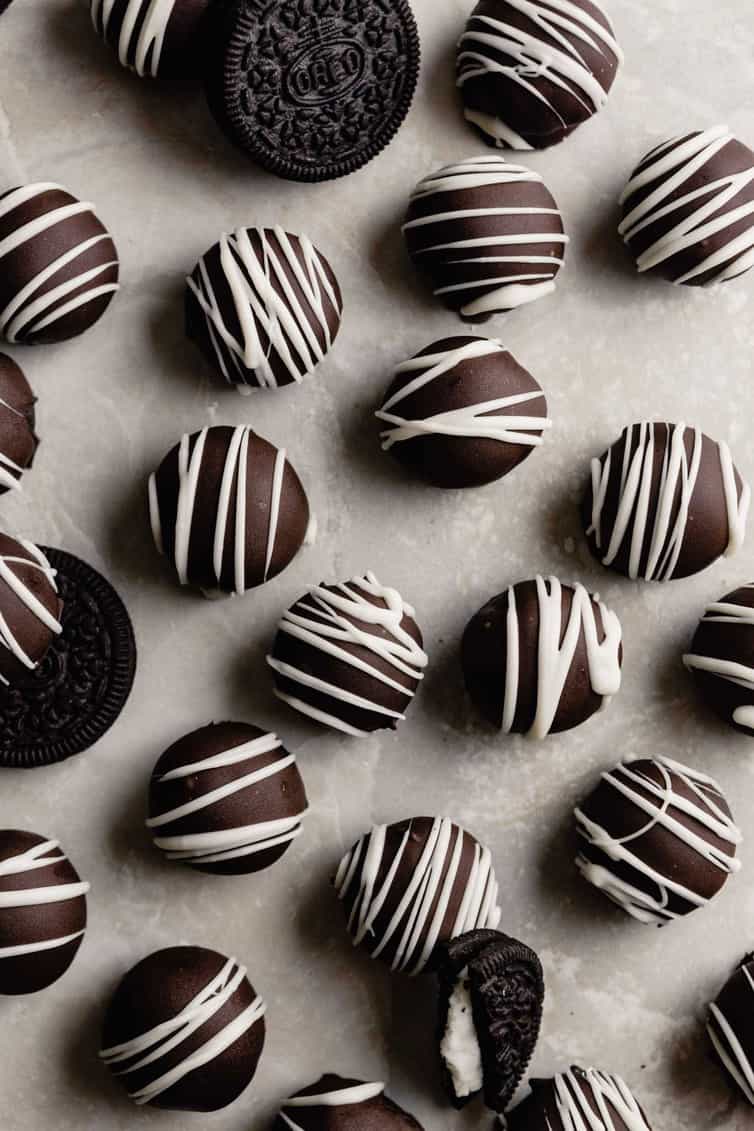
- You can easily decorate these truffles with melted white chocolate like I have. Adding some food coloring or colored candy melts can be super festive.
- Sprinkles, more cookie crumbs, coconut, and crushed candy bars are really exciting toppings for these Oreo truffles. After dipping the truffle in the chocolate, dip it into a bowl of the topping you are adding and then put the truffle back on the parchment paper.
- This recipe is so simple that all you need is to check for seasonal Oreos to make something totally new. Pastel Oreos for Easter, candy cane flavor for Christmas, mint for St. Patricks’s day, Red Velvet for Valentine’s! Lemon Oreos are fantastic for a summer dessert tray. And they have new fall flavors like pumpkin spice and gingerbread, which I am really excited to try.
- What if you want a vegan option? Technically, Oreos may come into contact with milk at their facility, so they aren’t considered vegan to some. However, Vegan versions of Oreos, as well as dairy-free cream cheese are readily available swaps!
Storage and Gifting Ideas
- These creamy, chocolatey Oreo truffles are perfect year-round, and they are so easy to store! Once these fully harden in the refrigerator, use parchment paper to stack layers of these bad boys in an airtight container. Keeping them like this, the Oreo truffles will last for months in the freezer! If you keep them in the refrigerator, they will be ready to eat for weeks (though they never last long enough in my house!).
- A small box with a ribbon is all you need to make these a great gift for someone’s sweet tooth!
- Like any other truffle, these do soften if sitting at room temperature for hours. Make sure they stay in the refrigerator for as long as possible before transporting or laying them out to dig into.
- These Oreo truffles can be shipped, but it does require some extra materials. Most bakers who ship their treats prefer to use a cooler lined with ice packs, which is then placed in a cushioned/lined shipping box. If you are shipping overnight or two-day, this should work, but know that in the warmer months, they may not make it!
Looking for new treats to add to your dessert tray? Check these out!
- Dark Chocolate Truffles
- Peanut Butter Pretzel Truffles
- Nutella Pretzel Truffles
- Homemade Oreos
- Oreo Rice Krisipe Treats
I would absolutely love it if you made these Oreo truffles; if you do, please stop back and leave a rating and let me know how you liked it! ENJOY! 😍

Oreo Truffles
Ingredients
- 15.3 ounce (433.75 g) package Oreo cookies (33 to 36 cookies), crushed into fine crumbs
- 8 ounces (226.8 g) cream cheese, at room temperature
- 2 cups (360 g) semisweet chocolate chips
- 2 tablespoons vegetable shortening
Instructions
- Line a baking sheet with parchment paper and set aside.
- In a large mixing bowl, combine the Oreo cookie crumbs and the cream cheese. Using a spoon or spatula, press, mix and stir until the cream cheese is completely mixed into the Oreo crumbs and you have a soft, homogeneous mixture. Using a small cookie scoop (or the equivalent of 2 teaspoons), scoop out the mixture and place on the prepared baking sheet. Gently roll each into a smooth ball and return to the baking sheet. Refrigerate the baking sheet for at least 30 minutes, or until firm.
- In a small bowl or 2-cup measuring cup, microwave the chocolate chips and shortening in 30 second increments at 50% power, stirring after each, until completely melted and smooth. Working with one Oreo ball at a time, dip it into the melted chocolate, roll it around to cover completely, and then use a fork to remove it from the chocolate, letting any excess drip off. Place the dipped truffle back on the wax paper-lined sheet. Repeat with all truffles; once finished, return the baking sheet to the refrigerator for another 30 minutes.
- Serve the truffles, or garnish with some melted white chocolate. Store in an airtight container in the refrigerator for up to 2 weeks (or freeze for up to 2 months).
Notes
- Equipment: Food processor / Small cookie scoop
- Oreos: Use the entire Oreo cookie (including the filling) for this recipe.
- Cream Cheese: Use full-fat cream cheese to ensure the filling isn't too soft.
- Vegetable Shortening: You can substitute refined coconut oil (do not use unrefined as it will impart a coconut flavor).
- Variations: See the post above for tons of ideas regarding different Oreo flavors, decorating ideas, toppings, etc.
- Storage: The truffles will keep in an airtight container in the refrigerator for up to 3 weeks, or in the freezer for up to 3 months.
Did you make this recipe?
Leave a review below, then snap a picture and tag @thebrowneyedbaker on Instagram so I can see it!
Photography by Lauren Grant.


I made these Oreo truffles for a cookie swap party. They are easy to make and the samplers were gobbled up! Will make these every Christmas. I sprinkled some red sprinkles on top to look festive
I have made these previously from another recipe and had no qualms about the taste or the ease. However I feel like maybe an ingredient was omitted in the dipping part; either that or the difference in chocolate chips is so great that identifying which brand works would be necessary. I melted the chocolate and shortening and it was still hard as paste, I added another 2 T shortening and it was still hard. (Giardelli chocolate chips). I then stirred in a little under 1/4 cup of heavy cream in order to get it liquidy enough that I could dip the oreo balls. So something is amiss. The heavy cream worked well and actually made the dip shiny so they looked nice in the end and tasted yummy. Not sure why the melted chips and shortening did not become liquid enough for me to dip (even when I felt it was thoroughly melted.)
Wonder if I should try melting chocolate instead next time? @browneyedbaker
Hi Siri, I can’t speak to the other recipe since I don’t know the ratio that they used. Is it the same as is used here?
I never keep shortening on hand. Now that coconut oil is so easy to find, I substitute it for shortening in recipes like this. It hardens up nicely.
I love making these, they’re addictive – I like them dipped in white chocolate.