Apple Hand Pies

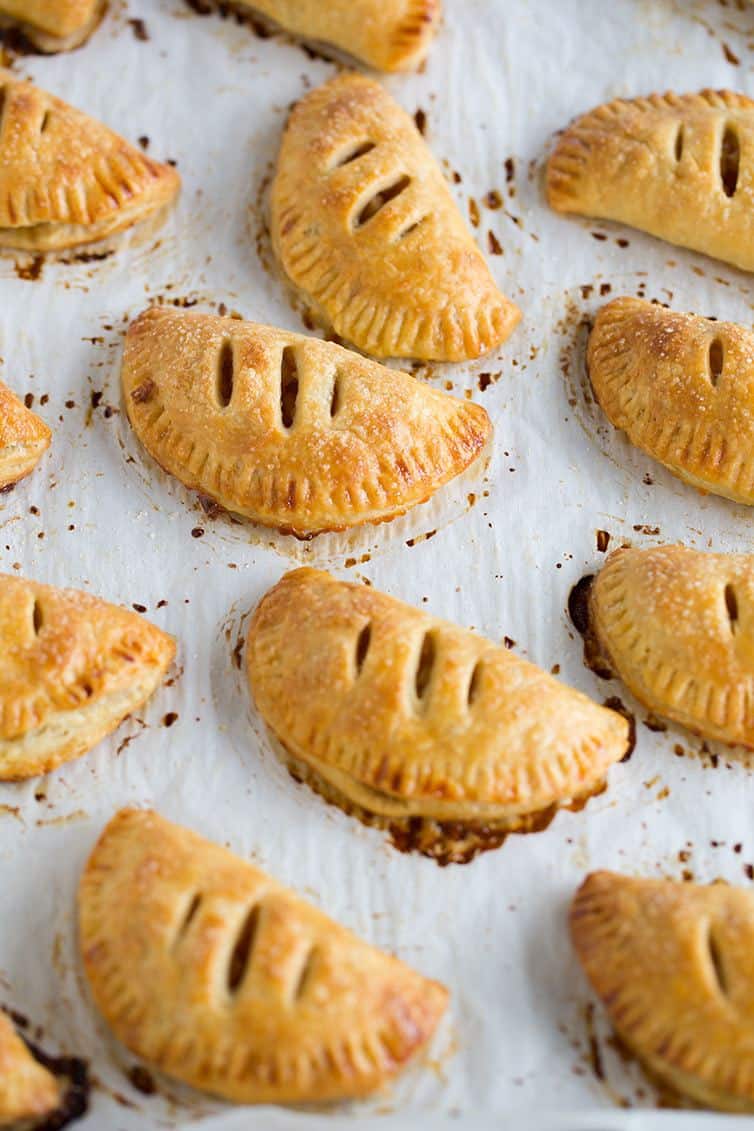
These Apple Hand Pies are portable and delicious, and bring back memories of those little pies in the grocery store checkout line. You could use this base pastry recipe and mix and match all sorts of pie fillings to suit your tastes and use up seasonal fruit.

Apple Pie: rustic, flaky, tart, and spicy. The most iconic of American traditions.
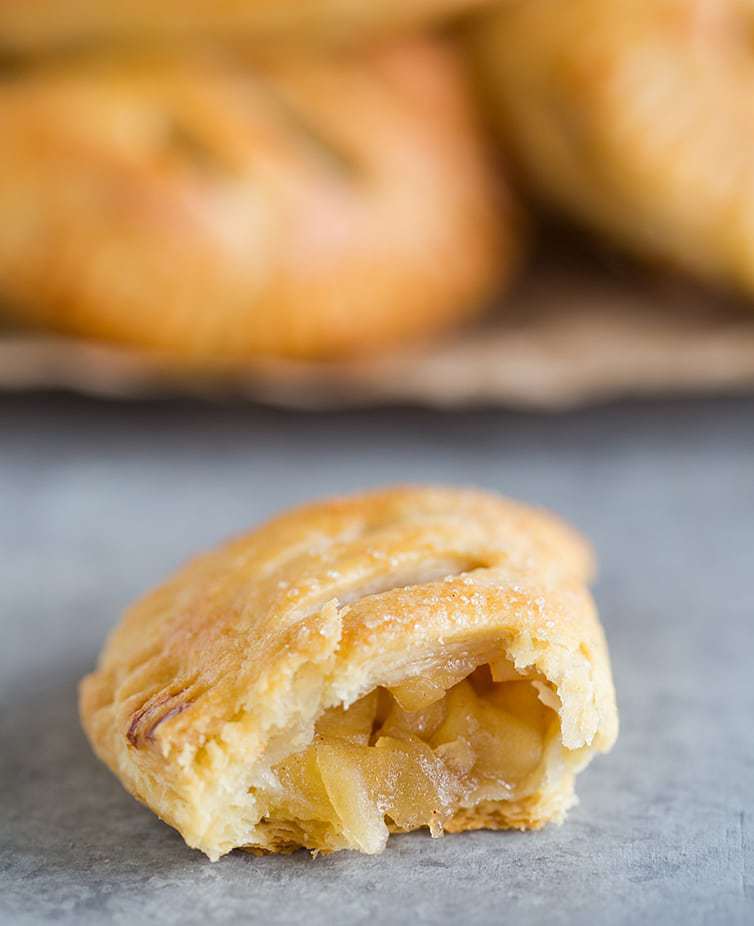
These marvelous little pies package up the best parts of apple pie, eliminate a lot of the work, and deliver scrumptious, addictive fruit-wrapped-in-crust that can be stowed away in your pocket for safe keeping.
I originally shared these apple hand pies with you way, way, wayyyyyyy back in the dark ages of 2008. It’s been quite a long time since I’ve made them myself, but when Joseph saw an episode of his favorite show, Hey Duggee, and it featured an apple pie, he proceeded to walk around the house saying “apple pieeeeeeeee” for days and days. He’d never had apple pie; how could I deprive my child of something so delicious?? I immediately thought of these hand pies, since they would be much easier for him to eat than a slice of apple pie, and I got baking!
The dough for this recipe is really just incredible. I admit that I was somewhat skeptical at first, as it contained sour cream. I had never heard or seen sour cream used in a pie or pastry dough before, so it certainly caused me to raise an eyebrow. But like the good trooper that I am, I forged ahead. This dough has such an incredibly buttery, flaky texture, much like that of a laminated dough you would create for croissants. When you bite into one of these pies, the crust just flakes and shatters, which is basically a crust-lover’s dream come true.
I made two modifications to this recipe (and those changes are reflected in the recipe as it’s written below):
- The original recipe required A LOT of time chilling ingredients and the dough at different steps, which I have now condensed a bit. I didn’t find there to be any reduction in the quality of the final crust by doing so. I also made the dough mixing step a little easier to execute, as well.
- I added a little cinnamon to the filling – I can’t believe I left it out originally!
Save This Recipe
I couldn’t wait to get these baked and cooled enough for Joseph to try one. When I told him I had made him little apple hand pies, he said, “APPLE PIE?!?!”
I gave him half of one and he went over and sat on the fireplace, took a bite, and said, “Mmmmmmmm!” He polished it off quickly and then requested the other half. I’m so happy that I could make his apple pie dreams come true, ha!

These hand pies are a fantastic option for changing up the traditional slice of apple pie and ice cream and would be especially welcome as a dessert at an outdoor gathering or one that includes small children.
And really, for the kid in all of us – what’s much better than a slice of apple pie that you can pick up and carry around with you?
More Delicious Apple Recipes:
- Jewish Apple Cake
- Homemade Apple Butter
- Dutch Apple Pie
- Classic French Apple Cake
- Easy Apple Crisp
- Old-Fashioned Apple Dumplings
Watch How to Make Apple Hand Pies:
If you make these apple hand pies and love them, remember to stop back and give it a 5-star rating - it helps others find the recipe! ❤️️

Apple Hand Pies
Ingredients
For the Pastry
- 2½ cups (312.5 g) all-purpose flour
- ½ teaspoon (0.5 teaspoon) salt
- 1 cup (227 g) unsalted butter, chilled, cut into small pieces
- ½ cup (115 ml) sour cream
- 4 teaspoons fresh lemon juice
- ½ cup (125 ml) ice water
For the Filling
- 2 large apples, peeled, cored and diced small
- ⅓ cup (66.67 g) granulated sugar
- ½ teaspoon (0.5 teaspoon) ground cinnamon
- Pinch of salt
To Finish
- 1 egg yolk
- 2 tablespoons water
- Coarse sugar
Instructions
- Make the Pastry: In a large bowl, whisk together the flour and salt. Add the butter to the well and, using a pastry blender, cut it into the flour mixture until it resembles coarse meal. In a small bowl, whisk together the sour cream, lemon juice and water. Add to the flour mixture and, using a fork, gently toss and stir together until large lumps form and all of the flour has been moistened. Using your hands, pat the dough into a ball and wrap with plastic wrap. Refrigerate for 1 hour (if preparing ahead of time, the dough can be stored in the refrigerator for up to 2 days or in the freezer for up to 1 month).
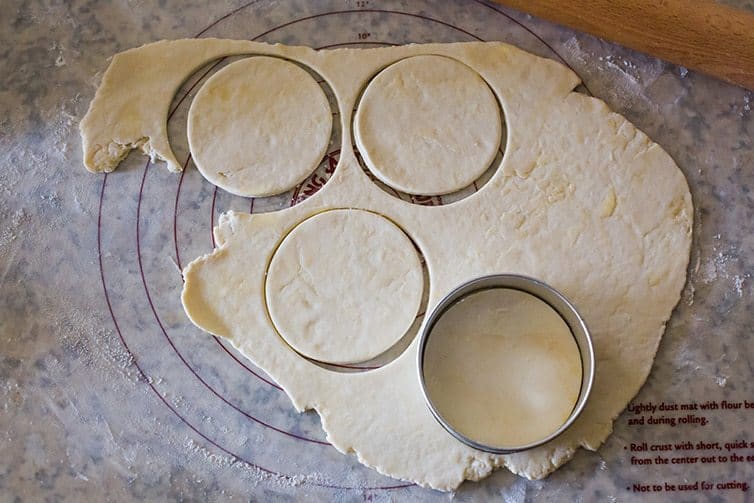
- Assemble the Pies: Line a baking sheet with parchment paper. Divide the refrigerated dough in half. On a lightly floured work surface, roll out one half of the dough to ⅛-inch thickness. Using a 4½-inch round biscuit cutter, cut seven circles out of the rolled dough. Transfer the circles to a parchment-lined baking sheet. Repeat the rolling and cutting process with the remaining half of dough. Refrigerate the dough circles for 30 minutes.
- Meanwhile, in a small pan, combine the apples, sugar, cinnamon and salt, and cook over low heat for 8-10 minutes, stirring frequently, until the apples are tender. Set aside. Prior to preparing the pies, drain any accumulated liquid from the apples.
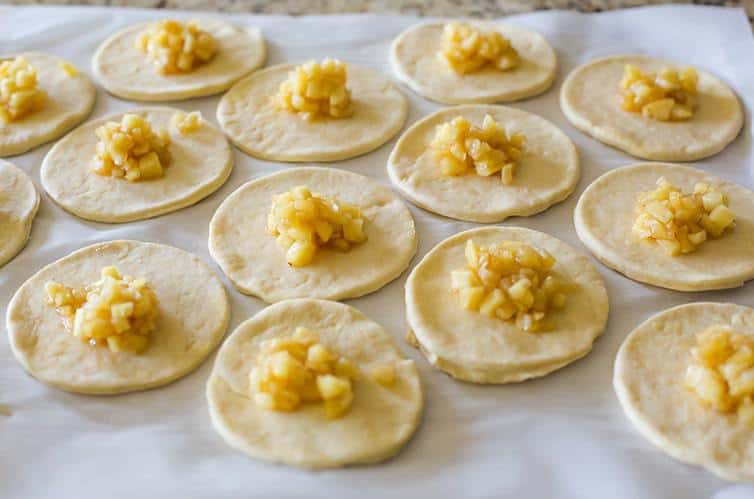
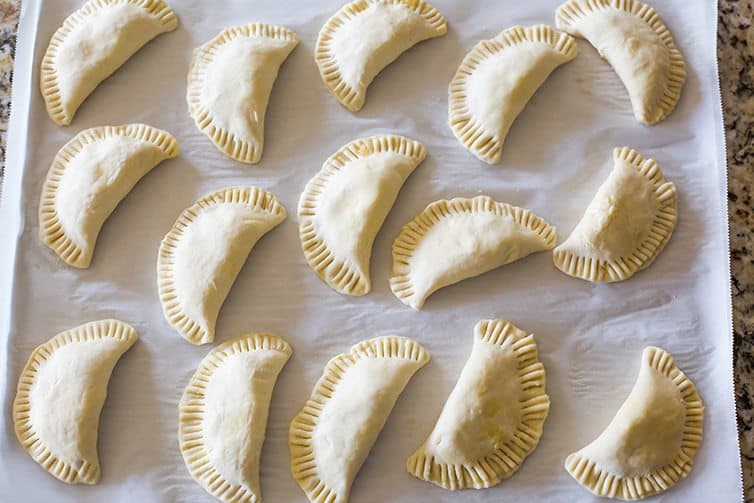
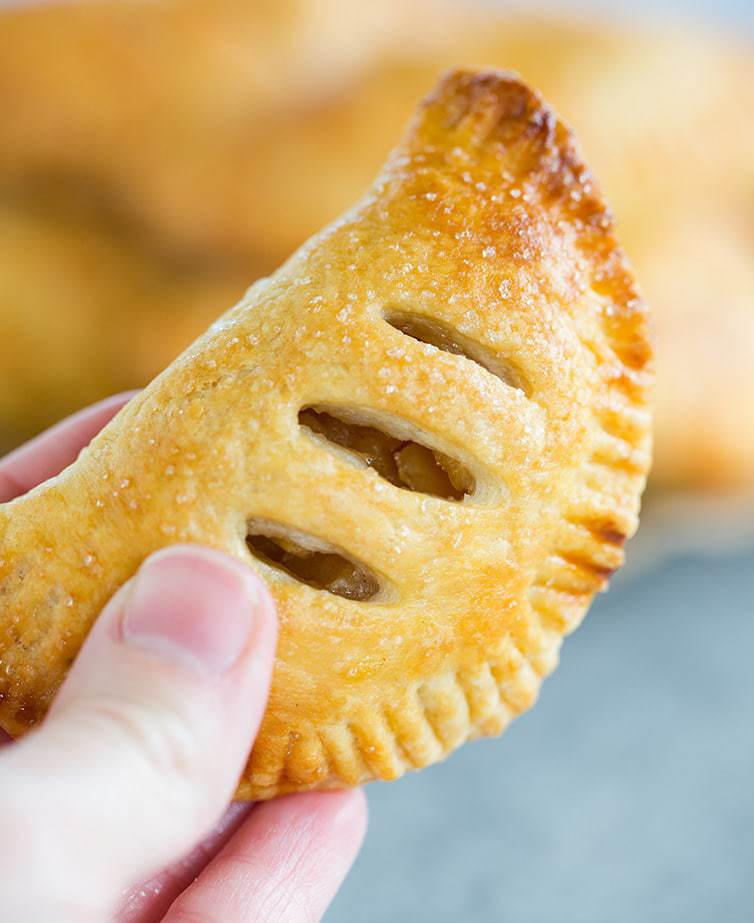
- Remove the chilled dough from the refrigerator. Spoon about 1 to 2 tablespoons filling onto one half of each circle of dough. Brush a little water around the circumference of the dough, and fold it in half so the other side comes down over the filling, creating a semicircle. Seal the hand pie, and make a decorative edge by pressing the edges of the dough together with the tines of a fork. Refrigerate the assembled hand pies for 30 minutes.
- Bake the Pies: Preheat oven to 375 degrees F. In a small bowl, whisk together the egg yolk and water for the egg wash. Remove the chilled hand pies from the refrigerator, and lightly brush with the egg yolk wash. Using a paring knife, cut a few small slits on the top of each hand pie, then sprinkle generously with coarse sugar. Bake until the hand pies are golden brown, anywhere from 20 to 40 minutes, depending on how thick you rolled the dough. Remove the pies from the oven, and let stand to cool slightly before serving. The pies are best eaten within a day of baking them, but they can be stored in airtight container at room temperature for up to 3 days. They can also be wrapped with plastic wrap and placed in a freezer storage bag and frozen for up to 2 months.
Notes
- Feel free to use any type of apple you’d like in this recipe, as it’s quite forgiving. I’ve used Granny Smith, Gala, and Honeycrisps!
Did you make this recipe?
Leave a review below, then snap a picture and tag @thebrowneyedbaker on Instagram so I can see it!
This recipe was originally published on October 15, 2008.


First time ever successfully making flaky pastry … thanks so much! Had to bake about half an hour to get a nice brown crust, saw a good tip from some one to cook til desired colour is reached as all ovens are different
Make this often…. The crust for the Apple hand pies is so good….. Love this recipe!
Wow! Cut the recipe in half because it’s only two of us and still wound up freezing five but these are the best ever. The crust is so flaky. Thank you.
This was EXACTLY what I was looking for when our family convenes next weekend (early Thanksgiving as everyone always seems to be busy that week). I prefer hand held desserts as it gives everyone a taste of what they want but not a whole big piece.
And I’ll bet I know who gave Joseph that adorable shirt (as she is my hometown blogger)!
These things are perfection. I would like a more accurate measure for how much apple to use though. Other than that the best little treat ever.
Has anyone tried assembling the pies and freezing. Then baking right before serving so they’re fresh and hot. ??
You could definitely do this!
Idk what the negative reviews are about because this made the flakiest crust I’ve ever made!! The textures were perfect! I would always recommend weighing your ingredients instead of using measuring cups–that has made all the difference in my baking. I recommend freezing the butter and then grating it in. If I were to make this again, I might intensify the apple filling somehow, but these are lovely as is. No crumbs!!
I should of read the reviews before trying this.
Waste of time and money. I have made many of traditional apple/cherry/blueberry/peach pies with homemade pie crusts in the past. Thought because of the summer months, I would try something different for a change
. I felt just by reading the ingredients, something felt off.As soon as I put the wet ingredients in.. I knew it was not right..was a mistake, followed everything perfectly.. even rolling it out into parchment paper and re-cooling it..
Sigh..I should have gone with a normal pie crust recipe dough. What a disapointment.
This was a waste of ingredients, everything perfectly measured out and the “dough” was a sticky gluey mess. Too wet would not roll out. If I could give it 0 stars.
LOVE YOU DOUGH RECIPE !! IT is DELICIOUS!!
I’ve been exploring for a bit for any high quality articles or weblog posts on this sort of space . Exploring in Yahoo I ultimately stumbled upon this web site. Reading this info So i am happy to show that I have a very good uncanny feeling I found out just what I needed. I most certainly will make sure to don’t overlook this website and give it a look on a continuing basis.
I made these for March 14 and brought them to my son’s swim practice to share with the swimmers. The kids all asked for a second one. These turned out really good. I especially liked the crust, it was very flaky. I did not have fresh apples and ended up using 1 quart of home canned apple slices. I used 2 apple slices per pie straight from the jar.