How to Make Vanilla Extract
This homemade vanilla extract is made from just two ingredients (vanilla beans and vodka) and takes less than 10 minutes to prepare. Let it sit for at least one month (longer is better!) and it’ll be ready to use for baking or to give as a gift. Below are tons of tips to ensure your vanilla extract is the best of the best!
If you’ve ever baked cookies, a cake, cupcakes, brownies, pudding… almost anything!… then you’ve undoubtedly noticed that vanilla extract shows up in just about every baking recipe there is, and for good reason!
Vanilla extract enhances all of the other flavors in a recipe, just as adding salt to a savory dish does the same. Without the vanilla extract, baked goods like cookies, cakes, cupcakes, etc. have a tendency to taste rather bland and flat. You’d never leave the salt out of your dinner recipe, so you can’t forget the vanilla in your desserts, either!
The great news is that vanilla extract is incredibly easy to make at home and the smell of fresh vanilla extract is positively intoxicating!
Why make your own vanilla?
A couple of reasons!
First, it’s wonderfully cost-effective; it’s so much less expensive than buying bottle after bottle.
Secondly, you can do so much customizing. For instance, you can buy Madagascar vanilla beans, Tahitian vanilla beans, Mexican vanilla beans, Indian, Indonesian, and more – there are so many varieties! Then, mix and match them with your favorite liquor… vodka is standard, but use your favorite bourbon or rum to give the vanilla a totally different twist.
The beans
Vanilla beans are broken down into Grade A and Grade B vanilla beans. When making vanilla extract, you want to reach for Grade B vanilla beans. Here’s the difference:
- Grade A Vanilla Beans – These beans are plump, full of moisture, and the vanilla flavor infuses much more readily into things like pudding, creme brulee, ice cream, etc. They are significantly more expensive than Grade B vanilla beans.
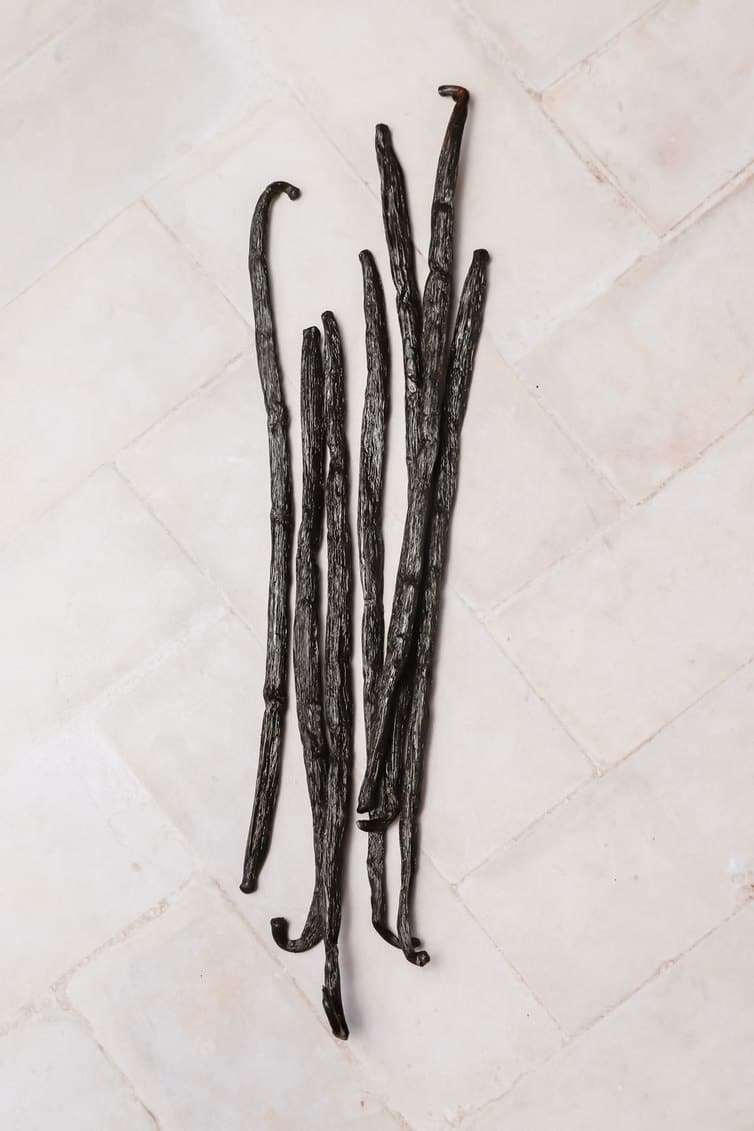
- Grade B Vanilla Beans – These are actually nicknamed “extract beans” because they are perfect for making vanilla extract. They do not have as much moisture, so the beans will appear to be drier on the outside, with more cracks and imperfections. Because of this, it takes longer for the vanilla flavor to infuse, but the flavor is concentrated (not diluted by moisture), and the beans are much less expensive!
These are the vanilla beans I recommend for making extract.
Save This Recipe
The liquor
This is the second piece of the vanilla extract equation and you can definitely play around with different varieties, as long as the alcohol is 80 proof. Vodka is the de facto go-to when it comes to homemade vanilla since the flavor is so neutral, but here are some other options:
- Bourbon
- Brandy
- Rum
There are many flavored vodkas available now, and while I love a pure vanilla flavor, you can certainly play around with these if you’d like.
It is not necessary to use expensive alcohol to make your vanilla extract; save your money for the good vanilla beans! :)
The containers
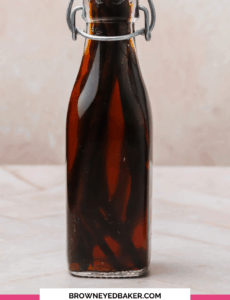
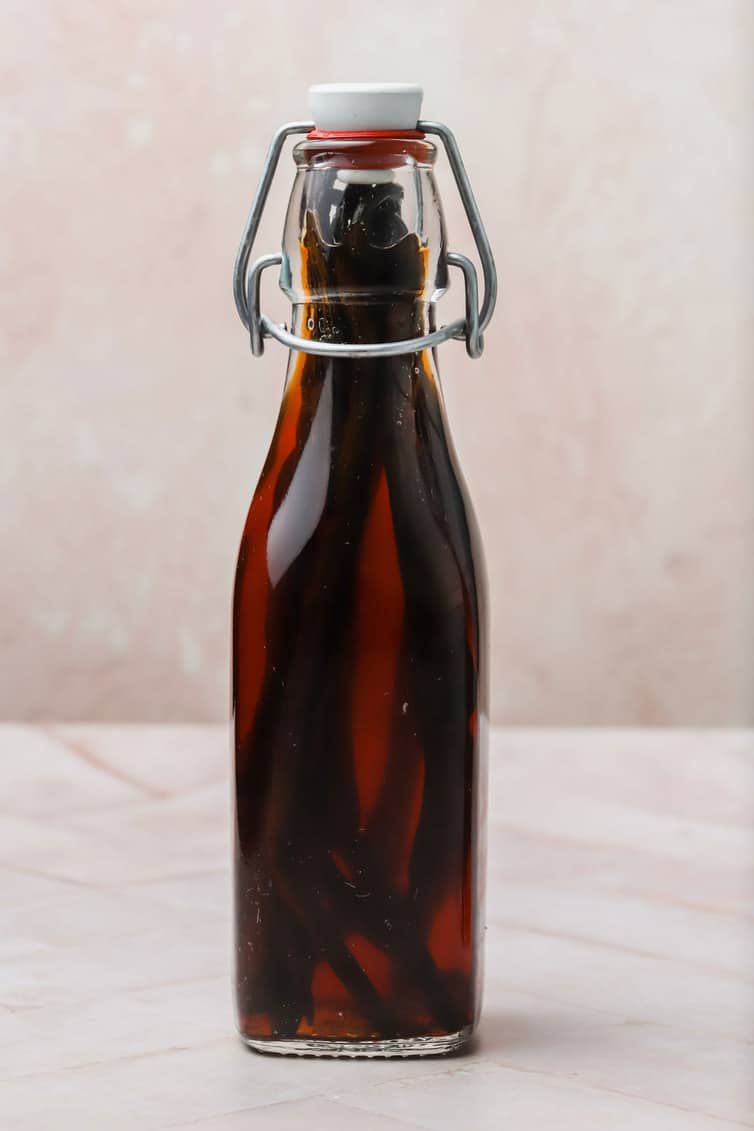
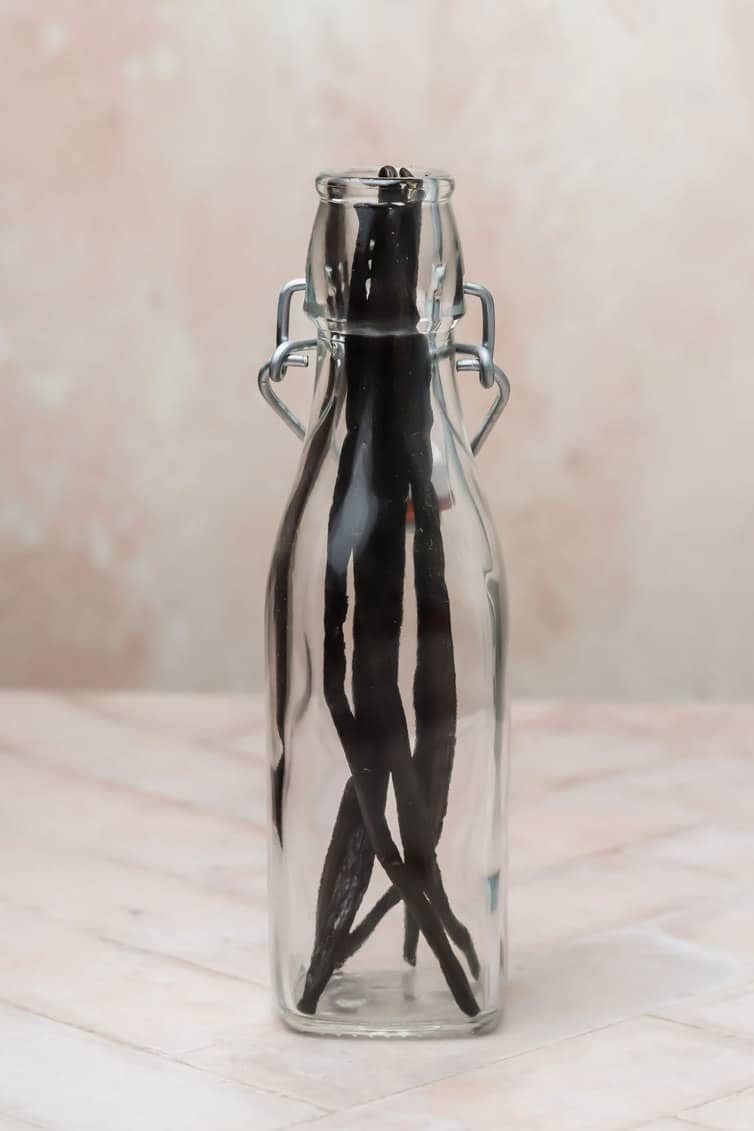
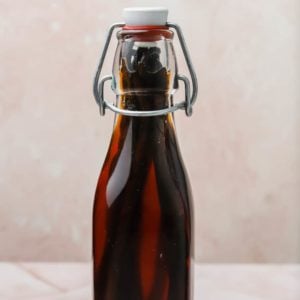
You can use any glass container you’d like! I love these swing-top bottles for easy pouring (plus they’re so pretty!), but you can use a mason jar, smaller bottles, larger bottles, anything. you’d like.
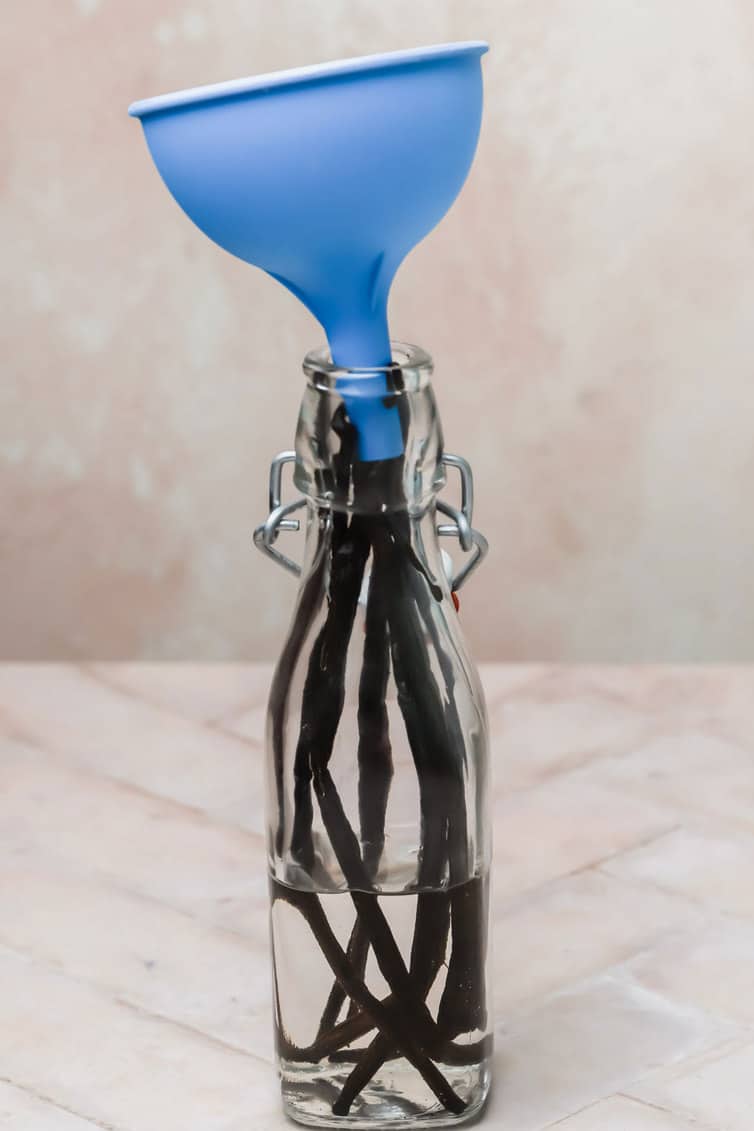
A funnel comes in handy to make pouring the alcohol into the bottle easier.
Which leads me to – you can scale this recipe up to infinity! If you want to make a huge batch for gifting or just to keep in your pantry, just up the vanilla beans and alcohol accordingly.
Tips for storing and gifting
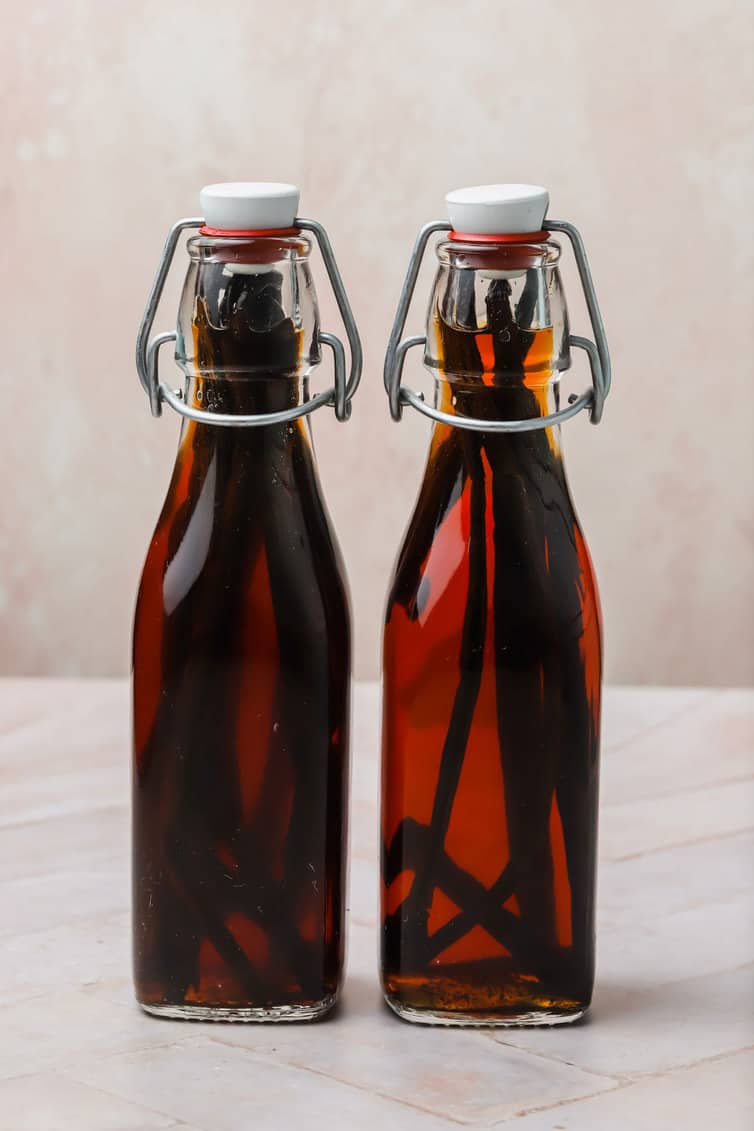
- Steeping – Let the extract steep for at least 1 month before using, but longer is better! If you can let it go for 6 or 12 months, the flavor will be amazing.
- Gifting – If you are gifting the extract, remove the vanilla beans first.
- Refreshing/Replenishing – If you are using at home, top off with alcohol as you use it to keep the beans submerged. After 1 year of using/topping off, remove the vanilla beans, and replace them with fresh beans.
Some of my favorite vanilla-flavored desserts
- Vanilla Cupcakes with Vanilla Buttercream Frosting
- Vanilla Bean Ice Cream
- Swiss Meringue Buttercream Frosting
- The Best Creme Brule
If you make this vanilla extract and love it, I would so appreciate it if you would take a moment to leave a rating below. Thank you so much! ❤️️
How to Make Vanilla Extract
Ingredients
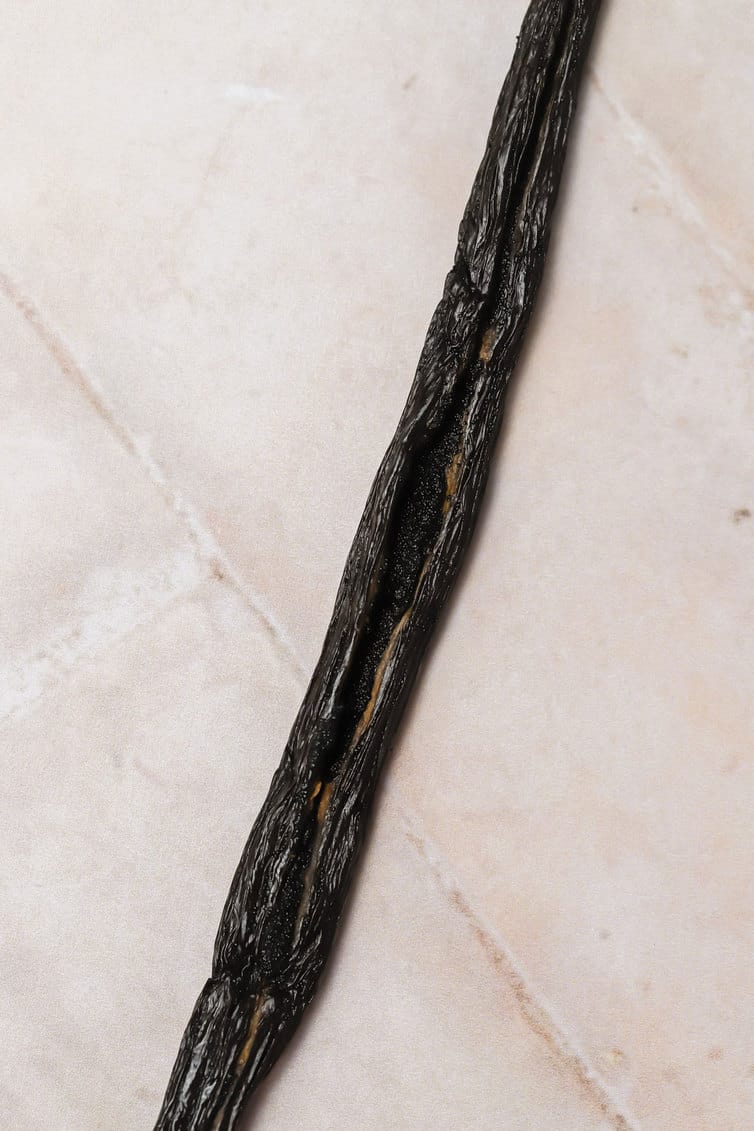
- 1 ounce (8) vanilla beans (about 7 beans), slit lengthwise, (do not cut the whole way through)
- 1 cup (240 ml) vodka
Instructions
- Place the vanilla beans into an 8-ounce jar, cutting the beans if necessary so that they fit.
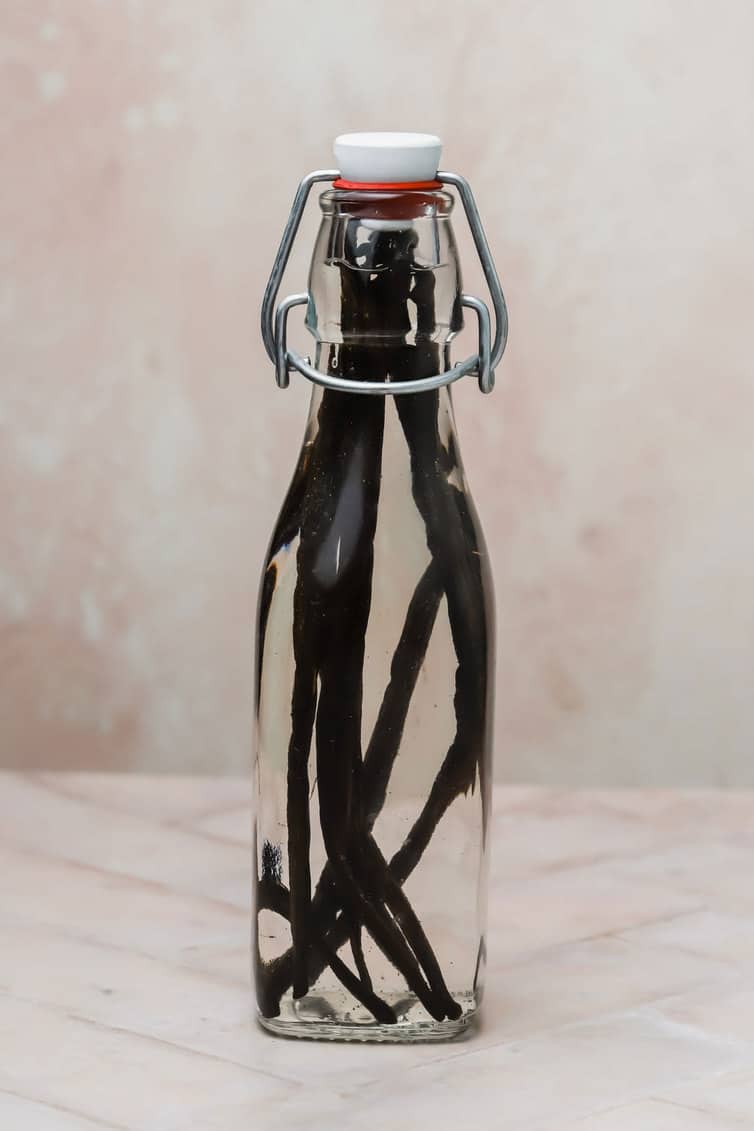
- Pour the vodka over the beans, ensuring that the beans are fully submerged, seal the jar and give it a few shakes.
- Place the jar in a cool, dark spot for at least 1 month, giving the bottle a shake once or twice a week.
Notes
- Alcohol - Bourbon or rum may be substituted for the vodka.
- Steeping - Let the extract steep for at least 1 month before using, but longer is better! If you can let it go for 6 or 12 months, the flavor will be amazing.
- Gifting - If you are gifting the extract, remove the vanilla beans first.
- Refreshing/Replenishing - If you are using at home, top off with alcohol as you use it to keep the beans submerged. After 1 year of using/topping off, remove the vanilla beans, and replace them with fresh beans.
Did you make this recipe?
Leave a review below, then snap a picture and tag @thebrowneyedbaker on Instagram so I can see it!
[Photography by Ari of Well Seasoned]


How do I remove the vanilla beans from the narrow neck swing top bottles? What will fit that grabs the submerged beans?
I have been making my own vanilla about 5 years now.. Just a note your photos show the beans above the level of vodka in the bottle. I did read the bean should always be completely submerged in the liquid otherwise they could become moldy. Otherwise I will never purchase store bought vanilla. Thanks for all the recipes
How soon do you put out the appetizers Best Suboxone Doctors Near Me
How do you handle drinks or the bar? Are you with your guests or in the kitchen.
Made and taste great. Super 👌 easy
I love this recipe. My extract is about 7 months in, and it’s amazing! I was a little worried about replenishing because I use vanilla extract everyday, but so far so good after 2 weeks of using the same bottle and replenishing with more vodka.
Do we need to sterilize the bottles and caps?
Hi there – I’ve been looking for a recipe for homemade CLEAR vanilla, as I make cakes and like my buttercream to stay whiter than standard vanilla would provide. Do you have a good recipe or tips where I could find a recipe for clear vanilla? Thank you so much!
i am a male ,,love to bake but for the life of me i never knew what vanilla did for a resipie
Very nice.
If you use cheap vodka what proof should it be. Thank you
What an awesome idea.
Great gifts.
I am going to start today.hopefully I can find those bottles
Where do I buy the beans and the bottles, please?
I bought mine on Amazon.
What would be a good brand of vodka to use? I’m so excited to try this out. Thank you!
I bought the cheapest Vodka the liquor store had.
I’ve been making my own vanilla extract since Annie on Everyday Annie posted the recipe over 9 years ago. I still have the original bottle going and i top it off with vodka and a few vanilla beans once it falls below the half mark.
As for the actual beans, i would suggest Ebay also as a good option. They have multiple sellers with excellent ratings and the prices are very competitive. I have bought them when they were just $25 for 50 of them years ago…the prices more than doubled because of the cyclone that hit Madagascar in 2015. Now the prices are slowly declining so i would definitely invest in buying a few to store in the pantry.
Actually, there is a facebook group for buying vanilla beans in a co-op, I’d definitely recommend that. They get their beans from Indrivanilla but the prices are phenominal!
This is a silly question but why would you take out the beans prior to gifting? I think they look cool and lets the person know what is in the bottle. Also they could also re-top the liquid. the gift that keeps on giving. Love your blog and your recipes.
This may be a very silly question but does vanilla extract have to be made with alcohol ? We have a family member who can’t drink alcohol but I’d love to try this .
Thanks
I joined a vanilla bean co-op On FB over a year ago. The vanilla beans are amazing! They come from straight from the farmer to the co-op. Very moist and plump. Making vanilla extract becomes an addictions, as you want to try all the different beans. I have over a dozen jars and bottles going with different beans and alcohols. The cost is significantly less than beans at Costco and online. The quality is far superior. I have learned that I can take a bean out of my jar or bottle, clip the end, and squeeze the caviar into my recipe! Cut the bean in half, back in the bottle and I know next time it has been used. Also, there is vanilla sugar and paste. So many options.
Where might I find info on getting in on this vanilla bean purchases?
Love Love Love this site !
I haven’t made this specific recipe but I make my own vanilla extract many times. I do it in my Instant Pot these days (I have a video at Risa Kluttered Kitchen in YouTube) but I let it infuse for a couple of months in my basement and give it as gifts. You can find vanilla beans at least once a year at Costco and I buy up a few and make my batch for gifts about 2-3 months before the holidays and then I search out cute jars to package it in.
Check out Atlantic Spice Co. for vanilla beans. I have been using theirs for years to bake and make my vanilla extract. Also make my own vanilla sugar.
This is awesome! Thank you for sharing.
I’m making a big bottle this weekend! Love your blog!
I’ve been making my own vanilla extract for years! I keep a large “Mother” bottle of steeped bourbon and beans and pour that off into my “working” bottle as needed. I’ll top off the “Mother” bottle with more bourbon and add beans yearly. This rotation has worked great for me!
Thank you for this.
A friend of mine gifted me a bottle and some beans a few years ago. Now I know why the strength isn’t still there (I’ve just been topping off with vodka and not replacing the beans). I put my name in at Beanilla for when the beans are back in stock.
I do this every year with a big ol’ bottle of vodka. I’ve tried with rum before and didn’t like it, in fact I still have an almost full bottle of it. All I can really taste is the rum (it wasn’t a spiced rum). I know BraveTart says she doesn’t and won’t do this, but I’m all for it and think it works great.
This is how I make my vanilla. Haven’t bought it at a store in years. I have made it with bourbon. I use that in spicier dishes ie: gingerbread, pumpkin pie? Etc. I also purchase my vanilla beans where you do. Great post, especially since baking season will soon be upon us.