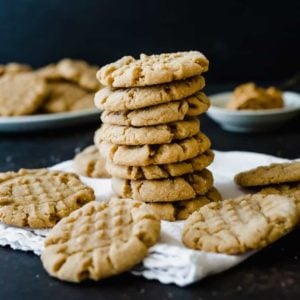
Easy Peanut Butter Cookies Recipe
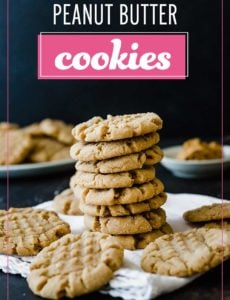
This classic recipe for peanut butter cookies comes straight from my mom’s recipe box, and they are the BEST peanut butter cookies. They are easy to make and stay wonderfully soft. This staple recipe deserves a place in everyone’s kitchen!
When you think about what would be on the all-star team of cookies, I think it breaks down pretty simply to the following:
- Chocolate chip cookies
- Peanut butter cookies
- Sugar cookies
- Oatmeal raisin cookies
Sure, there are tons of other amazing cookies out there (hello shortbread, thumbprint, snickerdoodles, snowballs, and macaroons, to name a few), but these four are the essentials (and then of course there’s the trifecta of peanut butter-oatmeal chocolate chip cookies). They’re the cookies that always show up on cookie trays, the ones that everyone’s family has multiple recipes for, are easy to whip up, and evoke the most nostalgic cookie memories.
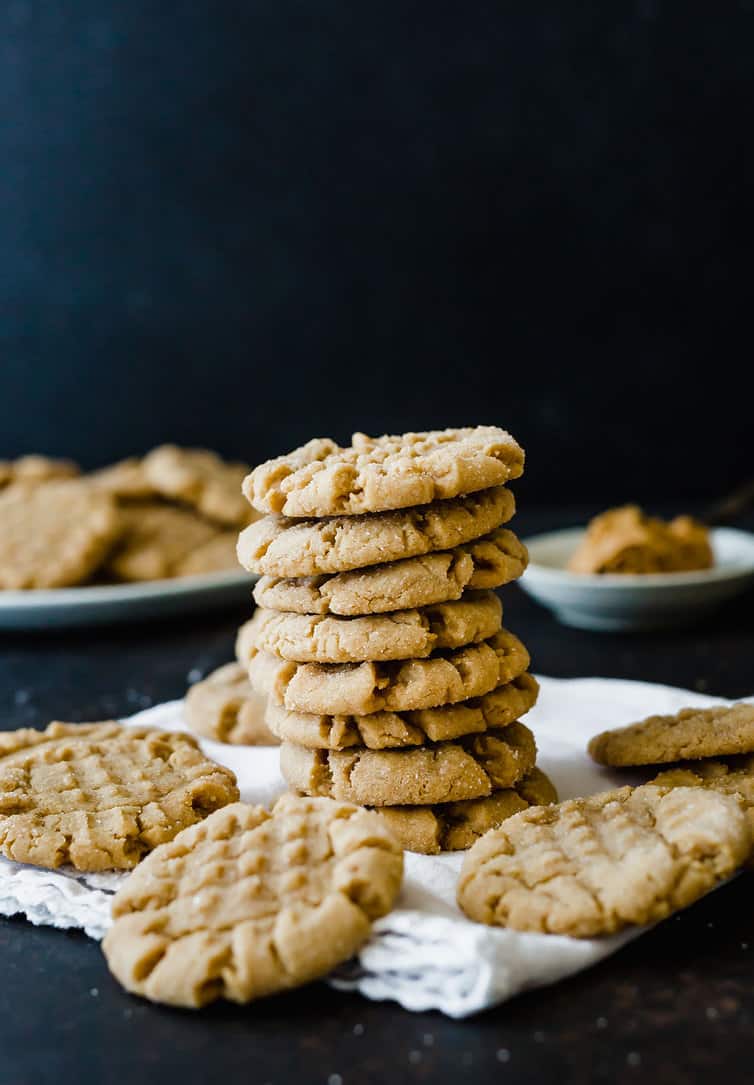
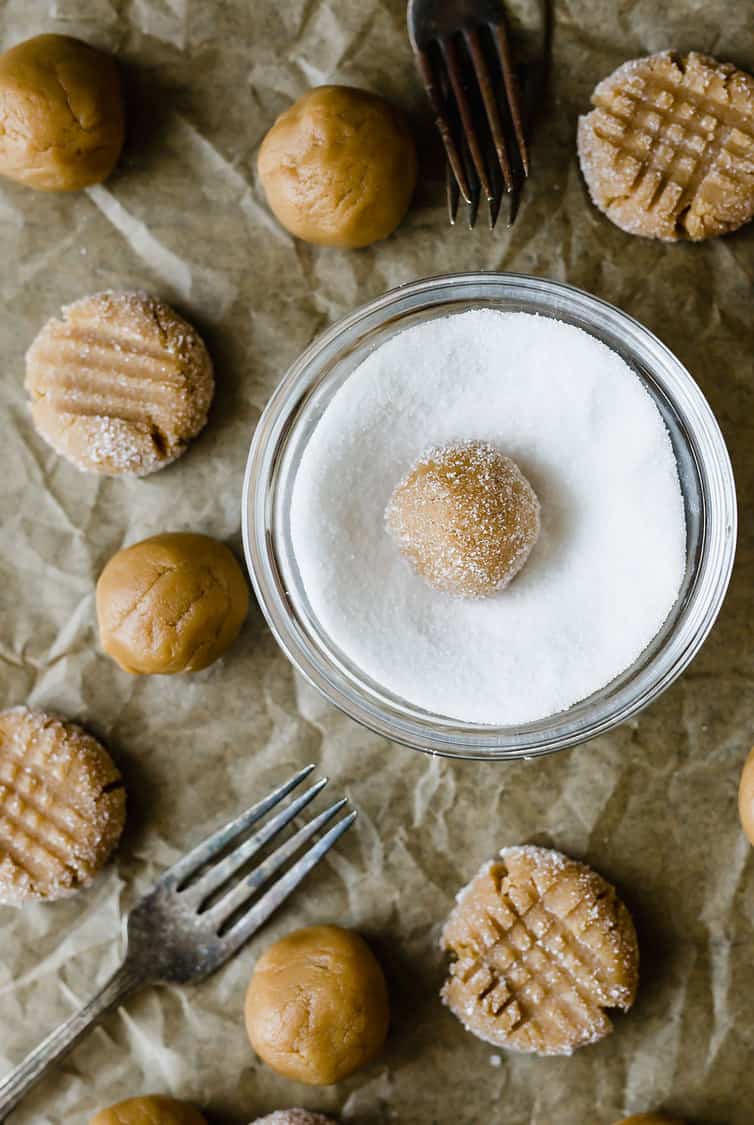
Of these, I’ve always had the softest spot for peanut butter cookies. There’s just something about those crisscross-laced cookies loaded with peanut butter and rolled in crunchy sugar that makes me remember sitting in my mom’s old kitchen and licking the beaters, helping her roll those balls of dough and pressing the tines of a fork on top.
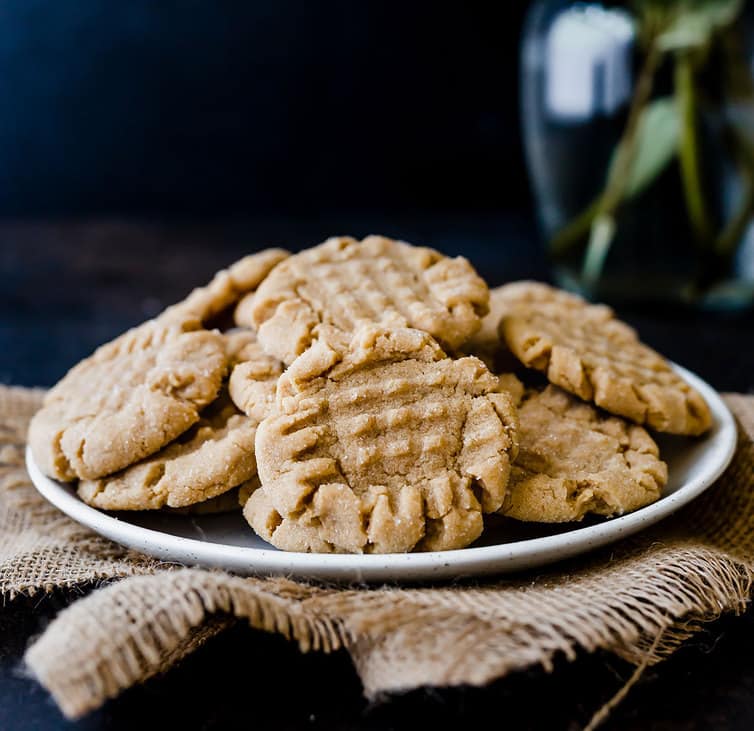
I might be biased, but I think these are the BEST peanut butter cookies!
This is the recipe my mom made with me and my sister when we were little and it was the first recipe I begged her for after I left home. I would venture to guess that it came from the back of a jar of peanut butter back in the day, but she doesn’t have a source listed anywhere.
It’s a simple list of ingredients – flour, baking soda, salt, peanut butter (of course!) brown sugar, shortening, milk, and vanilla. It takes all of five minutes to mix them together, then you roll the dough into tablespoon-size balls of dough, roll them in granular sugar, then press the tines of a fork in a crisscross pattern on top.
They are incredibly easy to make and belong on every single Christmas cookie tray, wedding cookie table, and after school snack plate from now until the end of time.
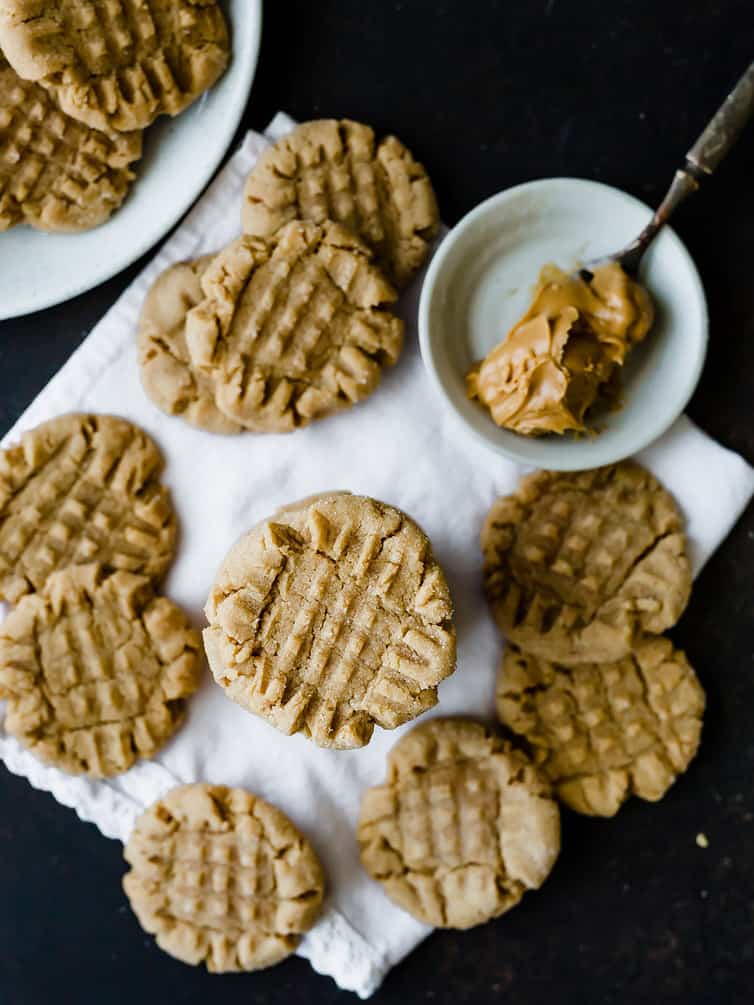
Why the criss-cross pattern on top?
Good question! That crosshatch is a defining trait of nearly all peanut butter cookies.
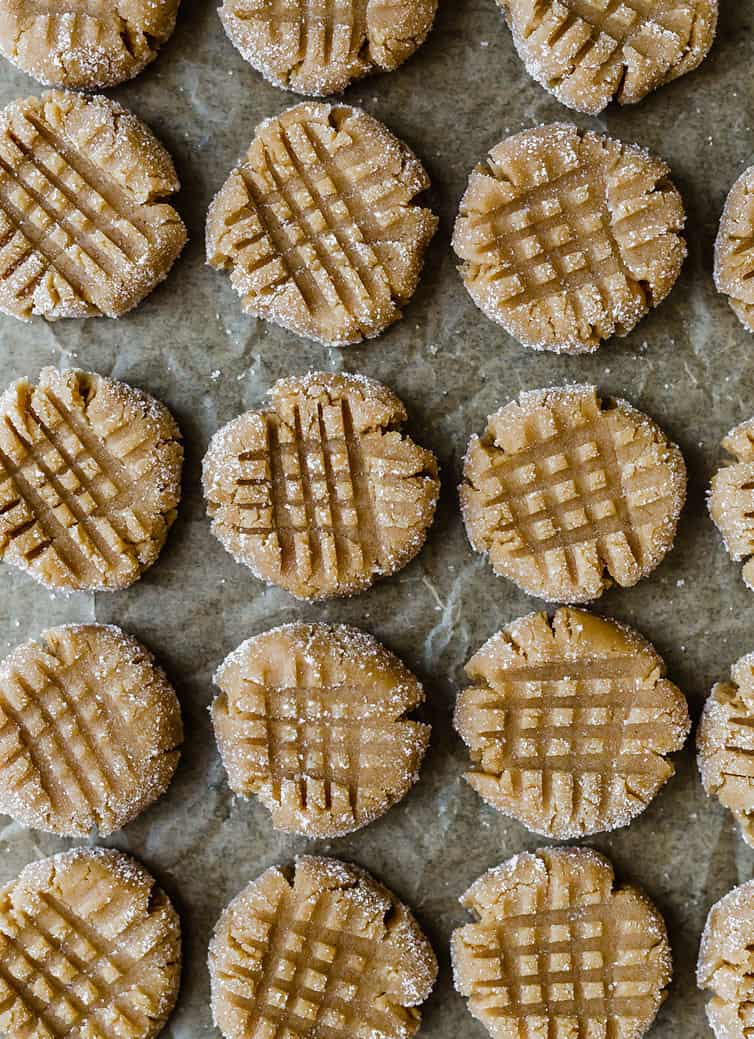
Peanut butter cookie dough is a bit dense, so pressing down on them helps to flatten them a bit so they bake more evenly. And, bonus! Since this is a traditional characteristic of peanut butter cookies, you’ll always be able to spot them on a cookie tray without having to ask what kind of cookie it is.
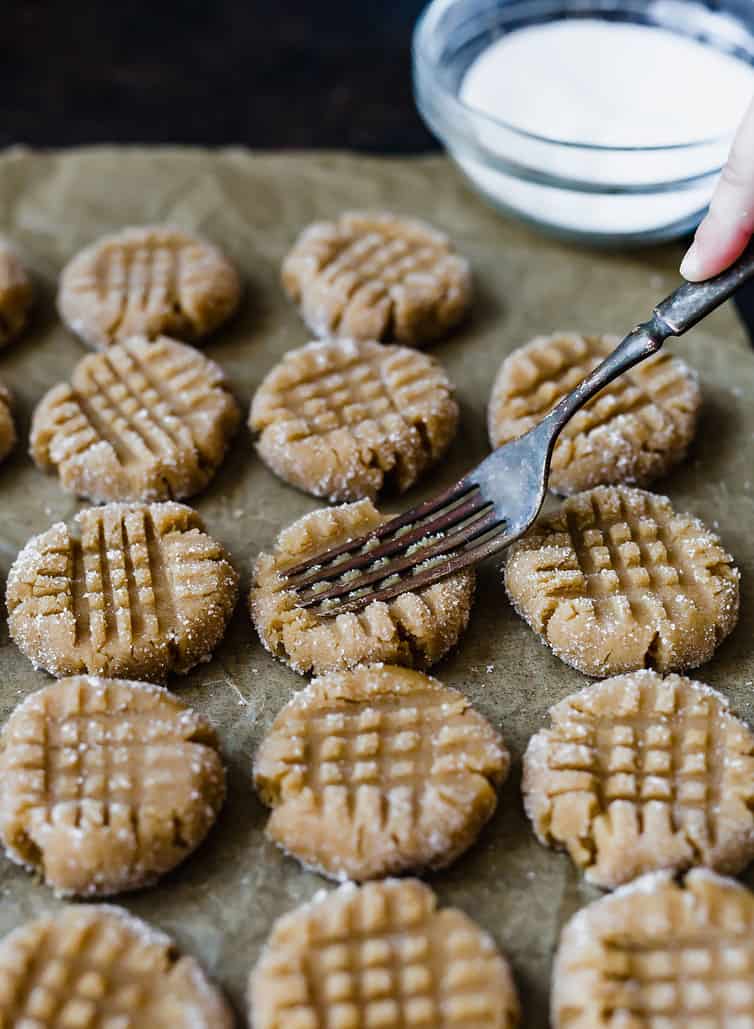
Making this pretty pattern is incredibly easy – dip the tines of a fork in sugar, gently press it into the top of the cookie, then repeat, this time making the impression perpendicular to the first. You did it!
The best kind of peanut butter to use
I always, always recommend only baking with creamy, processed peanut butter, such as Jif, Skippy, or Peter Pan. Natural-style peanut butter with oil separation is simply too greasy for nearly all baking recipes; using it can result in cookies that spread too much and that can become crumbly.
Save This Recipe
If you’d like to use a nut butter alternative, see the recipe notes below on some recommendations.
Tips for measuring peanut butter
Peanut butter can be sticky and hard to get into and then back out of a measuring cup when baking. I have a few suggestions for making it easier!
- Weigh your ingredients – You know I’m a big advocate of this and have an entire post dedicated to why you should weigh ingredients when baking; all you need to do is scoop it out of the jar and plop it in your bowl – no messing around with measuring cups!
- Use an adjustable measuring cup – An adjustable measuring cup allows you to set the amount to measure, fill it up, and dispense it into the bowl. This is a great tool for sticky ingredients like peanut butter, honey, molasses, etc.
- Grease your measuring cups – Last but not least, you can coat your measuring cup with non-stick cooking spray to help it slide right out after it’s been measured.
Recipe Tips & Notes
- Preparing your pans – Whether you use cookie sheets or rimmed baking sheets, be sure that your sheets are ungreased or lined with parchment to keep the cookies from spreading and absorbing too much grease.
- Can you use butter instead of shortening? In a word, no. Shortening keeps the cookies from spreading too much, keeps them from being crumbly, and ensures that they are nice and soft. Replacing it with butter would significantly alter the texture of the cookies and I beg you not to do it. They do now make butter-flavored shortening that I’ve used from time to time if you’re worried about the flavor.
- Peanut Butter – It is important to use traditional, processed peanut butter (i.e. Jif, Skippy, Peter Pan, etc.) in this recipe. Using natural peanut butter that has oil separation will be much too greasy and cause the cookies to spread and become crumbly, so I do not recommend using natural peanut butter.
- Nut Butter Alternatives – You can use other nut butters such as almond butter, cashew butter, etc. as long as they do not have oil separation (see the note above). A great almond butter substitute that works exceptionally well in all baked goods I’ve tried it with is Barney Butter.
- Avoid crumbly cookies – The three most common reasons peanut butter cookies end up crumbly are (1) too much flour; (2) using the wrong kind of peanut butter, and (3) they are overbaked. Be sure to either weigh your flour or spoon it into your measuring cup before leveling (the scoop method often results in too much flour), use the correct type of peanut butter (see above), and take the cookies out when the centers still look soft and underdone. They will set as they cool.
- Fun Extras – You can jazz these cookies up a bit if you’d like! Try rolling in colored sugars for a festive look or add some mix-ins – try a ½ cup of chopped peanuts, mini chocolate chips, peanut butter chips, butterscotch chips, or any other mix-in you like to pair with peanut butter!
- Make-Ahead – You can prepare the cookie dough and refrigerate for up to 3 days before baking. When ready, let it sit on the counter for about 30 minutes before scooping and proceeding with baking.
- Storage – These cookies will keep in an airtight container at room temperature for up to 1 week.
- Freezing Instructions – These cookies freeze exceptionally well! You can freeze the balls of dough in a ziptop plastic bag for up to 3 months. Remove from the freezer, let sit at room temperature for 30 minutes, then roll in sugar and make the crisscross pattern on top, then bake as directed, adding an extra minute. You can also freeze the baked cookies by wrapping them individually in plastic wrap, then place them in a ziptop bag and freeze for up to 3 months.
Variations on classic peanut butter cookies
While regular ol’ peanut butter cookies are fantastic on their own, these variations deserve a spot in your recipe box, too:
- Monster Cookies – Peanut butter cookie dough PLUS oats, chocolate chips, M&Ms, and Reese’s Pieces!
- Peanut Butter Blossoms – A holiday classic! Place the sugared balls of dough on a cookie sheet and press a Hershey’s kiss into the center when they come out of the oven.
- Peanut Butter Cup Cookies – Take that ball of dough, pop into a mini muffin pan, then press a mini peanut butter cup into the centers when they come out of the oven.
- Salted Peanut Butter Cup Chocolate Chip Cookies – A riff on my favorite chocolate chip cookies, these have a peanut butter dough base, are super thick and soft, and loaded with peanut butter chips, milk chocolate chips, and chopped peanut butter cups.
Watch How to Make Peanut Butter Cookies:
If you make this recipe and love it, I would so appreciate it if you would take a moment to leave a rating below. Thank you so much! ❤️️
Easy Peanut Butter Cookies
Ingredients
- 1¾ cups (218.75 g) all-purpose flour
- ¾ teaspoon (0.75 teaspoon) salt
- ¾ teaspoon (0.75 teaspoon) baking soda
- ¾ cup (193.5 g) creamy peanut butter
- ½ cup (102.5 g) vegetable shortening
- 1¼ cups (275 g) packed light brown sugar
- 3 tablespoons milk
- 1 tablespoon vanilla
- 1 egg
- Granulated sugar, for rolling cookies
Instructions
- Preheat oven to 375 degrees F. Line baking sheets with parchment or a silicone baking mat.
- In a small bowl, whisk together the flour, salt and baking soda.
- In a mixing bowl, combine the peanut butter, shortening, brown sugar, milk and vanilla. Beat at medium speed until well blended, about 2 to 3 minutes. Add the egg and beat just until blended. Reduce speed to low and add the dry ingredients to the creamed mixture gradually, mixing just until combined.
- Put the granulated sugar in a small bowl. Scoop a tablespoonful of dough and roll into a ball between the palms of your hands. Roll the dough into the sugar and place on the baking sheet, about 2 inches apart. Dip the tines of a fork into the sugar and make a crisscross pattern on the cookies, flattening them slightly.
- Bake for 7 to 8 minutes or until set and just beginning to brown. Cool 2 minutes on baking sheet before removing to a wire rack to cool completely. The cookies can be stored in an airtight container at room temperature for up to 1 week or frozen for up to 3 months.
Notes
- Preparing your pans – Whether you use cookie sheets or rimmed baking sheets, be sure that your sheets are ungreased or lined with parchment to keep the cookies from spreading and absorbing too much grease.
- Can you use butter instead of shortening? In a word, no. Shortening keeps the cookies from spreading too much, keeps them from being crumbly, and ensures that they are nice and soft. Replacing it with butter would significantly alter the texture of the cookies and I beg you not to do it. They do now make butter-flavored shortening that I’ve used from time to time if you’re worried about the flavor.
- Peanut Butter – It is important to use traditional, processed peanut butter (i.e. Jif, Skippy, Peter Pan, etc.) in this recipe. Using natural peanut butter that has oil separation will be much too greasy and cause the cookies to spread and become crumbly, so I do not recommend using natural peanut butter.
- Nut Butter Alternatives – You can use other nut butters such as almond butter, cashew butter, etc. as long as they do not have oil separation (see the note above). A great almond butter substitute that works exceptionally well in all baked goods I’ve tried it with is Barney Butter.
- Avoid crumbly cookies – The three most common reasons peanut butter cookies end up crumbly are (1) too much flour; (2) using the wrong kind of peanut butter, and (3) they are overbaked. Be sure to either weigh your flour or spoon it into your measuring cup before leveling (the scoop method often results in too much flour), use the correct type of peanut butter (see above), and take the cookies out when the centers still look soft and underdone. They will set as they cool.
- Fun Extras – You can jazz these cookies up a bit if you’d like! Try rolling in colored sugars for a festive look or add some mix-ins – try a ½ cup of chopped peanuts, mini chocolate chips, peanut butter chips, butterscotch chips, or any other mix-in you like to pair with peanut butter!
- Make-Ahead – You can prepare the cookie dough and refrigerate for up to 3 days before baking. When ready, let it sit on the counter for about 30 minutes before scooping and proceeding with baking.
- Storage – These cookies will keep in an airtight container at room temperature for up to 1 week.
- Freezing Instructions – These cookies freeze exceptionally well! You can freeze the balls of dough in a ziptop plastic bag for up to 3 months. Remove from the freezer, let sit at room temperature for 30 minutes, then roll in sugar and make the crisscross pattern on top, then bake as directed, adding an extra minute. You can also freeze the baked cookies by wrapping them individually in plastic wrap, then place them in a ziptop bag and freeze for up to 3 months.
Did you make this recipe?
Leave a review below, then snap a picture and tag @thebrowneyedbaker on Instagram so I can see it!
[photos by Whitney Wright]


Your recipes are always dependable!
Clear & simple directions!
You are my ,”go to” sight for baked goods!
My husband asked me to make cookies, of course I was thinking chocolate chips the gold standard when he asks. However he said maybe peanut butter so he can share with the dogs.
I don’t have a stand by peanut butter cookie, until now. I was looking for the classic, roll in sugar, press with a fork to make the crisscross pattern. And this recipe is it exactly. The texture is soft inside, a slight crunch on the outside nice peanut butter flavor. It’s a keeper. Thanks BEB!
I have made peanut butter cookies with both shortening or butter. I don’t have the issues you list when using butter. I first made peanut butter cookies wish Betty Crockers recipe as a newlywed. These are good but in my opinion not any better than using just butter. Sorry!
wohh exactly what I was looking for, thankyou for putting up.
It’s not a bad cookie it’s just more of a brown sugar cookie than peanut butter. It’s a very faint peanut butter taste and I even cut back on the Brown Sugar by a quarter of a cup because I don’t like super sweet stuff. I wouldn’t make it again if I wanted a peanut butter cookie.
I have been a fan for years and now using a new email, your recipes never fail to please my grandkids! Thank you, best wishes to you and your family.
Linda
Best Peanut Butter Cookies Ever!
Can I substitute gluten free flour and almond milk??
EXCELLENT RECIPE!!
Please try it, it’s really a no fail recipe!
The cris crossed on the cookie is so people know it is a nut cookie peanut but r we so it let’s people with allergies to not eat
I’ve often wondered where the traditional crisscross pattern on peanut butter cookies came from.
My daughter’s comment: Because it looks like the shell of a peanut.
It does!
After the cookies cool, I melt a cup of chocolate chips and dip one side of each baked cookie into the melted chocolate. Place back on the cookie sheet until set.
The recipe notes say don’t use parchment paper on the cookie sheets but the instructions in the recipe say line the sheets with parchment paper. Which is the correct instruction?
Hi Beth, The notes say to use an ungreased pan OR line it with parchment paper.
I made these for my 33y.o. son after not making peanut butter cookies for at least a decade. The judgment was your recipe was delicious and better than he remembers my efforts during his childhood. I rolled the dough in a larger grain sugar to try it and my and his girlfriend thought the balance of sweet and salt was perfect! Also, loved the metric, weights, made it so easy. Thank you for a great, easy recipe, no photo taken as all the cookies went home with the 30+ y.o.’s❤️👏🥇
This was also my mother’s peanut butter cookie recipe. I loved it…they are my favorite cookies!! Thank You for sharing!!
Our family loves butter biscuits. We made this recipe at home and found the best. Delicious biscuits are ready. I now intend to make this recipe for my son’s wedding as well. Thanks to the recipe maker.
Everybody talks about how great soft, chewy cookies are. Fact is, If I bite into a soft cookie it gets spit out faster than the strained peas my Mom fed me 68 years ago.
Can ANYBODY tell me how to make crispy, crunchy peanut butter cookies that give a mouth pleasing snap when bitten?
My Mom used to make the best damned Peanut butter cookies!
Thanks in advance!
Jim Stinson, try adding some white cake mix to your cookie mix, that will make them more crispy. then adjust flour, or google crispy peanut butter cookies
good luck!
Great cookies! You can easily halve the brown sugar and they are still delicious and sweet.
Perfect. Simple. Delicious. I always have the best of luck with your recipes. I will try some mix-ins next time.
Update: I slightly over cooked the last 1/2 batch- they were still yummy!!!
So simple and easy I loved them
Thank you for the alternate nut butters to try. Kiddo with peanut allergy and nice to let them know some of life’s yummy things! 😊
You’re welcome! I totally understand, we’re an allergy house here :)
I also prefer to weigh my ingredients. It would be helpful if you would include the weight along with the measurements in your recipes.
Thank you for your interesting site.
Louise
Hi Louise, The weights are included. If you click the link that says “metric” underneath the ingredient list, the measurements are converted to weights. I am working to make this more streamlined so the weights can appear next to the cup measurements.
I am trying to use recipes with weights of ingredients provided for more consistent success. Could you please provide weights for this recipe?
Hi Theresa, Yes, weights are included. If you click the link that says “metric” underneath the ingredient list, the measurements are converted to weights. I am working to make this more streamlined so the weights can appear next to the cup measurements.
Easily the most requested thing I bake and it is thanks to this recipe! Follow her instructions to a T and you are guaranteed the best results. I played with the bake time as I do with all of Michelle’s recipes. In my oven I need to bake for 9 minutes but I think I make my dough balls just a little bigger than instructed.
I have invested in a scale as the results of weighing my ingredients significantly improves the quality of my baked goods. It also cuts down on dishes! Nothing is worse than trying to clean shortening out of a measuring cup.
Amazing, wonderful, delicious… If you have tried this recipe GO DO IT.