How to Make Homemade Iced Coffee
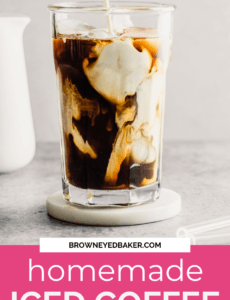
Start your morning with a sweet, cold glass of iced coffee from the comfort of your home! Learn how to make your own cold brew with this simple and easily adaptable tutorial and recipe. Perfect for warm summer mornings or a refreshing afternoon pick-me-up!
Why You’ll Love this Recipe
There are plenty of reasons to make your own iced coffee at home. We love this simple recipe because:
- It’s cheaper than the coffee shop plus you have no commute to get there.
- You can customize it anyway you want meaning no two iced coffees made at home have to be the same.
- Making it yourself means you control how strong it is and how much sugar you add into the iced coffee.
- Steeping cold brew coffee in this fashion creates a less acidic and less bitter coffee.
- There are unlimited refills (at least until you run out of coffee).
Now that you know why you should make this iced coffee recipe at home, let’s break down the process into two main steps.
The Main Ingredients
A great cup of coffee comes from selecting the best ingredients for the base. Let’s discuss the two main ingredients for making coffee- the grounds and the water- and how they impact your morning sip.
Ground Coffee
To make the best glass of iced coffee start with freshly ground coffee. I would suggest selecting a roast to match your strength preference. If you like your coffee:
- Strong: Select a dark roast coffee.
- Mild: Use a medium roast coffee.
- Weak: Go for a light roast coffee.
- Flavored: You can also pick a flavored coffee from the start. These tend to be more medium to light roast in their flavor profile.
Not sure where to start? I would suggest going with a medium or light roast coffee until you determine where your tastes lie.
Water
If you are following my preferred steeping method listed in the directions, you will want to use cold water. In the alternative methods below I will list other ways to brew coffee and the best type of water for those methods.
Step-By-Step Directions
Once you have selected your coffee grounds, you are ready to begin! My method for making iced coffee breaks down into two main parts. Steeping the coffee grounds with cold water and mixing up the iced coffee the next day.
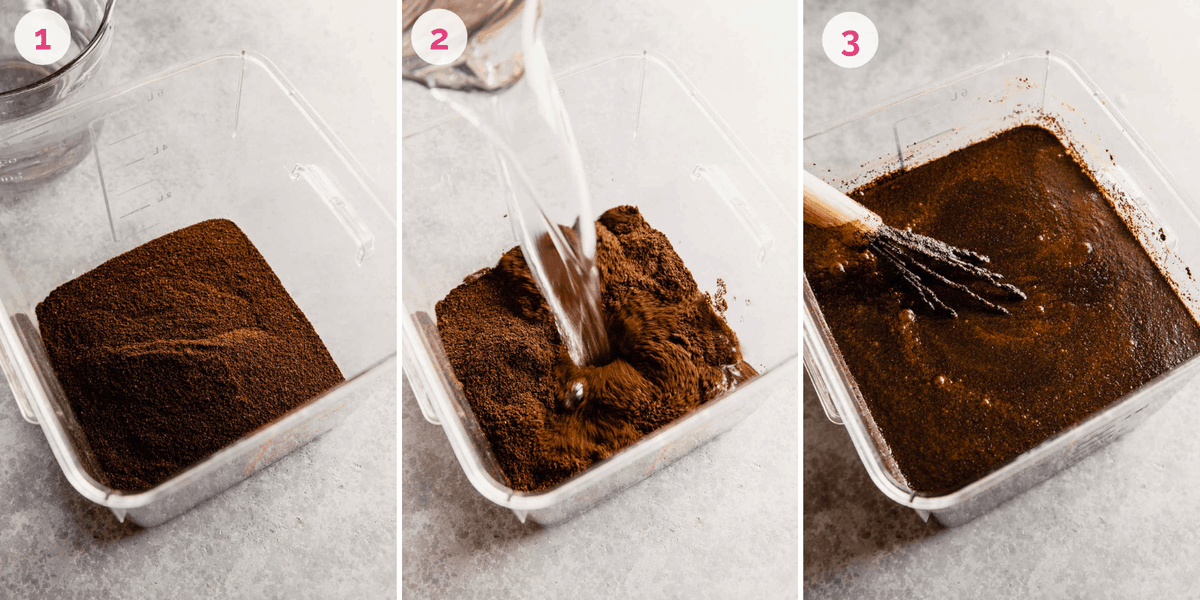
- Mix coffee and water: Place the coffee grounds in a large food-safe container and add the cold water. Mix with a large spoon.
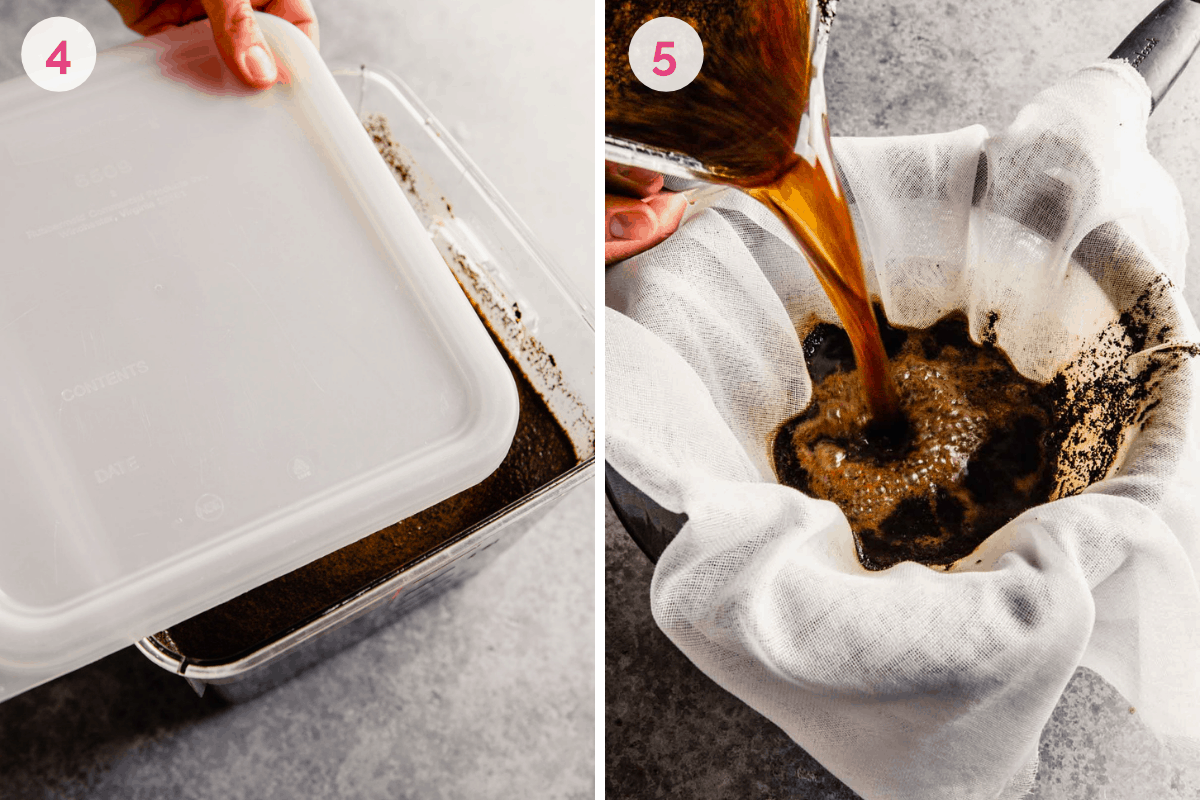
- Leave overnight: Cover and allow the mixture to sit overnight at room temperature.
- Strain the mixture into a clean container through a fine-mesh sieve that has been lined with two layers of cheesecloth or coffee filters.
- Discard and chill: Discard the coffee grounds and chill the coffee until you are ready to use it.
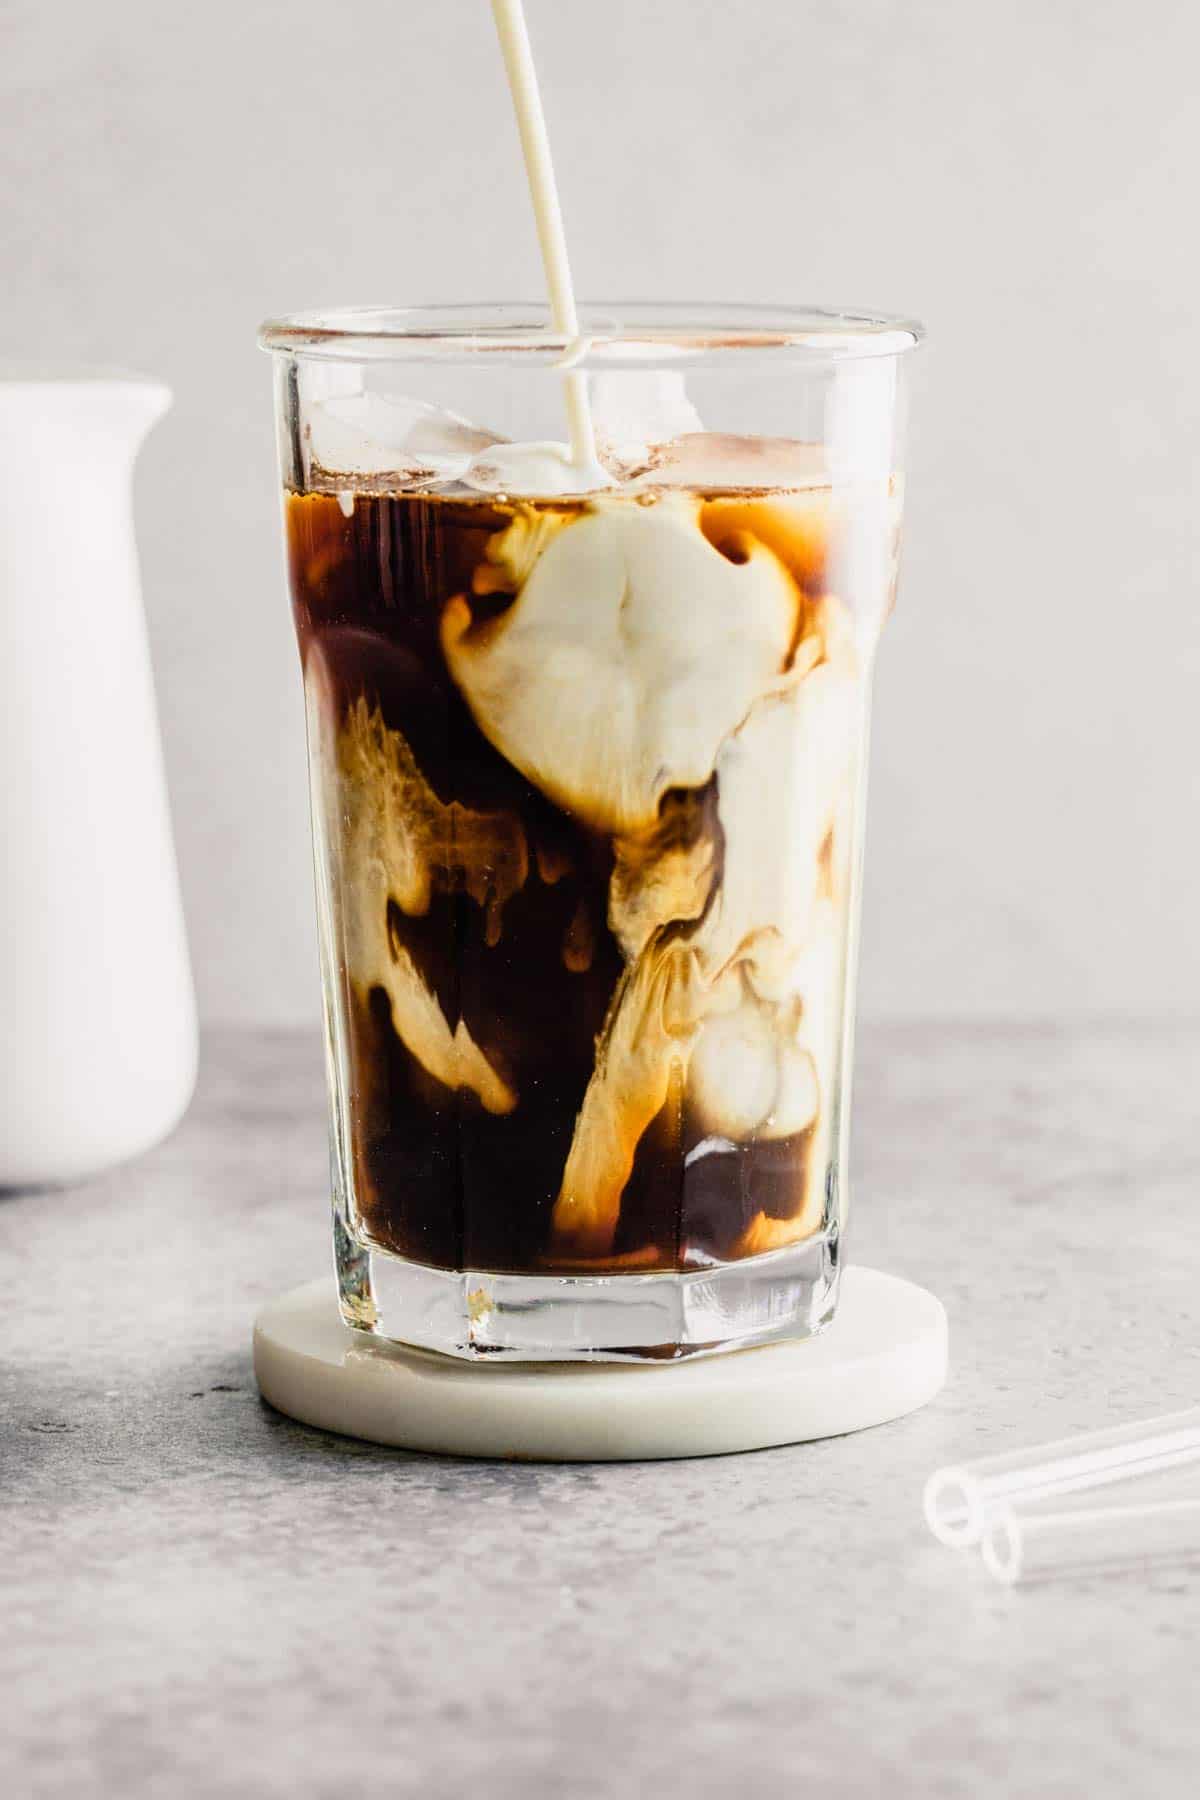
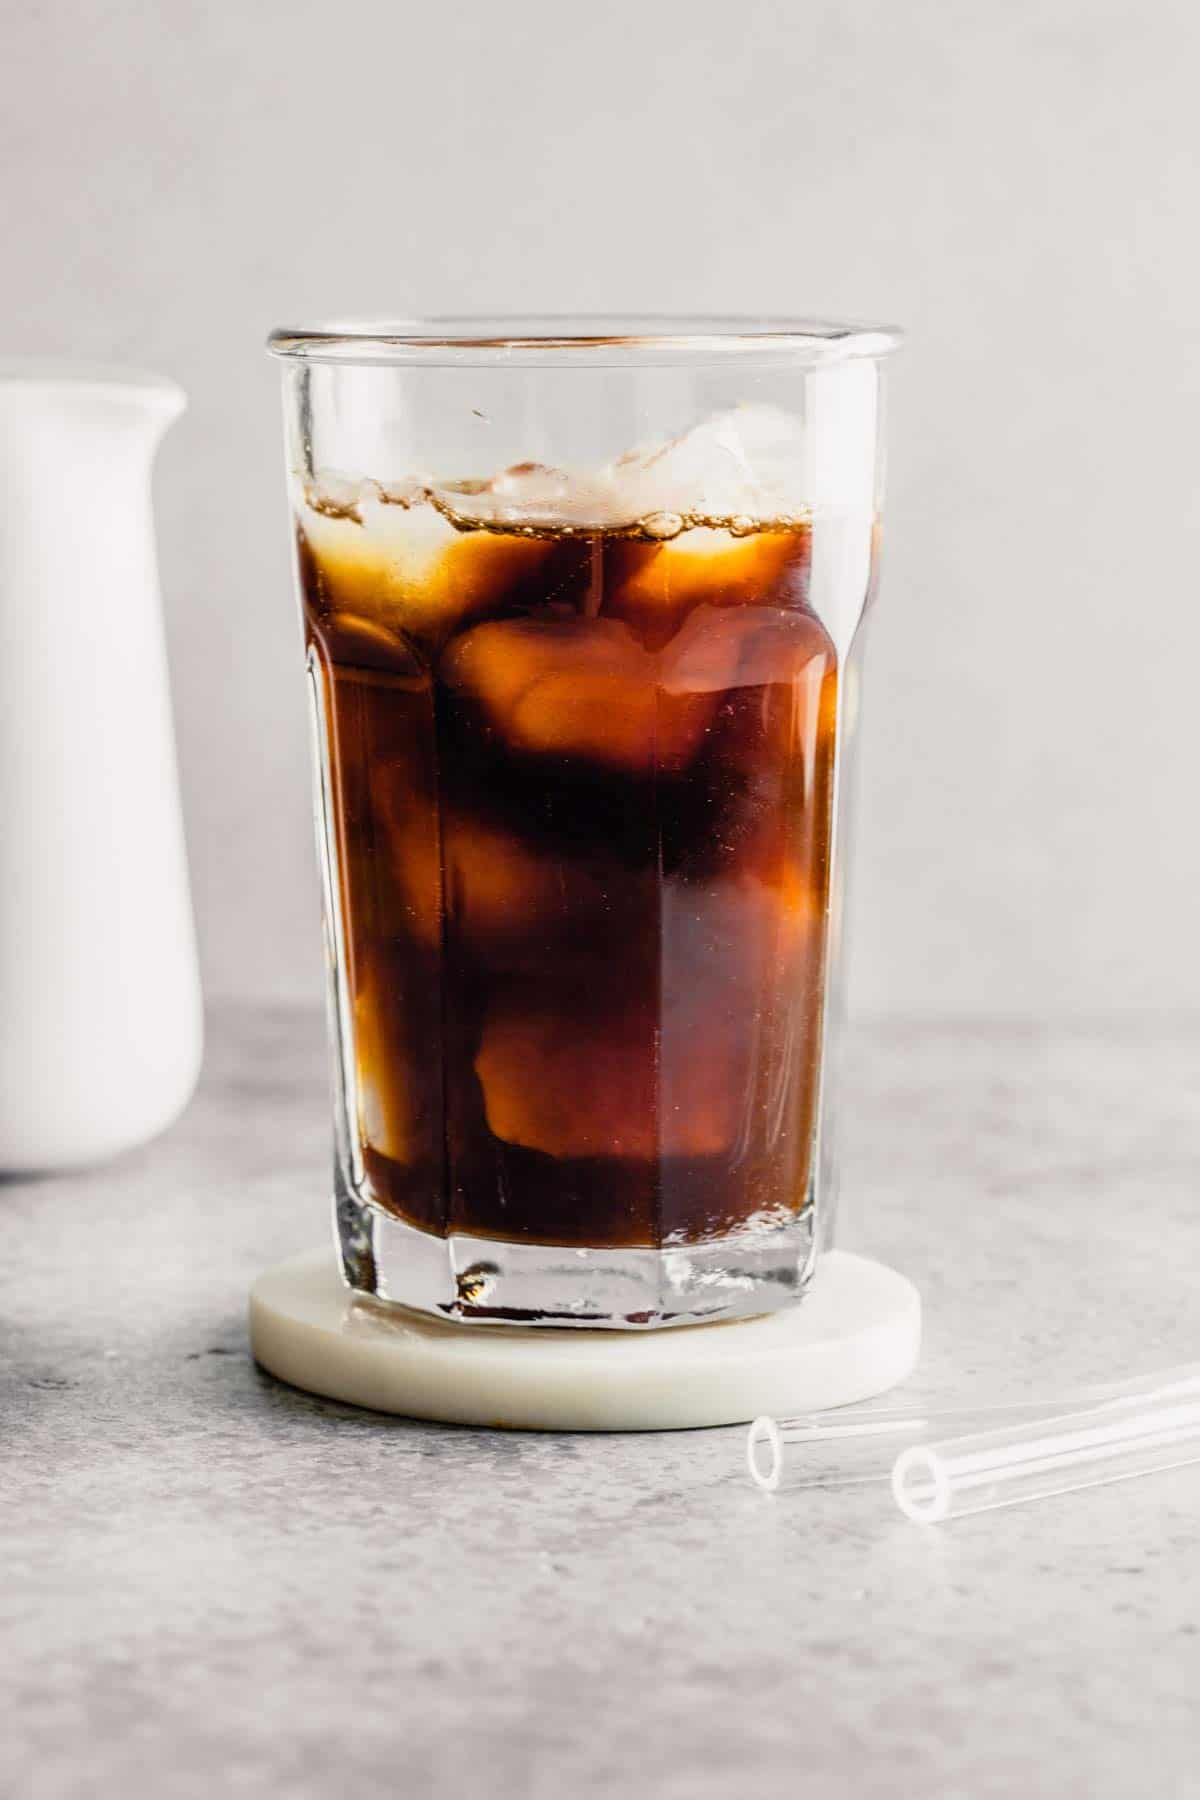
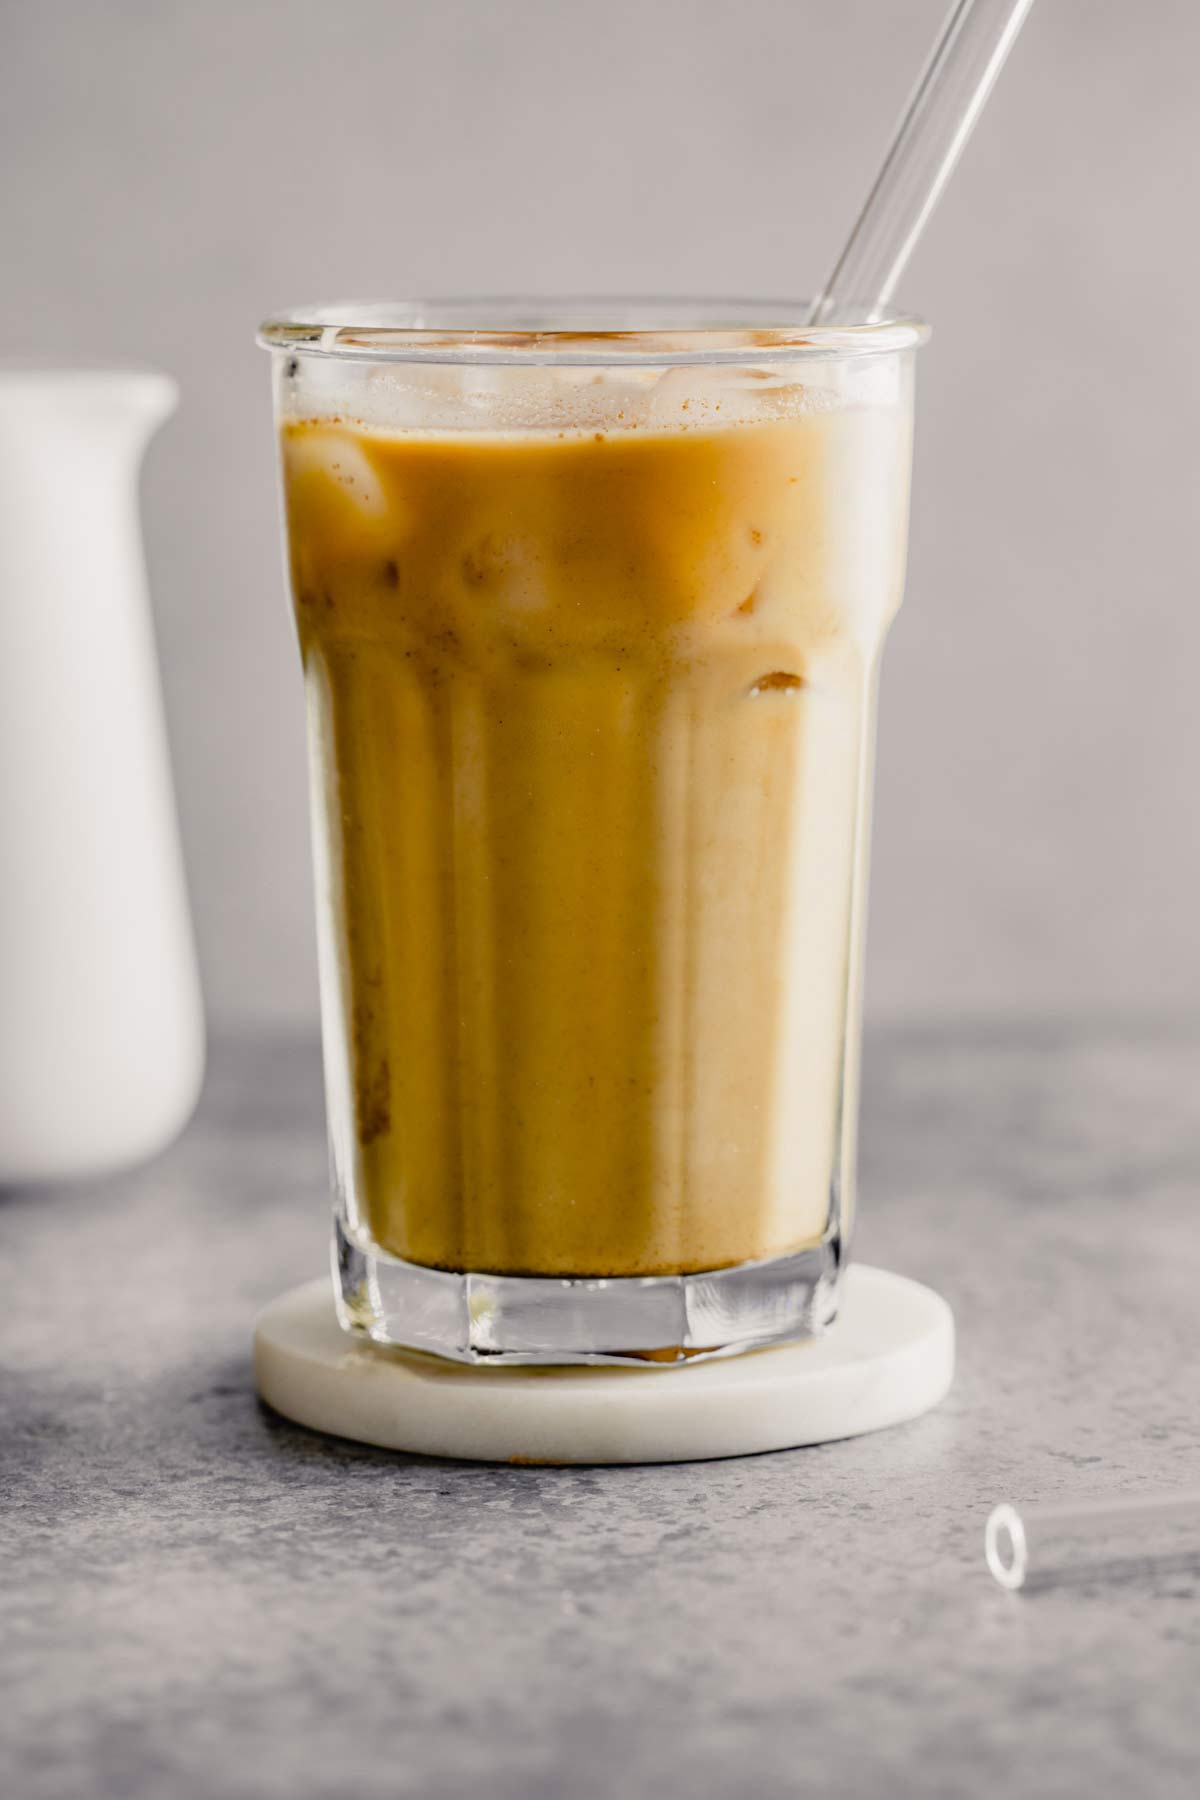
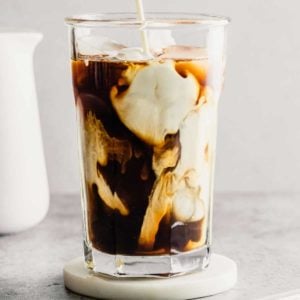
- Make the iced coffee: Fill a glass with ice. Pour the chilled coffee concentrate in to fill it two-thirds full.
- Sweeten as desired (see suggestions below) and enjoy!
Alternative Methods for Brewing Coffee
Two other easy ways to prepare the coffee for this iced coffee recipe are to use a traditional coffee maker or try a cold brew coffee maker.
Brew and Chill Method
This method involves using a traditional coffee maker and chilling it until you are ready to fix the iced coffee.
Save This Recipe
- Brew a pot of coffee with your drip coffee maker.
- Allow the coffee to come to room temperature.
- Transfer to a food-safe container.
- Refrigerate until ready to use.
- Note: If you use this method, you will not garner the benefits of the cold brew steep, which makes less acidic and less bitter coffee.
Cold Brew Coffee Maker
Similar to my method, the cold brew coffee maker allows the coffee grounds to sit in the water for an extended period of time until it’s ready to strain, pour, and fix up into an iced coffee.
To use the cold brew coffee maker:
- Place coffee grounds inside the mesh sieve of the cold brew coffee maker.
- Fill with water.
- Refrigerate based on the maker’s directions. Typically 24 hours.
Adjusting the Strength of Your Coffee
Aside from selecting a different roast of coffee to impact the strength, you can also adjust the coffee strength by changing the coffee to water ratio. For this recipe, I used a ratio of 1:16. For every 1 ounce of coffee, I used 16 ounces of water.
To make a stronger cup you can increase the amount of coffee you use. For a weaker cup of coffee, decrease the amount of coffee grounds.
- Stronger Coffee: Increase the coffee grounds to 9 ounces and keep the water the same. This will give you a ratio closer to 1:14.
- Weaker Coffee: Decrease the coffee to 7 ounces and keep the water the same. This will result in a ratio closer to 1:18. Still too bold? Dilute with additional water after brewing.
Flavoring Iced Coffee
One of the beautiful things about making iced coffee at home is your ability to make a variety of flavors. Here are some different ways to flavor, sweeten, and top your iced coffee.
- Stir in flavored simple syrups to get vanilla, salted caramel, or hazelnut flavored coffee.
- Add milk, oat milk, or almond milk for a creamy iced coffee.
- Sweeten your drink with half and half, condensed milk, or sugar.
- Drizzle in some homemade salted caramel sauce.
- Top with fresh whipped cream.
Serving Suggestions
If you want to make your morning cup of iced coffee feel a little more like going to the coffee shop, you can add a few fun touches to elevate your morning brew:
- Serve with fun straws, maybe even changing them up based on the season.
- Make some coffee cake to go with your cold cup of Joe.
- Swap the ice for a large scoop of vanilla ice cream and serve your iced coffee a la mode.
- Have a slice of New York Style Crumb Cake for an extra sweet start to the day!
Storing and Shelf-Life
- Storage: The best way to store your iced coffee is separately in parts. Keep the coffee stored in a food-safe container in the refrigerator. Simply add ice and any additional mix-ins when you are ready to enjoy!
- Shelf-Life: Stored separately you can keep the cold-brewed coffee for up to 1 week in the refrigerator.
- If you’ve mixed your coffee with ice and other flavors it will keep up to 8-12 hours in the refrigerator, less if it’s at room temperature.
If You Love the Flavor of Coffee, Try These Next:
- Mocha Cupcakes with Espresso Buttercream Frosting
- Espresso Ice Cream
- Coffee and Espresso Layered Cheesecake
- Cappuccino Cheesecake Bars
Ditch your coffee shop habit for a homemade version that is cold, crisp, and easily adaptable. Make this easy, homemade iced coffee for all your summer caffeine needs.
If you make this recipe and love it, remember to stop back and give it a 5-star rating - it helps others find the recipe! ❤️️
Iced Coffee
Ingredients
- 8 ounces (226.8 g) ground coffee
- 4 quarts (3.79 l) cold water
- Sweeteners as desired, sweetened condensed milk, half-and-half, syrups, etc.
Instructions
- Place the coffee grounds in a large food-safe container and add the cold water. Mix with a large spoon, then cover and allow to sit overnight at room temperature.
- Strain the mixture into a clean container through a fine-mesh sieve that has been lined with two layers of cheesecloth or coffee filters. Discard the coffee grounds. Chill mixture until ready to use.
- To make the iced coffee, fill a glass with ice and fill it two-thirds full of the chilled coffee concentrate. Sweeten as desired. (I made mine with 2 tablespoons sweetened condensed milk and an additional splash of half-and-half.)
Notes
- Equipment: Large food-safe container / Fine-mesh sieve / Cheesecloth
- Coffee Strength: See the post above for details on how to adjust measurements for stronger or weaker coffee.
- Flavoring Options: Simple syrups, dairy and non-dairy milk, sweetened condensed milk, sugar, homemade salted caramel sauce, whipped cream.
- Storage: The best way to store your iced coffee is separately in parts. Keep the coffee stored in a food-safe container in the refrigerator. Simply add ice and any additional mix-ins when you are ready to enjoy!
- Shelf-Life: Stored separately you can keep the cold-brewed coffee for up to 1 week in the refrigerator. If you’ve mixed your coffee with ice and other flavors it will keep up to 8-12 hours in the refrigerator, less if it’s at room temperature.
Did you make this recipe?
Leave a review below, then snap a picture and tag @thebrowneyedbaker on Instagram so I can see it!
Photography by Lauren Grant.


I always call it pop too :) I think it’s awesome you’re cutting down on diet pop. I never consume artificial sweeteners and I haven’t had a pop in almost ten years! I had no idea this was how to make iced coffee. It’s a really cool technique.
I love coffee flavor and smell, but not coffee! Weird? This looks really good though especially with the sweetened condensed milk.
here is where you can get a coffee toddy…or cold brew coffee system. http://toddycafe.com/
I use it exclusively at home. best coffee ever, hot cold or otherwise. i love the coconut french vanilla creamer for my iced coffee.
I started making cold brewed coffee last summer, and I LOVE IT! I adapted my recipe from the NY Times and mix it with some water, milk and Fat Free Italinan Sweet Cream Coffee mate. LOVE IT! Super easy. I am planning on bringing in a big batch to share with my ‘Breakfast Club’ at work when my time comes up again!
I’m an iced tea girl but your iced coffee looks amazing!
I just brew coffee, pour it into jars, then refrigerate and use it once cold.
Looks and sound good. I do like coffee. I am still drinking hot tea with stevia even though were are going to be over 100 degrees the next few days. I am not normal.
I’ve been making Pioneer Woman’s Iced Coffee for several years now and will attest it is delish! I usually use the same coffee brand that she had pictured on her blog – Cafe Bustelo. It’s quite different than the taste of regular coffee. I sweeten mine with Torani Sugar Free Vanilla Syrup and add a splash or a bit more of cream. Every so often a squirt of chocolate syrup goes in, too. Especially good idling away a hot summer afternoon on the porch swing.
Love this! I make my iced coffee like this too, but let it steep overnight in my French Press so I can just plunge it in the morning and either put it right in the fridge or pour it into a pretty container and put it in the fridge. My close friend works in a coffee shop and this is how they do it there (the result is called “Toddy”).
Making it the Vietnamese way with some sweetened condensed milk is certainly tasty! Yum!
FYI, we definitely call it “pop” in MI too. In fact a large chunk of the country does, according to the map at: http://www.popvssoda.com/
Such an awesome recipe! I’m not a huge coffee drinker, but I love it in the summer sometimes… just like this!
I love an iced double mocha latte. I have at least one a day!
I’ve been making this same recipe for a while now – it’s my favorite! To the point where all my co-workers make fun of me for bringing it every day – whatever! haha I’ve never thought to top it with whipped cream – that is going to have to happen soon.
I love iced coffee in the summer, this looks like the perfect way to get a caffeine fix!
I have not tried this yet but I keep meaning to! I love my coffee but in the summer it isn’t as good to me. I make a “coffee syrup” that you add to milk but this sounds like a great one too :)
I love making homemade iced coffee. Once when I worked in a restaurant I used to have them everyday because they always had the ingredients and I never had to buy them! :)
I’m a coffee addict, and I’ll drink it in any form. Iced coffee is a great alternative when the weather is warm!
I keep meaning to try sweetened condensed milk in coffee! It sounds so lovely. Anyone have any tips how to best store the leftover sweetened condensed milk? And how long it’ll hold up? It might take me a few weeks to make it through a whole can.
Hi Annie, You can store leftover sweetened condensed milk in a Tupperware container in the refrigerator for up to 2 weeks or so.
Hi Annie. I like to make my own sweetened condensed milk by blending 4 cups sugar, 2 cups of powdered milk, 1 cup boiling water and 1 cube melted butter until smooth. This makes almost as much as two of the cans you buy at the grocery store and costs just pennies. I store mine in lidded glass containers. We go through about a container a week by adding it to our hot tea, but with all that sugar I’d imagine it would last longer than that.
Iced coffee is the best! I think I’ll be getting a lot of use of out this recipe…perfect for summer!
Looks perfect!
Thanks for the yummy looking iced coffee recipe. Another way to get a good boost of caffeine is Crystal Light Energy. They have strawberry, grape, and orange flavor in individual serving packets. Just mix it in a bottle or glass of water and you’re good to go. Definitely healthier than a bottle of pop!
Great looking recipe and congratulations on cutting down on the diet pop. Wanted to mention that you may want to also try iced tea for the summer. If you brew it yourself you can control the strength and sweeten to taste. It’s good for a little caffeine kick and some antioxidants. We drink it without sweetener at my house for less calories. Cheers!
I have a pitcher full of ice coffee! I just love it! It’s perfect for the summer! Love the recipe!!
No better drink in hot weather than iced coffee, in my opinion! I love mine with vanilla almond milk!
This looks great! I love the picture of it in the jar!
Throw that in your ice cream maker for a coffee sherbet! Really nice on a
summer day too. :)
You can save the used coffee grounds and put them in the compost or just put them around your hydrangea bushes for lovely blue flowers.
That’s such a gorgeous idea to serve iced coffee in a jar. So very pretty with the cream on top. =)
The first day of my organic chemistry class, our professor came out and said she wanted to get this out of the way first. She then proceeded to write out and explain exactly how aspartame was actually metabolized into a simple sugar. This scary rumor has been put about for years. I used to believe it myself, until I saw the truth writ large across that blackboard.
I can’t put your mind at ease, but aspartame isn’t going to make you ill. It makes my husband nervous, so he uses the yellow packet sweetener, which is simply sugar with an extra carbon molecule stuck onto it so it can’t be absorbed. The key will go in, but it won’t fit the lock, if you will. Just use that sucralose stuff in the yellow packets, it’s indisputably safe.
I like the blue packet or the yellow packet stuff, and I use both alcohol sugar (manitol, xylitol, etc.) and “regular” sugar, too — but no one in my family has diabetes or a problem with being overweight!
Thanks for the clever and scrumptious iced coffee recipe.
Xylitol is a natural sugar alternative.
Aspartame was a by product of a farming pesticides & insecticides which was found to be sweet. It was banned in lot of places before the company bought people out of their contracts on the condition that they saw it fit for food consumption first.
It was also found to be created using genetically modified (GM) bacteria.
Avoid Aspartame it is a poison, for the manufacturer it is a cheap cheap substitute for sugar
Congratulations for starting a transition away from it. You will notice a difference in the way you feel – please let us know x
Trying to reduce my own sugar consumption, i’ve found stevia (granulated) a great option. I’ve also been experimenting with liquid sweeteners such as brown rice syrup aka rice malt syrup, good in hot drinks but not as sweet as sugar x
ANYTHING can be toxic in large enough doses, including water and oxygen. Aspartame is NOT toxic; it’s two amino acids hooked together which stimulate sweet receptors on the tongue. 50 years of testing have failed to demonstrate any consistent negative effects. Please stop spreading this myth.
Love iced coffee! I always save my leftover coffee, put it in a glass jar, refrigerate and the next day(s), pour over ice with cream, vanilla stevia, etc. I have always wanted to try the Pioneer Woman’s method to see how it compares to my repurposing leftovers method. Great pics – now I’m thirsty!
I have some old plastic ice cube trays and make “coffee cubes” so it won’t delete the coffee, and as it melts gives you more coffee.