The BEST Rice Krispie Treats
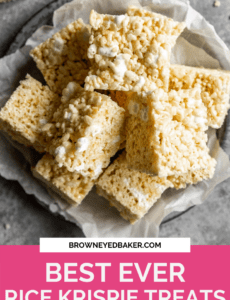
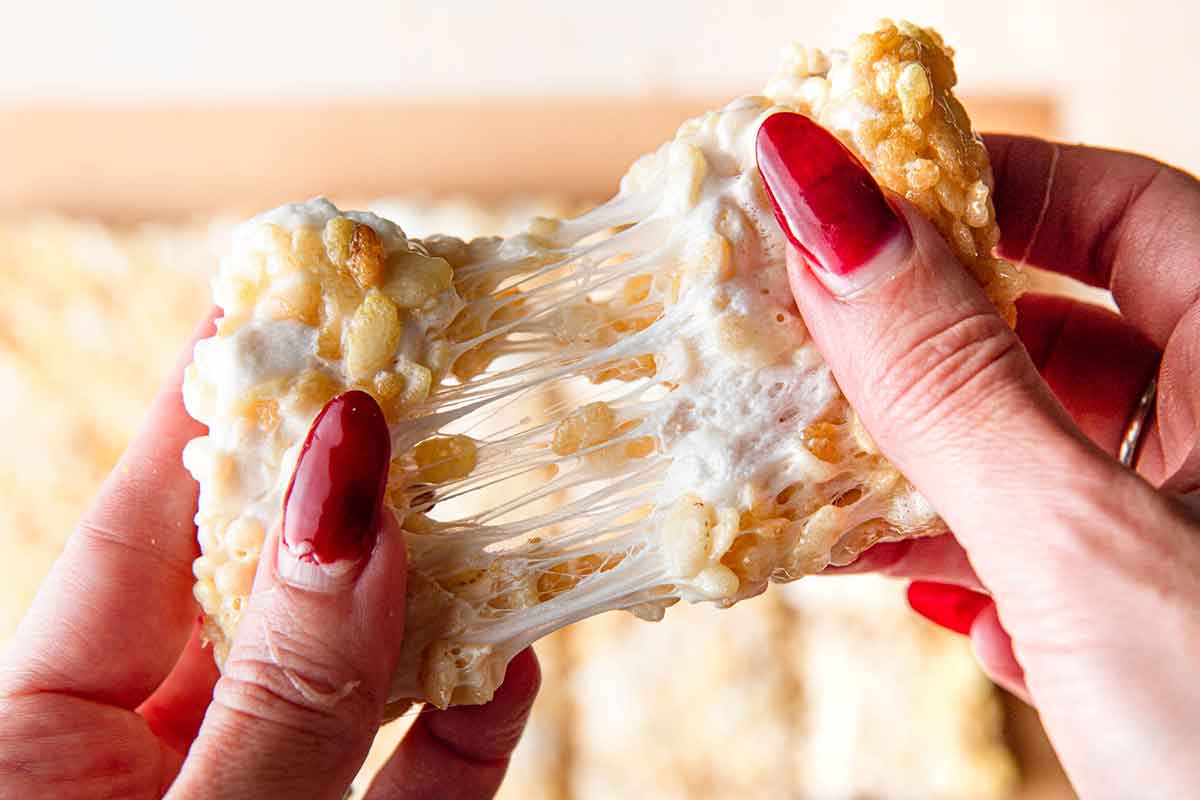
This is the absolute best rice krispie treats recipe! It is LOADED with gooey marshmallow sauce, crunchy Rice Krispie cereal, and extra pockets of marshmallows; these treats have it all. Whether you are making them for a holiday, birthday, or just because, this version of the classic and nostalgic treat is beyond perfect every time.

I have loved rice krispie treats my entire life. We didn't have them all the time, but I LOVED when my mom would make them or I'd go to a birthday party where they were served.
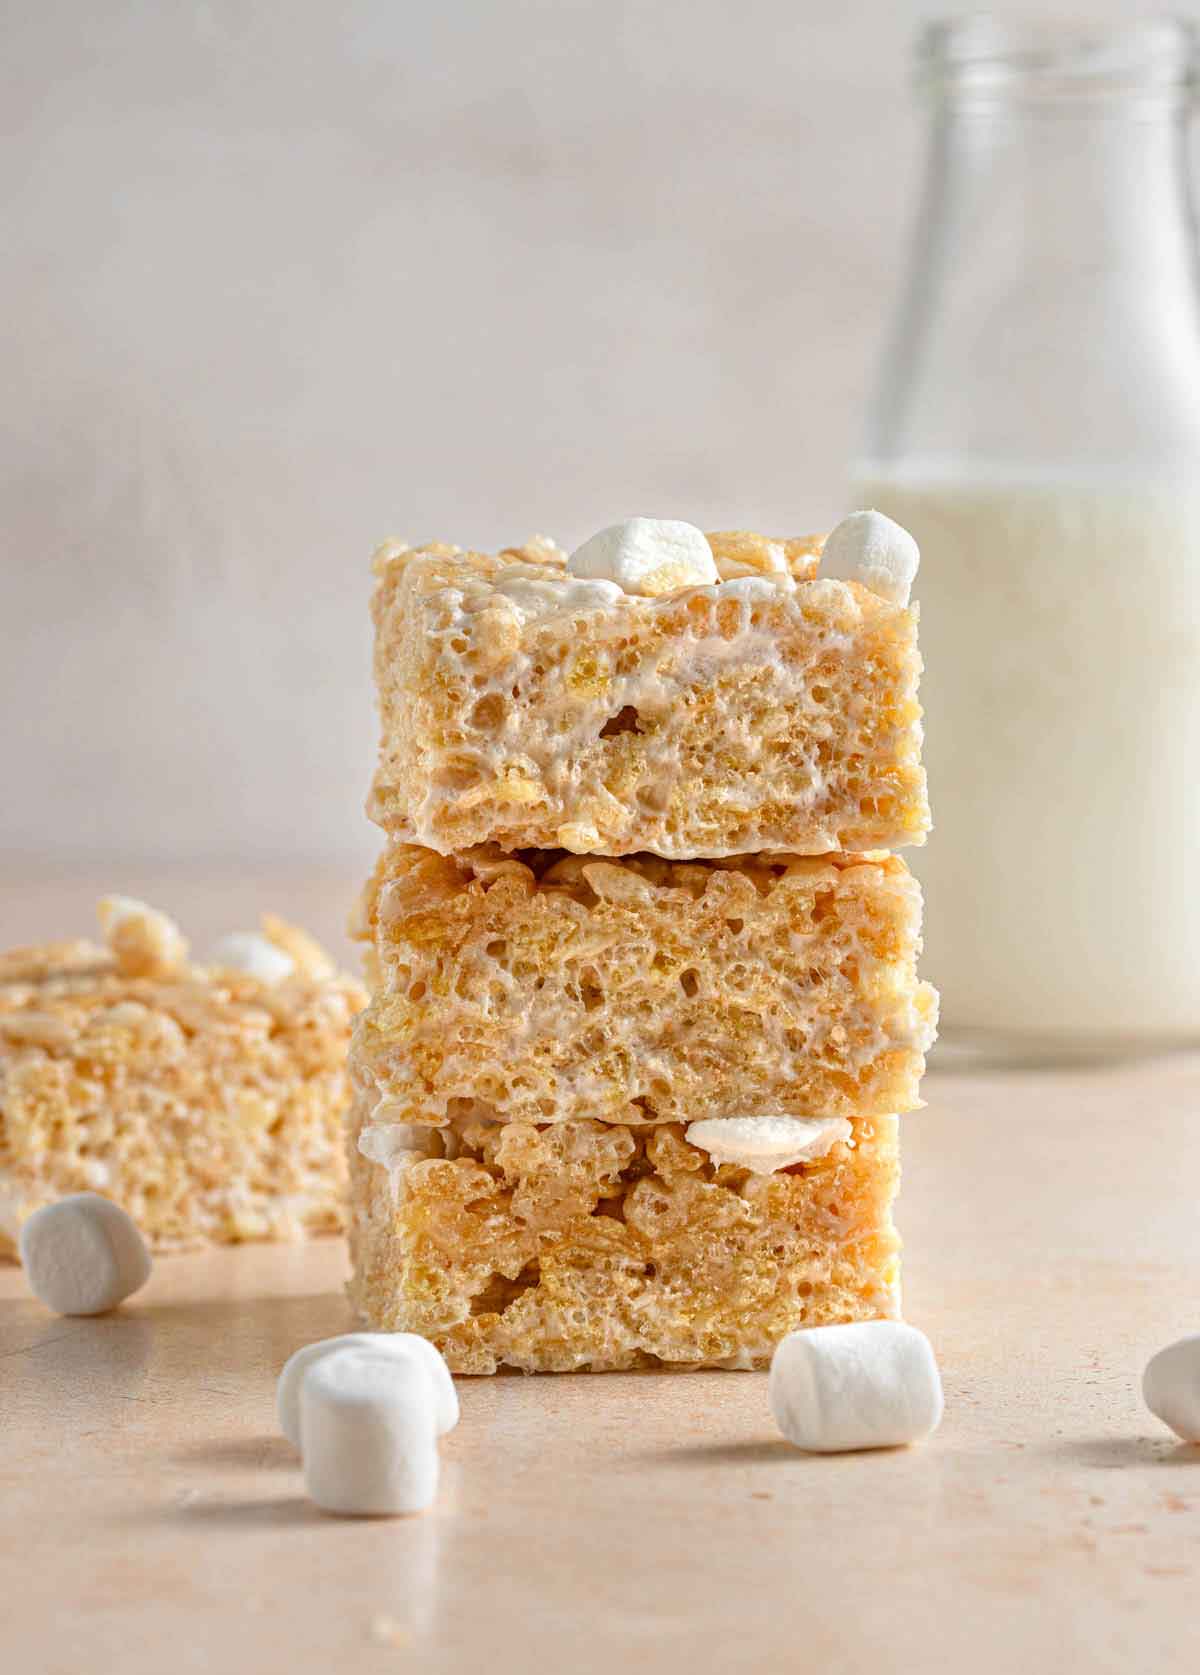
I've made countless rice krispie treat recipes over the years, but still hadn't found THE ONE when it came to plain and simple Rice Krispies treats. I yearned for those huge, pillowy soft and gooey treats you find at bakeries. Well, this is absolutely it. Hands down, 100%, best ever.
Why These are the Best Rice Krispie Treats
There isn't a huge secret ingredient or earth-shattering method to making these the most amazing rice krispie treats you'll ever have; it's all in the butter/marshmallow/cereal ratio!
The original recipe for rice krispie treats (printed on the box) calls for:
- 3 tablespoons butter :: 4 cups mini marshmallows :: 6 cups cereal
THIS recipe, meanwhile, uses the following:
- 10 tablespoons butter :: 16 cups miniature marshmallows :: 12 cups cereal
So while we double the amount of cereal (because we want to make huge, bakery-style treats), we QUADRUPLE the amount of marshmallows (and throw in ANOTHER 4 cups of non-melted marshmallows for extra pillowy gooeyness) and increase the butter by 3.33. The secret is all in that gooey butter and marshmallow sauce!
Just a Few Ingredients
You only need a handful of ingredients to make these amazing treats:
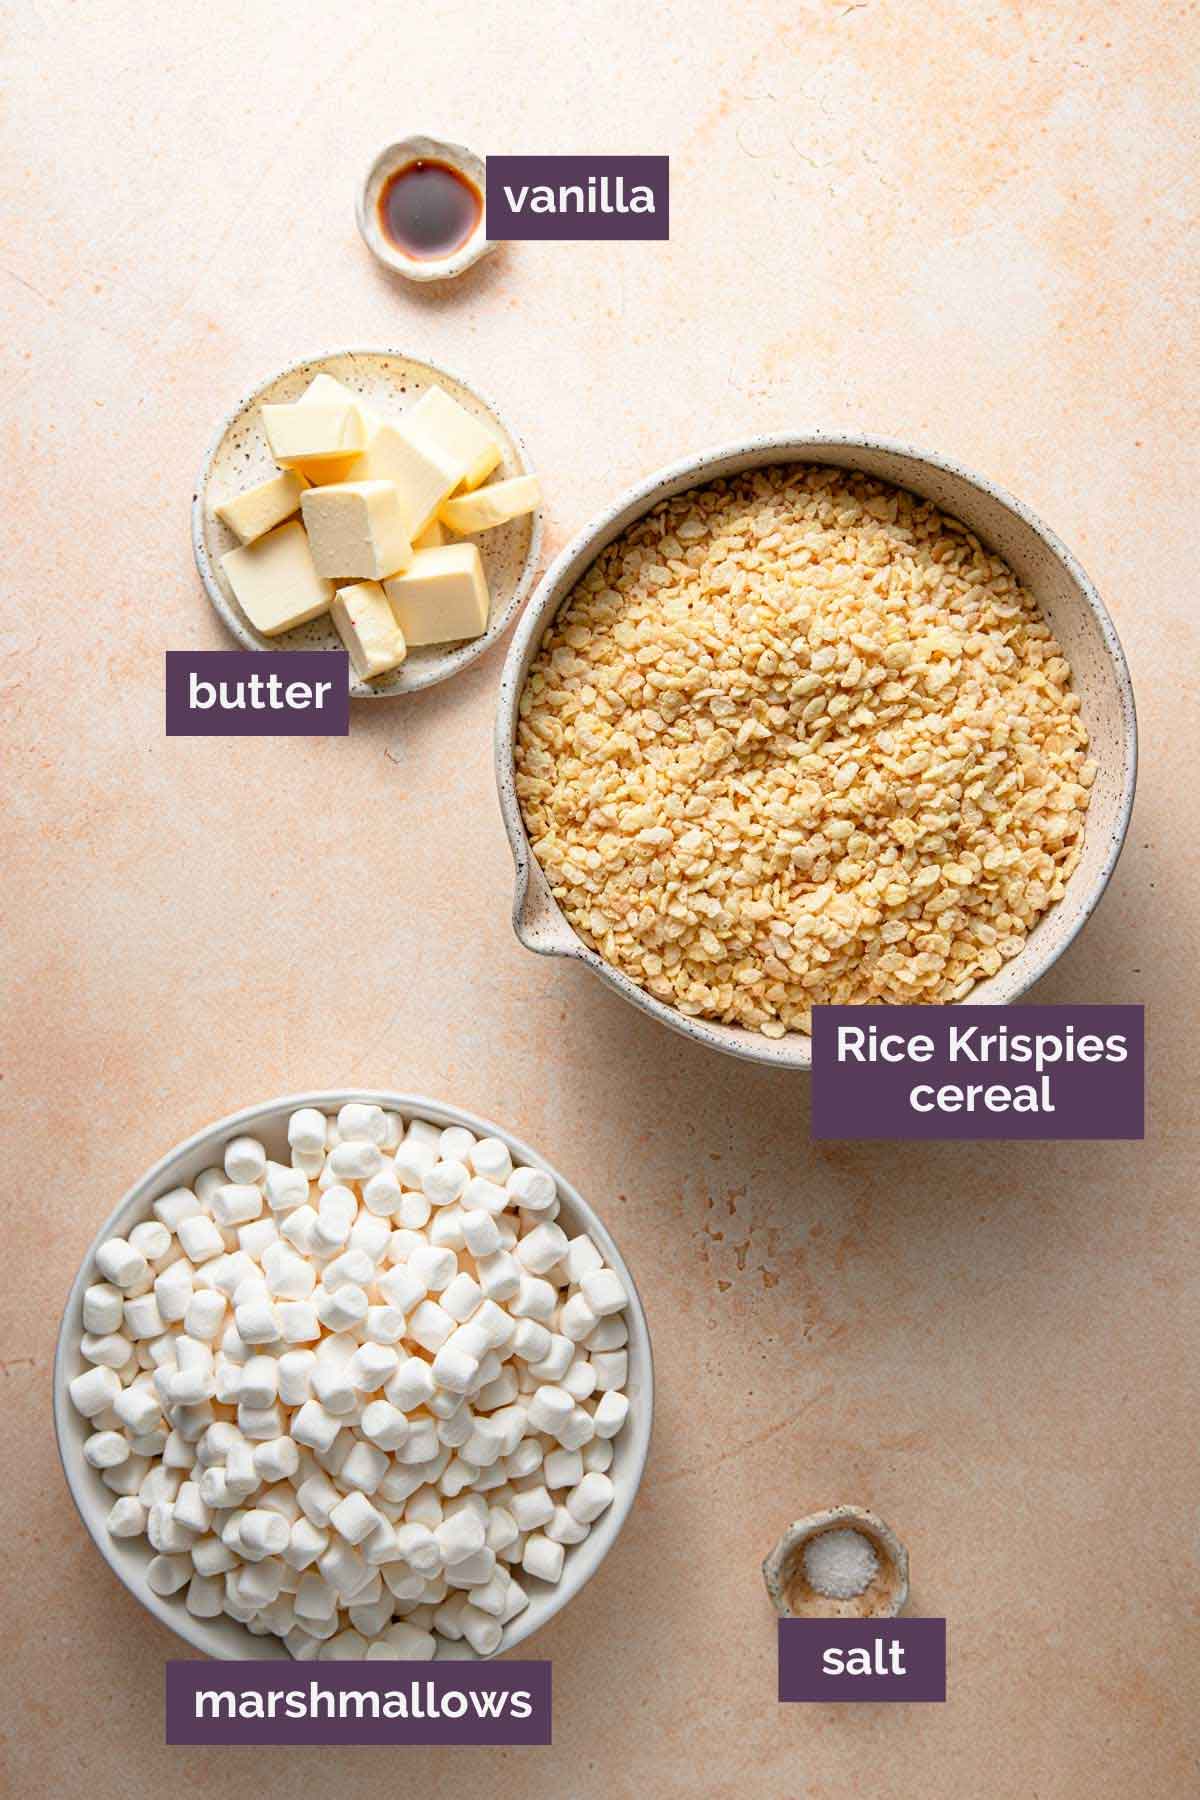
- Butter - I use unsalted butter and then add in kosher salt, but if all you have is salted butter, you can absolutely use that.
- Marshmallows - I find that miniature marshmallows are the best for making the sauce and of course for adding in at the end!
- Kosher Salt + Pure Vanilla Extract - To amp up and balance out all of the flavors.
- Rice Krispie Cereal - You will need almost exactly one 12-ounce box of cereal to make this recipe.
Mix-ins and Flavors
It really doesn't get more fun than rice krispie treats but here are a few ways to mix them up or flavor them:
- Sprinkles! -Stir in multi-color sprinkles for a funfetti look to your treats.
- Mini Chocolate Chips- For the chocoholics in your life add in mini chocolate chips.
- Butterscotch Chips - Give your rice krispies a scotcheroo-like flavor by adding in butterscotch chips.
- Almond Extract - In place of vanilla try using almond extract for a wedding cake flavor!
- Nuts – Add in your favorite chopped nuts (peanuts, almonds, pecans, pistachios, cashews, etc.)
- Favorite Candy – Chop up peanut butter cups, Oreo cookies, use M&Ms, etc.
How to Make Them
They are so quick and easy!
Step #1: Prep the Pan – Grease a 9×13-inch baking dish (I prefer to do this with butter); I like using a glass pan best since I usually cut the treats in the pan. You can also line a baking dish with foil (leave an overhang for easy removal), and spray the foil with non-stick cooking spray.
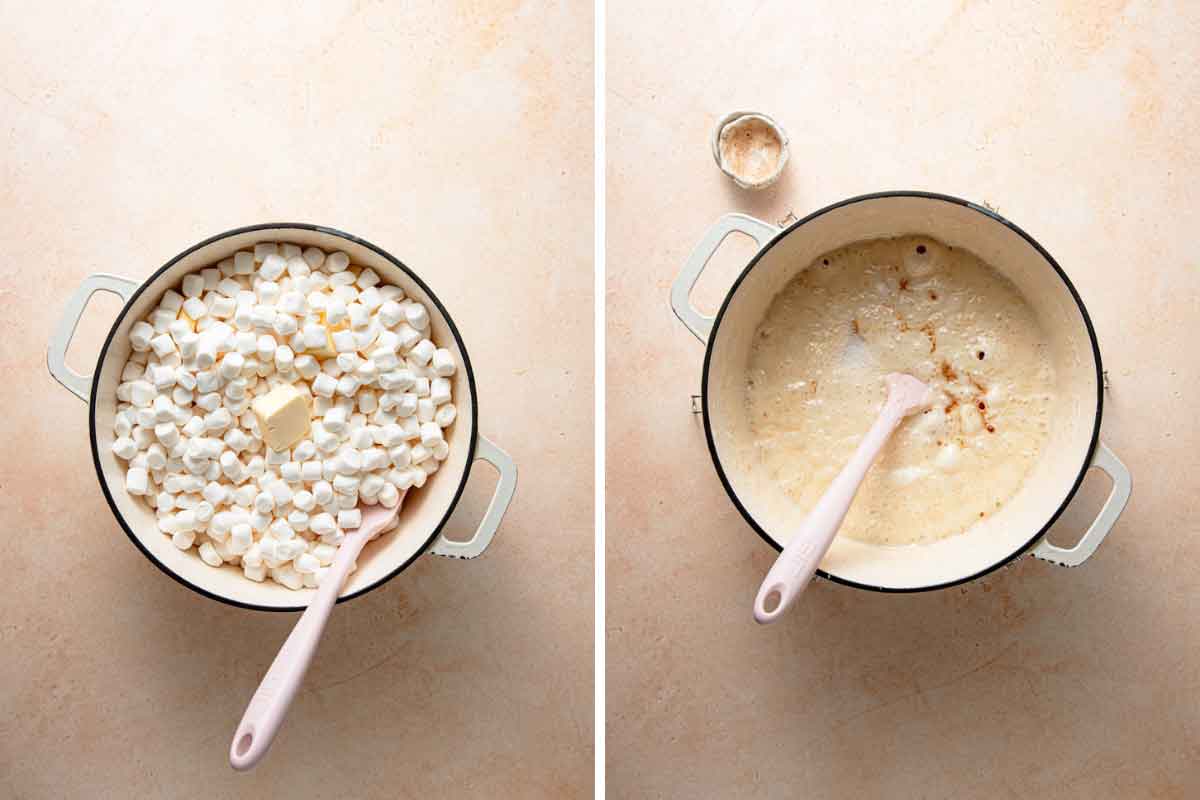
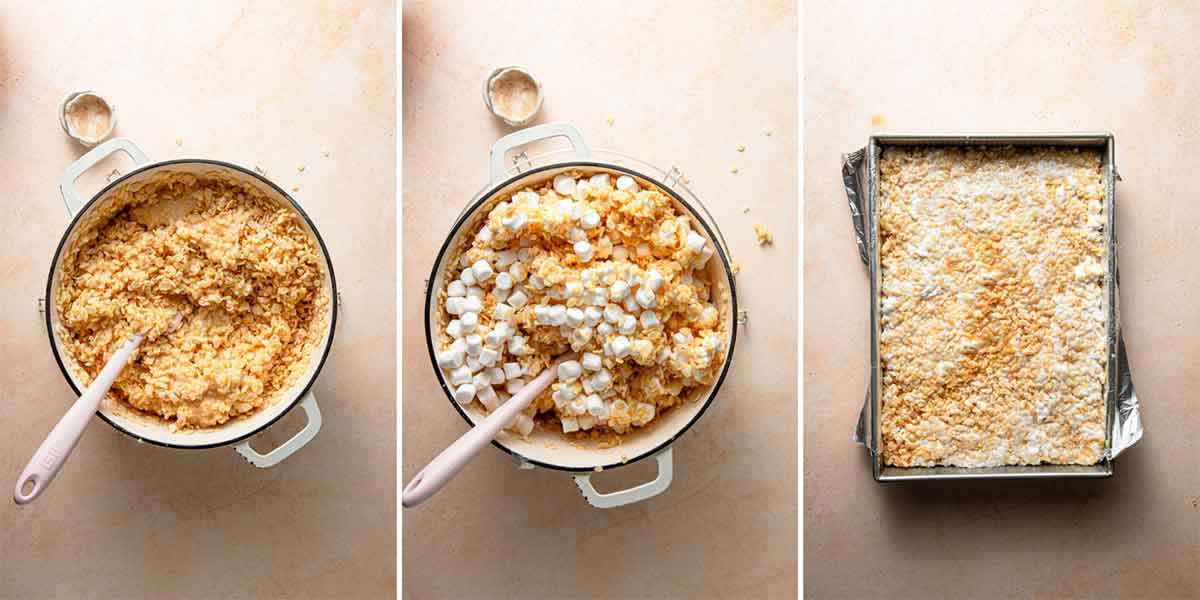
Step #2: Make the Marshmallow Sauce – Melt the butter and 16 cups of the marshmallows in a large pot or Dutch oven over low heat until the marshmallows are melted. Stir in the salt and vanilla, then remove from heat.
Step #3: Stir in the Cereal + More Marshmallows – Stir in the Rice Krispies until they are evenly coated with the marshmallow mixture, then stir in the additional 4 cups of mini marshmallows.
Step #4: Press into Baking Dish – Turn the mixture into the prepared pan using either parchment paper, wax paper, or a utensil (or your fingers) that has been greased, press the mixture firmly into a packed, even layer. Allow to set at room temperature for at least 30 minutes, then cut and enjoy!
Different Ways to Cut Rice Krispie Treats
One of the best things about these treats is their ability to take just about any shape! Here are a few other ways you can slice and serve your treats:
- Triangles: Cut the treats into squares and then slice diagonally through the center to make triangles.
- Circles: Using a biscuit cutter, press and cut the rice krispies into circles. Press the scraps back into a prepared baking dish and cut remaining circles.
- Cookie Cutters: If you want to press other shapes with cookie cutters using this recipe, I would recommend dividing the recipe into two 9×13-inch pans. This will result in thinner rice krispies that can then be easily cut with cookie cutters into every shape under the sun.
Save This Recipe
Storing, Freezing, and Making Ahead
- Storing + Shelf Life- They are best stored at room temperature in an airtight container for up to 3 days. I do not recommend refrigerating these, as it will dry out the treats.
- Ultra-fresh: You can go one step further and wrap them individually in plastic wrap to keep them REALLY fresh.
- Freezing- If you want to freeze them, wrap them individually in plastic wrap and place in a freezer ziploc bag and freeze for up to 2 months. Allow to thaw at room temperature before serving.
- Make-ahead- I truly believe the best rice krispies are the ones fresh from the pan but if you want to make them in advance remember to make them no more than 3 days before you plan to serve them or freeze them right away.
Recipe Tips and Notes
- To help with your grocery list, you will use three (10-ounce) bags of miniature marshmallows for this recipe. And one (12-ounce) box of crispy rice cereal.
- You can omit the extra marshmallows that get stirred in at the end if you wish without making any adjustments to the recipe.
- You can make rice krispie treats with marshmallow fluff for the sauce if you'd like. Substitute four (7.5-ounce) jars of marshmallow fluff for the 16 cups of miniature marshmallows that are called for in the recipe. Heat the marshmallow fluff with the melted butter over low heat and proceed with the recipe as directed.
- How to keep the crispy rice treats mixture from sticking when pressing it into the pan – Spray the wooden spoon or rubber spatula you are using (or your hands) with non-stick cooking spray, use the butter wrapper, or a square of parchment paper to press the mixture into the pan.
Rice Krispie Treats Variations
I’ve made tons of versions of the homemade rice krispie treat, and these are some of my favorites:
- Peanut Butter Rice Krispie Treats with White Chocolate
- Snickers Rice Krispie Treats
- Rocky Road Rice Krispie Treats
- Oreo Rice Krispie Treats
Watch the Recipe Video:
If you make this rice krispie treats recipe and love it, remember to stop back and give it a 5-star rating - it helps others find the recipe! ❤️️

Best-Ever Rice Krispie Treats
Ingredients
- 10 tablespoons unsalted butter
- 20 cups (1134 g) miniature marshmallows, divided
- 1 teaspoon kosher salt
- ½ teaspoon (0.5 teaspoon) vanilla extract
- 12 cups (336 g) Rice Krispies cereal
Instructions
- Line a 9×13-inch baking dish with foil, then coat with non-stick cooking spray; set aside.
- In a large saucepan or stockpot, melt the butter and 16 cups (680 grams) of the miniature marshmallows over low heat until the marshmallows are just melted. Stir in the salt and vanilla to combine. Remove the pan from the heat, add the Rice Krispies and mix until it is completely and evenly coated with the marshmallow mixture. Stir in the additional 4 cups of miniature marshmallows.
- Turn the mixture out into the prepared pan and, using a wooden spoon or spatula that has been coated in non-stick cooking spray, press the mixture firmly into a packed, even layer. Allow to set at room temperature for at least 30 minutes. Using the foil, remove the treats from the pan and slice into squares. Leftover rice krispie treats should be stored in an airtight container at room temperature for up to 3 days.
Notes
- Marshmallows: You will use three (10-ounce) bags of miniature marshmallows for this recipe.
- Omitting Extra Marshmallows: You can omit the extra marshmallows that get stirred in at the end if you wish. You do not need to make any adjustments to the recipe.
- Using Marshmallow Fluff: You can substitute four (7.5-ounce) jars of marshmallow fluff for the 16 cups of miniature marshmallows that are called for in the recipe. Heat the marshmallow fluff with the melted butter over low heat and proceed with the recipe as directed.
- Mix-Ins & Flavors: See the post above for suggestions on mix-ins and additional flavors.
- Storing + Shelf Life: These are best within 1 day of making them, but you can store them in an airtight container at room temperature for up to 3 days. To keep them ultra-fresh, wrap them individually in plastic wrap and place in an airtight container.
- Freezing: If you want to freeze them, wrap them individually in plastic wrap and place in a freezer ziploc bag, and freeze for up to 2 months. Allow to thaw at room temperature.
Did you make this recipe?
Leave a review below, then snap a picture and tag @thebrowneyedbaker on Instagram so I can see it!
This recipe was originally published in May 2016.
Photography by Dee Frances.


The best Rice Krispies ever!
Everyone loves them. This recipe has been passed around a lot!
Best recipe for these treats I’ve ever made!!!!!
Well fiddle. I’ve made this recipe multiple times – it is the best – but I decided I’d weigh my ingredients this time per recipe. Weights are not correct, which I figured out halfway into the recipe. So not sure how this batch will turn out. 😢 10 oz bag of marshmallows is 283 g so you’ll need 4 bags, not 3. Divide 1134 g by 20 = 56.7 so in the body of the instructions it should be 907 grams for 16 c, not 680. Remaining 4 c would weigh 226 g.
But then again math is not my subject so maybe I’m missing something
Delicious! Delicious! Delicious!
These are so good and addictive. I know they’ll be a hit at tonight’s party. I took a few extra minutes and browned the butter. I also added a sprinkle of cinnamon and saved the butter wrap to help pat down the mixture into the pan. I will definitely be making these again. Delish!
Try browning the butter before adding the marshmallows, it takes them to the next level!