Buttermilk Pie Recipe
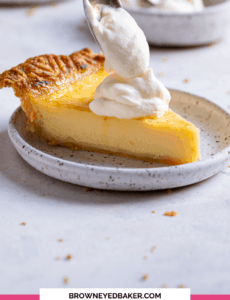
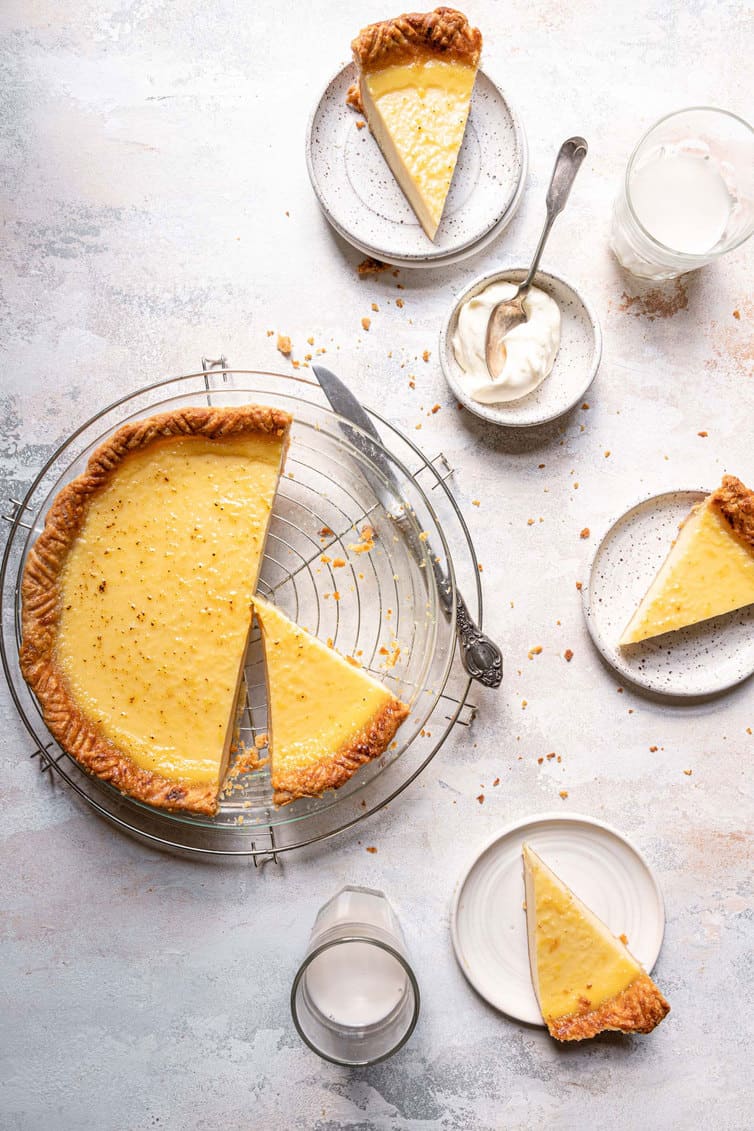
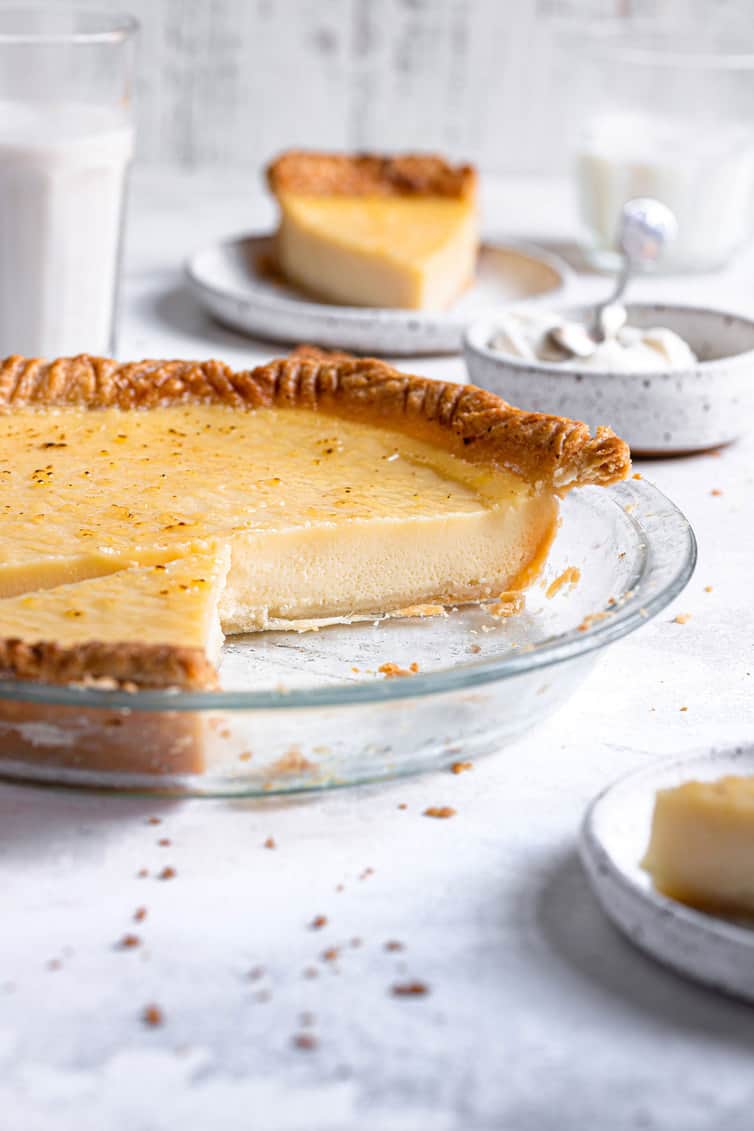
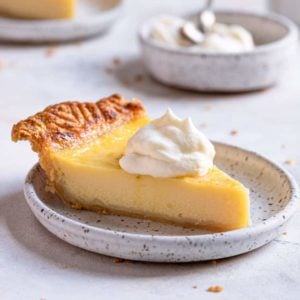
This buttermilk pie is easy to make and boasts a slightly tangy, slightly sweet filling that is smooth and creamy, with a lightly crackled sugary top. This classic, old-fashioned Southern recipe doesn’t get nearly as much attention as it deserves; give it a try the next time you want something different for dessert!
It may seem shocking but I had not seen a buttermilk pie recipe until nearly a decade ago. Not growing up in Texas (where it is wildly popular), I was surprised to find a whole new baking world using one of my favorite ingredients. I love the moist, subtle tang that buttermilk gives to baked goods, and use it constantly. (My buttermilk pancakes and buttermilk waffles are both on weekly rotation here!)
The deal was sealed when I realized that this dessert’s hallmark is a burnt, crackly crust like creme brûlée.
Creme brûlée is one of the great loves of my life. I needed to try this immediately.
What is buttermilk pie?
Originally made popular in the United Kingdom, buttermilk pie came to the U.S. by settlers in the south. Since buttermilk is easy to come by in various climates, for very little money, it quickly became a staple. It is often confused with a classic Chess Pie (which includes cornmeal) or a sugar cream pie (which has cooked filling prior to baking), but it is just as delicious!
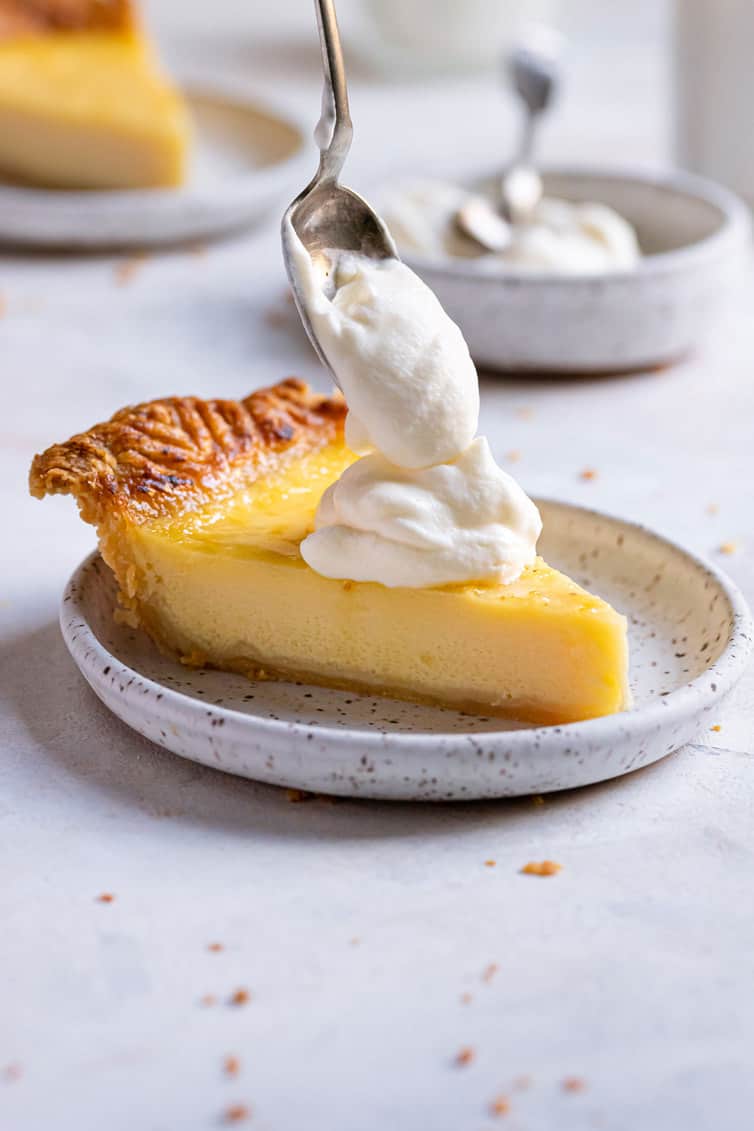
Passed down for generations, recipes for buttermilk pie have been tweaked and mastered, remaining one of the first custard pies many in the south learn to bake. The sugar topping here is what blows my mind. The snap of the crème brulee-style crust, with the smooth custard base is absolutely incredible. Adding a creamy dollop of whipped cream makes it even more luxurious.
Save This Recipe
How to make buttermilk pie
The beauty of custard-based pies is that they are super simple to make after you get your crust together. Though the dough prep process may feel intimidating, I have some tips posted below, and I promise it is worth it!
- Start with your pie dough and get it into the fridge. (This is the best pie crust I’ve ever used, and it’s great with this buttermilk pie.)
- Let chilled dough get to room temperature for about 10 minutes, then roll out into a 12-inch circle.
- Lay dough into your pie plate and put back in the fridge for 40 minutes. After that, the plate heads into the freezer for 20 more minutes.
- Par-bake your dough, using pie weights. (If you are new to that process, check out my post about how to blind bake pie crust!)
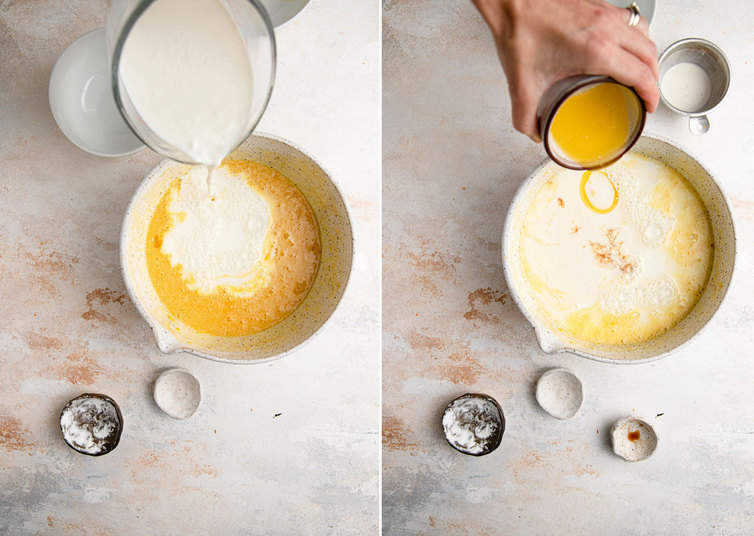
- While blind baking the crust, prep your custard filling.
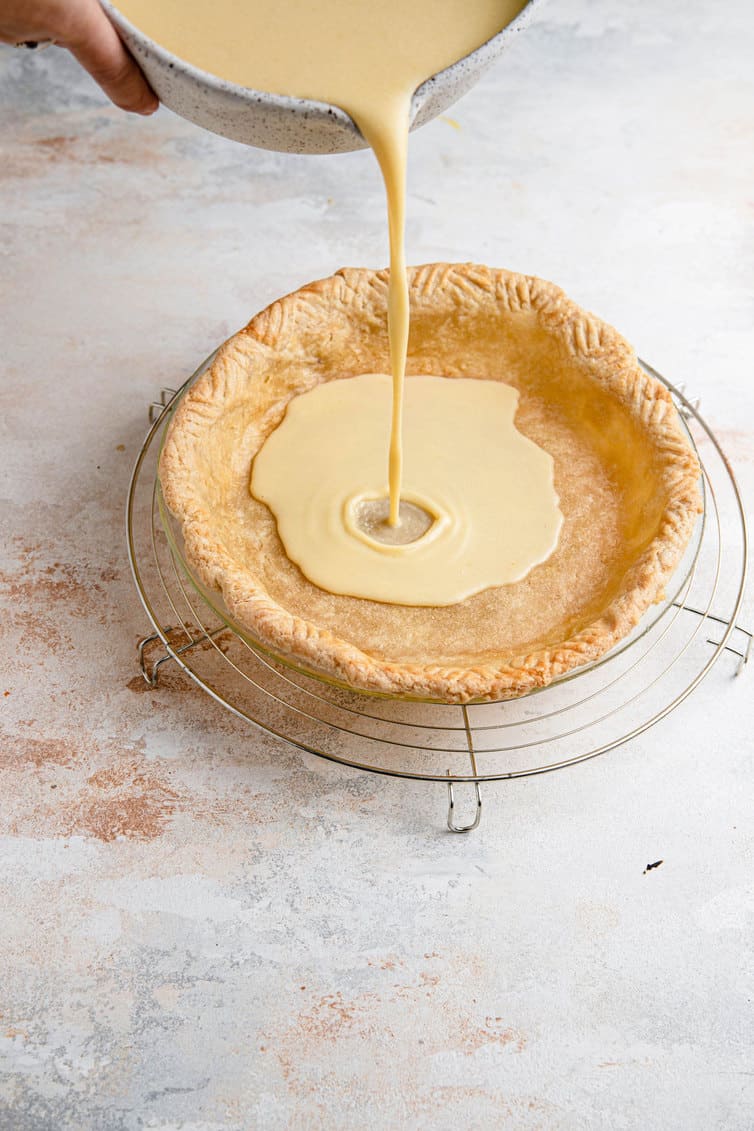
- Once the crust is parbaked, turn the oven down to 300 degrees and pull the oven rack out slightly with the door ajar. Pour the custard into the hot pie crust and bake for 10 minutes.
- After 10 minutes, pull the oven rack out again. Add sugar on the top and bake for 30-40 minutes, until your center is slightly jiggly with a crispy top and edges.
- Cool for 30 minutes and chill for at least three hours before serving!
Substitutions and variations
This is a fundamentally basic pie in terms of ingredients. What that means is that it works for various seasons, holidays, and ingredients. Here are some ideas for ways to jazz up this buttermilk pie recipe.
- Add a bit of lemon or orange zest to the filling for some citrus zing.
- Add blueberries to the base of the crust prior to pouring over the buttermilk, and you’ll have an incredible summer dessert.
- The tang of buttermilk is enhanced with a small amount of vinegar. If you prefer a little less tang, then you can omit the vinegar.
- Include espresso or raw cocoa powder into the custard to bring more flavor.
- If you are looking for less real dairy, vegan buttermilk replacements are available, and you can even make your own with only a few ingredients.
Storing tips and tricks
Buttermilk pie does best when refrigerated and should be covered (unless you’re sneaking a bite at 12am!).
During the holidays, I like to prepare as much as possible in advance, including pies! This pie can be made ahead through one of two options:
- Freezing a baked pie: This is riskier than the alternative option, but it can be done! After letting the pie completely cool, put it in the fridge for an hour (make sure it sets completely to avoid getting a sad, drippy pie!). After that hour, wrap the top of the dish completely with plastic wrap, and aluminum foil as airtight as possible.
- Preparing buttermilk pie in advance: Instead of baking, wrap the dough and put it in the freezer. At the same time, freeze the filling in an airtight container (make sure it is something easy to scrape out!).
- Mark the date: Whether stored as a whole pie or just the components – eat it up within three months!
Love buttermilk? Me too! Here are some of my favorite recipes using it!
- Perfect Buttermilk Biscuits
- Blueberry Lemon Buttermilk Bundt Cake
- Buttermilk Doughnuts
- The Best Chocolate Cake Recipe
I would absolutely love it if you tried this buttermilk pie for dessert soon! If you do, please stop back and leave a rating and let me know how you liked it! ENJOY! 😍
Buttermilk Pie Recipe
Ingredients
For the Pie Crust:
- 1¼ cups (156.25 g) all-purpose flour
- 1 tablespoon sugar
- ½ teaspoon (0.5 teaspoon) salt
- 4 tablespoons vegetable shortening, cut into small pieces and chilled
- 6 tablespoons unsalted butter, cut into small pieces and chilled
- 3 to 4 tablespoons ice water
- 1 egg white, lightly beaten
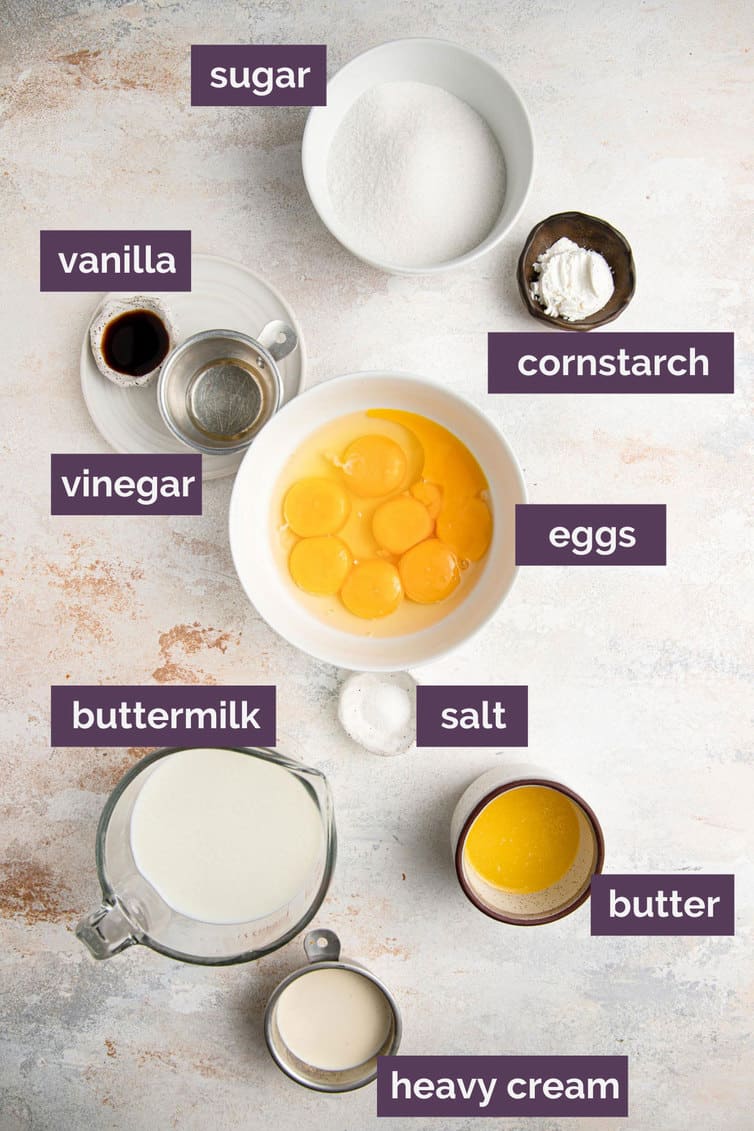
For the Filling:
- ¾ cup (150 g) + 2 teaspoons granulated sugar, divided
- 1 tablespoon cornstarch
- ¾ teaspoon (0.75 teaspoon) salt
- 2 eggs
- 5 egg yolks
- 1¾ cups (420 ml) buttermilk
- ¼ cup (59.5 ml) heavy cream
- 4 tablespoons unsalted butter, melted
- 2 teaspoons distilled white vinegar
- 1½ teaspoons (1.5 teaspoons) vanilla extract
Instructions
- Make the Pie Crust: Place the flour, sugar, and salt in a food processor and pulse a few times to combine. Add the chilled shortening and pulse until coarsely ground (about 5 to 6 pulses). Add the chilled butter and pulse until mixture resembles coarse crumbs (about 10 pulses). Transfer the mixture to a large bowl. Sprinkle 3 tablespoons ice water over the flour mixture. Using rubber spatula, stir the mixture until dough forms. If dough remains crumbly, add remaining 1 tablespoon water. Form the dough into a 4-inch disk, wrap tightly in plastic wrap, and refrigerate for at least 1 hour or up to 2 days.
- Let the chilled dough stand at room temperature for 10 minutes. Roll the dough into a 12-inch circle on a lightly floured surface. Transfer the dough to a pie plate and fold any overhanging dough underneath itself so the edge of the dough is flush with the outer edge of the pie plate. Crimp edges as desired. Refrigerate the dough-lined pie plate for 40 minutes, then place in the freezer for 20 minutes. While the crust is in the freezer, adjust the oven racks to the upper-middle and lower-middle positions and preheat the oven to 375 degrees F.
- Line the chilled pie plate with two pieces of parchment paper, allowing the parchment edges to hang over the edges of the pie crust. Fill the lined pie crust with pie weights, place on a lined baking sheet and bake on the lower-middle oven rack until lightly golden around the edges, 20 to 25 minutes. Remove the parchment and pie weights, rotate the baking sheet and continue to bake until the crust is golden brown, 5 to 7 more minutes. Brush the surface of the hot crust with the egg white and bake for an additional 1 minute.
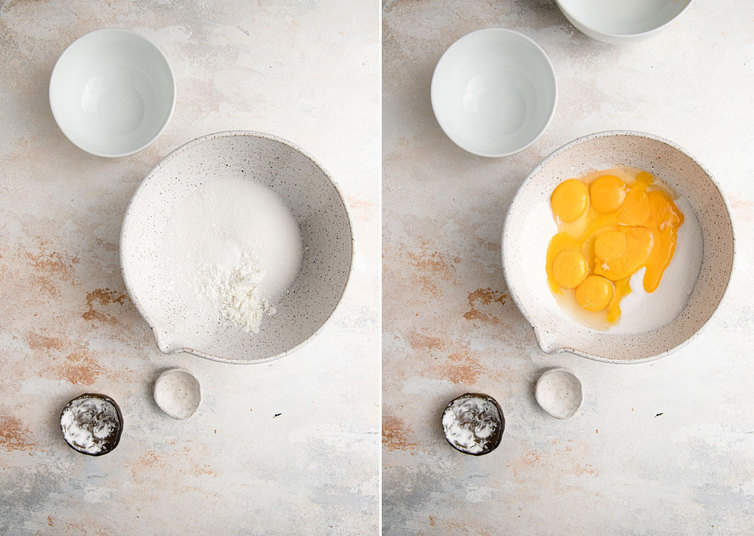
- Make the Pie Filling: While the crust is baking, prepare the pie filling. In a large bowl, whisk together ¾ cup of the sugar, the cornstarch and salt. Add the eggs and egg yolks and whisk to thoroughly combine. Add the buttermilk, heavy cream, melted butter, white vinegar and vanilla extract, and whisk until completely combined.
- Once the crust is done, reduce the oven temperature to 300 degrees F. If the pie filling has been sitting for a few minutes, give it a short whisk to recombine, then transfer to a 4-cup measuring cup (or other large bowl/cup with a spout). Leaving the pie crust in the oven (just slide the oven rack out a bit), carefully pour the filling into the hot pie shell. Bake for 10 minutes.
- Again, leaving the pie crust in the oven and just sliding the oven rack out, sprinkle the remaining 2 teaspoons of sugar evenly over the top of the pie. Continue to bake until the center jiggles very slightly when the pie is shaken, 30 to 40 minutes. Remove the pie from the oven and increase the oven temperature to 450 degrees F. Once the oven comes to temperature, place the pie on the upper-middle rack and bake until the top is golden brown, 5 to 7 minutes.
- Remove from the oven and place the pie plate on a wire rack and allow to cool for 30 minutes. Transfer the pie to the refrigerator and chill for at least 3 hours before serving.
Notes
- I use and recommend this pie plate.
- You can substitute my all-butter crust, best-ever pie crust, or your favorite pie crust recipe (or store-bought, if you must) for the one listed above.
- You can omit the vinegar if you want to cut the tanginess a bit.
- I recommend my homemade whipped cream recipe for topping this pie.
- Storage: Leftovers should be covered and refrigerated for up to 3 days.
Did you make this recipe?
Leave a review below, then snap a picture and tag @thebrowneyedbaker on Instagram so I can see it!
[Photography by Dee Frances]


I haven’t made this recipe yet. It sounds perfect and I love the fact that it doesn’t have too much sugar. I’ll have to wait until the price of eggs comes down before I’ll give it a try.😂
Such a delicious and easy pie ! Was a big hit with both my family and friends! Will definitely make it again!!
I’m so thrilled that you and your family enjoyed this pie, Dee! xo
Ive never had this.. wondering what does the vinegar do for the recipe? I see it calls for buttermilk and vinegar. Wondering does this taste like a creme Brulee flavor sort of….or us it meant to be kind of sour?
Hi Macy, It has a tang to it; some people like the vinegar for an extra little zing, but some prefer to leave it out. You can choose! :)
Question! I usually make my own soured milk in place of buttermilk, mainly because buttermilk is not always available in my local grocery stores. (Even worse now with the pandemic) Considering this would you still add the extra vinegar?
Thanks!
Hi Jen, You don’t need to add the extra vinegar if you prefer not to. Enjoy!!
loved the pie, best pie Ive ever made
The first time I had this pie, it was “dying” as a choice at a family event. The pie I had, had a meringue on top and the filing tasted like burnt sugar. Ever since I made a big deal about it, it’s been super popular. Love this pie.
Made this pie for a friend who loves buttermilk pie and ended up feeding it to my chickens. Such a disappointment, waste of ingredients and time. I am a pretty good cook but first time making this recipe. So many things wrong- no size listed for the pie so I used a 9” pan, pretty standard I thought.
Too much filling so I ended up throwing some out. The crust pre-bake time is way off, the dough was gummy under the pie weights even after adding an extra 10 min. Finished the baking with another 10 min. , and the crust shrunk down to an inch tall. Added what I could of filling and cooked the directed 10 min., more before adding the sugar, it was a sloppy mess! What a mess all over the oven. This recipe has so many detailed minutes on everything you would think you were making a very complicated recipe but your not, it’s Buttermilk pie and should be simple and easy.
I am going to cook the buttermilk pie 😀.
As a life long Southerner and a life long baker must tip my hat to this recipe. It is my go to recipe for buttermilk pie. #1 selling point is it’s generous filling. I hate skinny pies. The amount of milk and cream is twice most other recipes. Also most other recipes call for two eggs. All the additional egg yolks really make a difference. The extra attention paid to the crust is also well worth the time. I do confess that my Southern roots upped the sugar a little and couldn’t bring myself to add the vinegar. (I will add vinegar to whole milk as a substitute for buttermilk so didn’t understand adding vinegar to the already edgy buttermilk) But it is a truly rich and deep and wonderful pie. [now to the perpetual debate — nutmeg or not.]
Just made this pie. Very good but just a little sweett for my taste. Like the texture,too.
Made it and YUK! The vinegar overpowered the taste and was too strong. The filling was very bland even with the eggs and buttermilk. Will not make again.
Go to Borden.com and search buttermilk pie! Have the cut out side of quart carton which does not list lemon zest, lemon juice or vinegar. This is a great pie and we have made it every Thanksgiving for decades!
I made this yesterday and it is delicious! I was a little concerned about the 7 eggs as most recipes call for 3, but it was fine – it’s really a buttermilk custard pie rather than a chess type pie…I followed the above tip about the butter and used buttermilk from a local dairy.
I added the melted butter last, and that was a mistake. When it hit the cold buttermilk, the whole texture went weird and never did get worked out, even after whisking and whisking and baking. I would recommend combining the melted butter with the sugar, like with a chess pie, and then combing everything else with it.
hi! i just made this pie, with a few adjustments and notes (it was the only buttermilk pie on the net I could find that looked beautiful, hence I had to use the custard recipe). First – I used a flaky rye pastry dough (I wanted to balance out the sweet-tanginess with a wheaty sweetness). I added a pinch of a few spices – nutmeg, allspice, cinnamon – and some sea salt on top with the sugar. I substitued 1/4 c of honey for part of the sugar, added a splash of rum, and lemon zest. As I’m writing this I realize maybe I was looking for a different flavor all along, instead of *only* enhancing it. Anyway, the custard is great and I’m happy I found this recipe.
I love buttermilk. In the past I’ve used the Penzey’s recipe for this. This recipe has a more pronounced buttermilk flavor, and it’s not as sweet. You can really taste the buttermilk, it’s great!
Okay, I know the posted recipe is a bit old.. But it looks delicious! I’ve tried various recipes for buttermilk pie in the past, none of them comparing to my dear friend’s grandmother’s pie, out in rural Louisiaba. So I’m pretty excited to try this one! HOWEVER– I do not make pie crusts. When using a store bought, should I pre-bake as directed on here?
Thanks for a delicious looking recipe!
Hi Katie, Yes, it should be partially blind-baked. I would follow the instructions on the crust.
Never heard about buttermilk pie before, but I was intrigued when I was reading your post. I made it yesterday and found it very tasty! Everyone liked it! I’m happy I baked this pie, even though it took some time to prepare.
I made this for my husband since he loves his granny’s buttermilk pie. I am not a fan at all of buttermilk pie. My family was not impressed. They said it was a bit sour. Not sure if I did something wrong or if they are just used to the pie that granny always makes. Either way, I was disappointed. I so wanted to score big with this recipe. Oh well. At least my coconut cream pie is better than granny’s! Ha ha.
Shelly–your family is probably used to a more modern version of this recipe, which uses twice as much sugar and butter, half as much buttermilk, omits the vinegar, and thickens with flour. It’s a straight-up custard. I find this version tastier and more subtle (especially since I do a full brulee on the crust and add caramel sauce), but if that’s what they’re used to, look at the food network recipes.
Wick’s Pies in east-central Indiana is the place to fine old fashioned sugar cream pie. The crust could use some reworking, but I have fond memories of those pies. I had a friend, my Mother’s friend really, that won their pie baking contest of years past.
Years ago in Midwest Living Magazine they published a recipe called USS Missouri Buttermilk Pie. Is so-o-o good. I’ve made it many time for skeptical diners that gave it rave reviews. The recipe is still on the magazine’s site.
Hi Michelle,
I am brand new to your blog & love it! I found you while searching for a buttermilk pie recipe to reference on my blog. I hope you are ok with my using your recipe on my blog. I referenced your blog & linked to this post. Here is my post for your review http://mysoulfulhome.com/peaches-the-past-a-pie/
If you have ANY issue with me using your recipe just let me know.
I am now a fan & a follower through Blog lovin’!
Kelly
This sounds wonderful! After reading the recipe, it seems to me that the edges of the pie crust will be overcooked after pre baking and then baking even longer when filling is added. Is this a problem? Guess I’ll try and can always cover the edges if needed. Thanks!
Hi Rita, Mine was a little on the dark side; if you see the crust is getting a little too dark, you can cover the edges with foil.
Mmmmm…I’ve never made a pie like this before. Really excited to give it a shot.
I made this recipe for dinner last night. Was excellent! It was an early Derby week dinner party. I don’t care for Derby Pie as it is always SO sweet. This was perfect. To add a little Derby influence I made a bourbon caramel sauce with toasted pecans. Buttermilk, bourbon, caramel, and toasted pecans played very well together. Thanks for the recipe.
I know this is already a rich recipe, but I had this at a restaurant where they served it with salted caramel sauce over the top. It makes it 100X better! I made this and made a sauce for the top.
1/4 cup butter
1/2 cup brown sugar
1/2 cup heavy cream
1/2 teaspoon vanilla
dash of salt
Melt butter on stove top. Add sugar and whisk until bubbly. Add salt and vanilla and continue whisking for three minutes. Remove from heat and add heavy cream. Pour over pie and serve!
I am really intrigued by this. I know I’d love the texture but I’m not as sure about the flavor. I want to try it to find out. Love that your crust uses butter and shortening. I’ve never met an all butter pie crust that can begin to compare.
I’ve never heard of buttermilk pie (even though I’m from the UK where it originated!) It looks so good though, love the sound of the creme brulee like topping!
I have never had buttermilk pie either and honestly, I don’t think it sounds all that good. Until you compare it to creme brulee. Now I am crazy intrigued and have to try this. Pinned!