Fluffy and Crisp Buttermilk Waffles
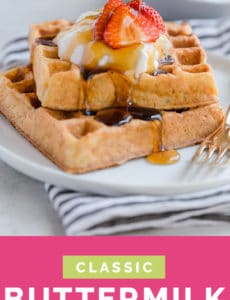
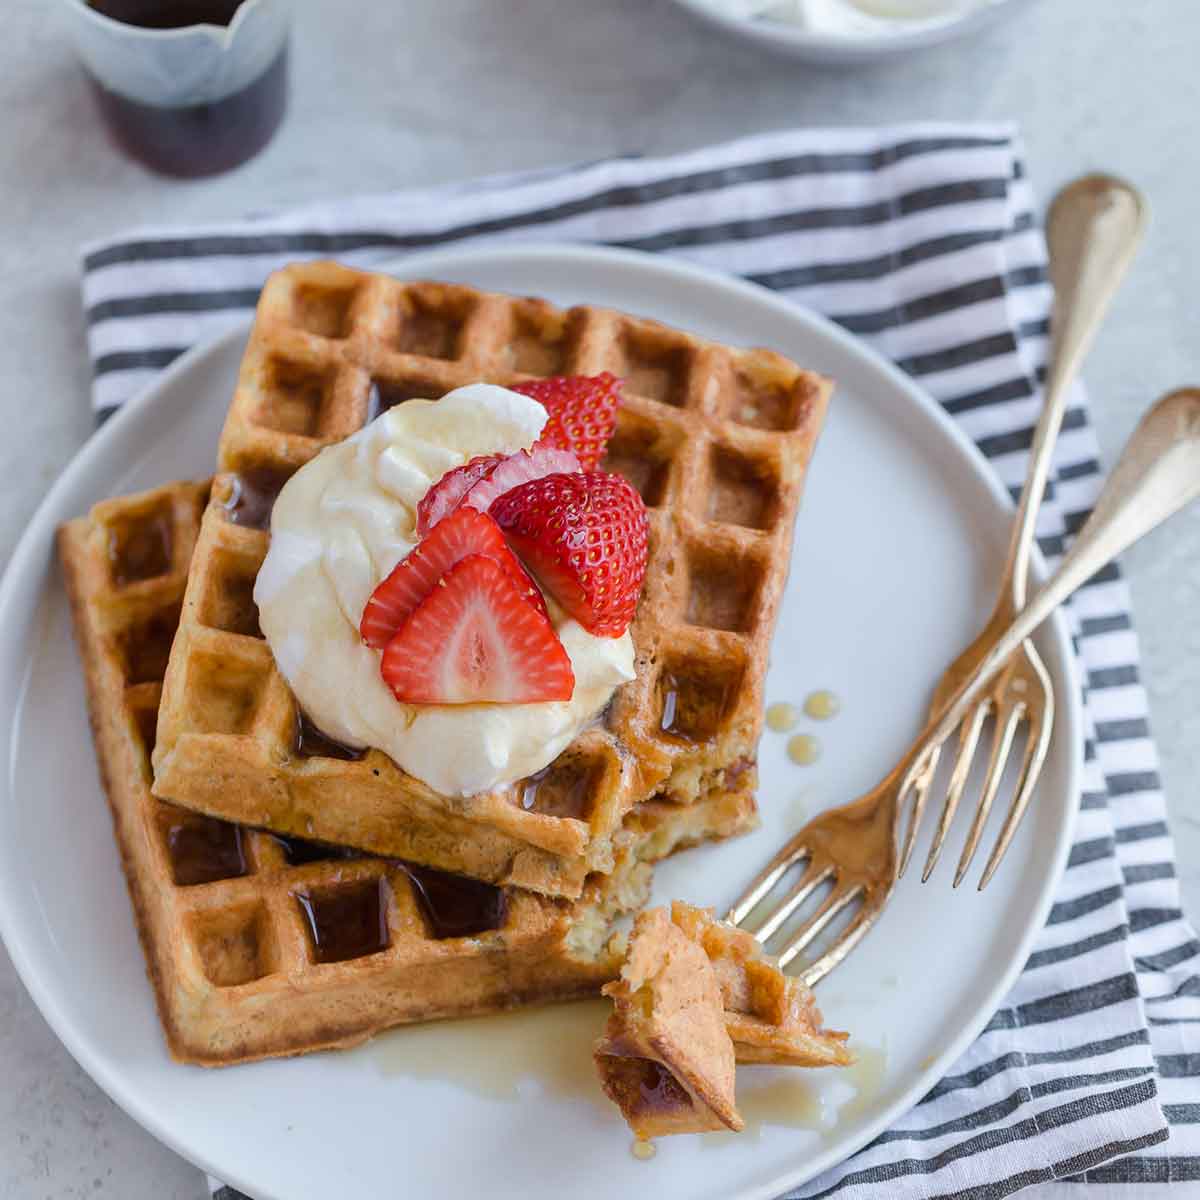
These classic buttermilk waffles are easy to make and come out big, fluffy, and crisp every time. It's a must-have recipe for turning an ordinary breakfast into something extra-special.
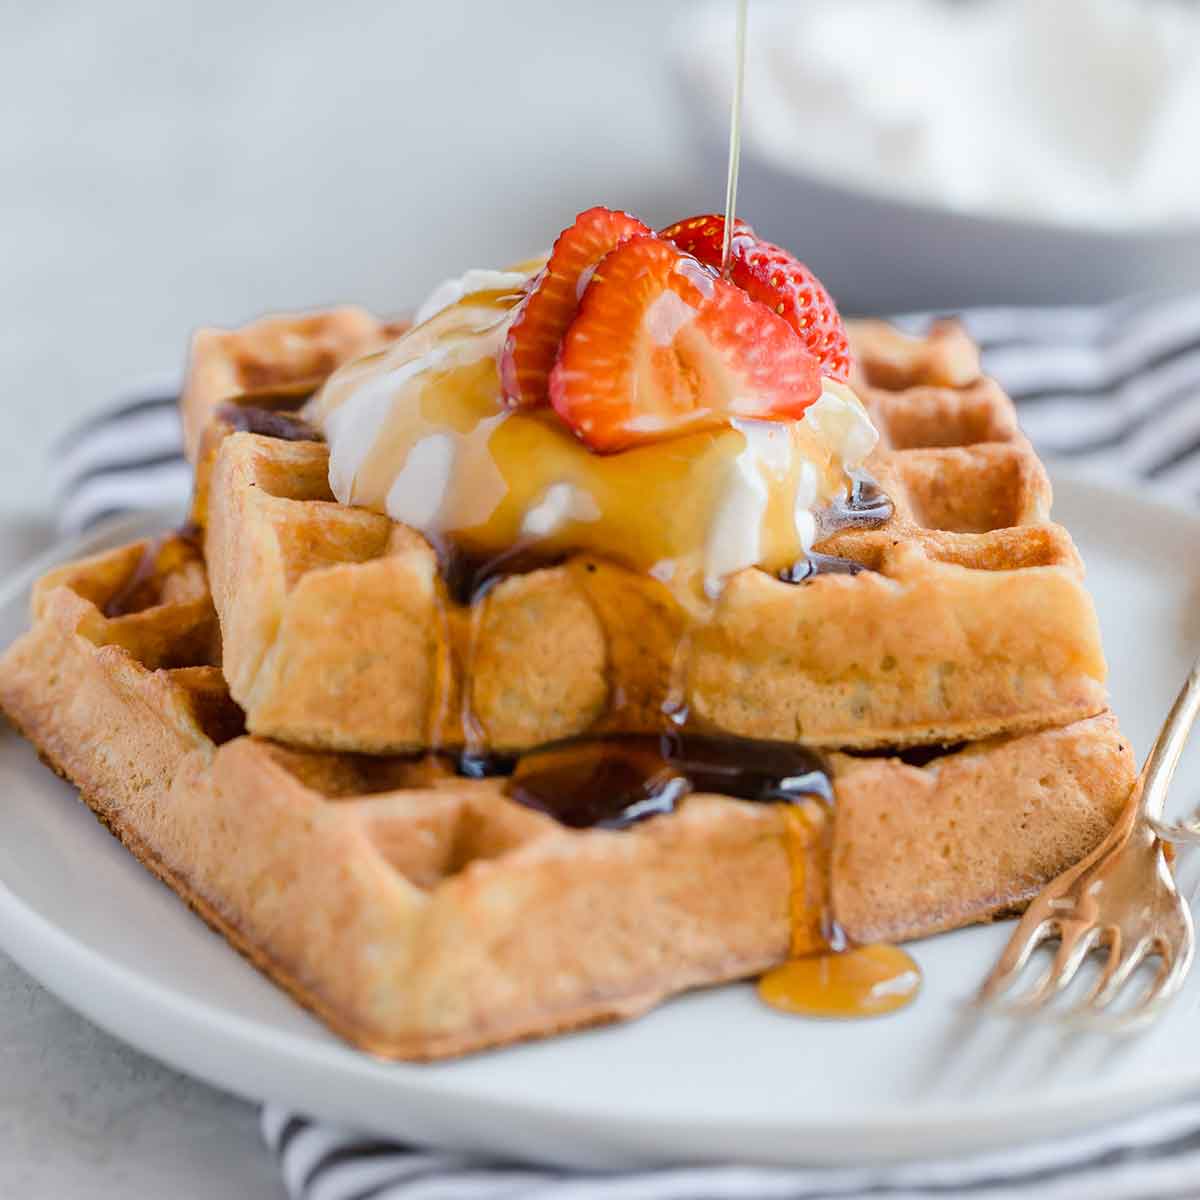
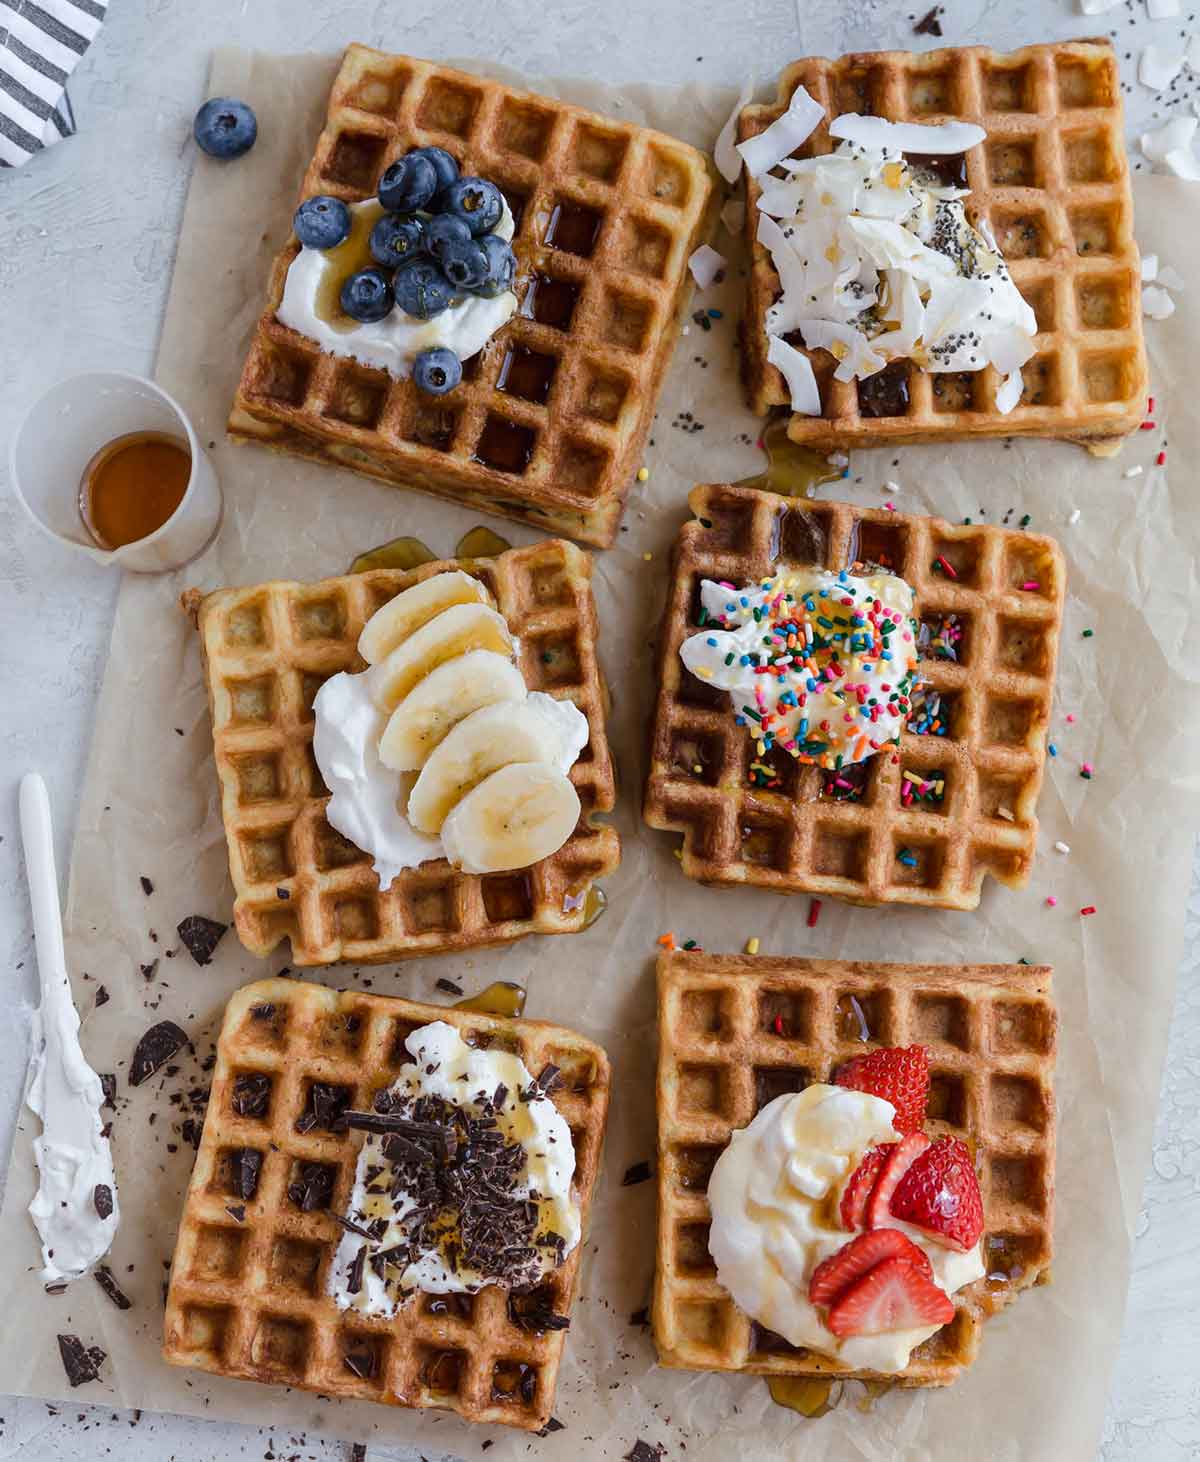
Whether you choose to top the waffles with the standard butter and syrup, fresh fruit, whipped cream, sprinkles, chocolate chips, or some combination… you are going to fall in love with this waffle recipe!
I didn't encounter the world of "real" waffles until I went to college and found the Belgian waffle station in the cafeteria. I relished my newfound freedom and ate my weight in Belgian waffles during my freshman year.
Nowadays, I'm partial to my square waffle maker because I have three kids waiting to eat, and the one-waffle-at-a-time approach isn't nearly as efficient.
I used boxed waffle mixes to make my batter for a long time, but I finally nailed the perfect homemade buttermilk waffle recipe. It's incredibly easy and makes the most delicious waffles I know you and your family will love!
Ingredients List
There is a high probability that you already have everything you need to make these classic buttermilk waffles.
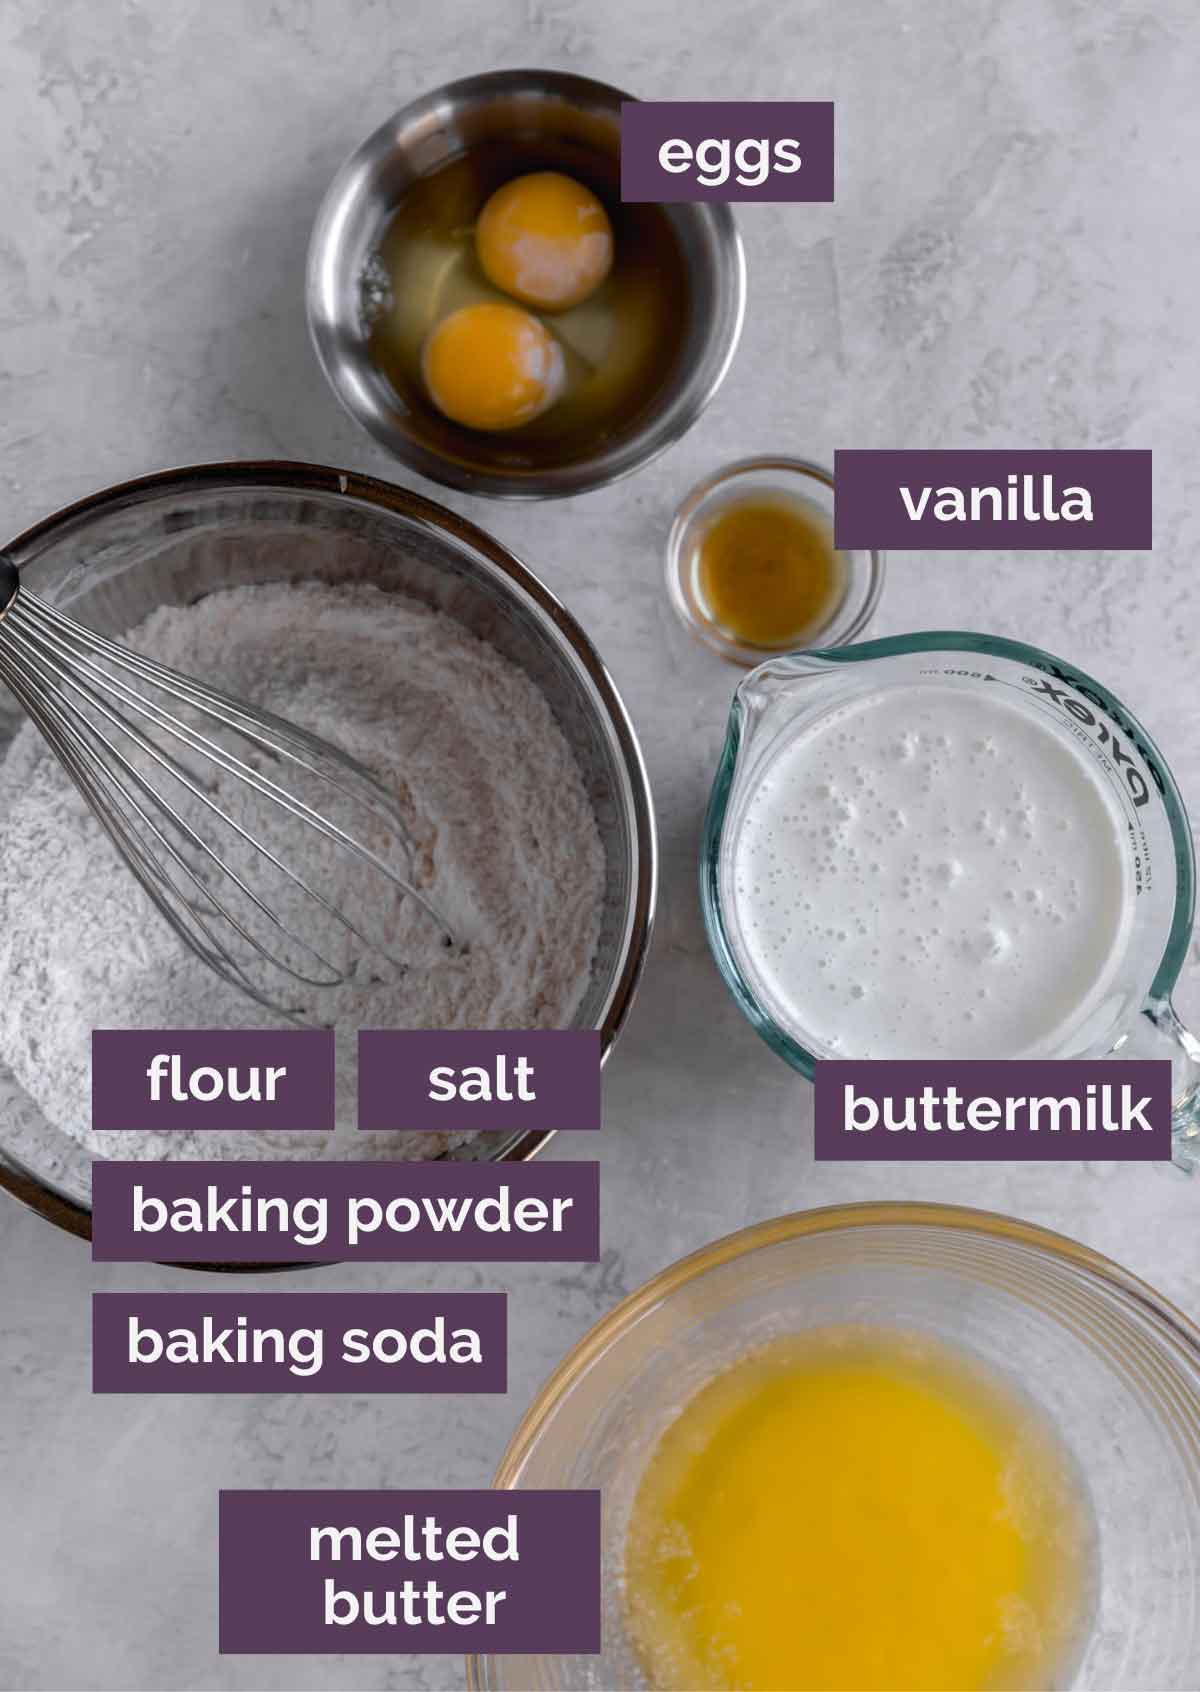
Let's run down the list…
- Flour - To give the waffles structure.
- Sugar - For a little sweetness.
- Baking Powder + Baking Soda - For the all-important fluffiness.
- Salt + Vanilla - For maximum flavor.
- Buttermilk - For rich flavor and supreme fluffiness.
- Butter - Adds fat for tenderness and loads of flavor.
- Eggs - Bind together the batter and bring everything together.
Buttermilk Substitute
If you don't have buttermilk on hand, you can easily make it using a combination of regular milk and either lemon juice or white vinegar (this is referred to as "clabbered milk"); here's how to do it:
For this waffle recipe, add 2 tablespoons of lemon juice or white vinegar to a 2-cup measuring cup, then add enough milk to make 2 cups. Stir together, then use as directed in the recipe. (You only need 1¾ cups for this recipe; you can discard the leftover buttermilk.)
How to Make Buttermilk Waffles
Homemade waffles are a great treat; making them completely from scratch takes only 2 or 3 minutes longer than making them with a baking mix.
- Whisk together the dry ingredients - Flour, sugar, baking powder, baking soda, and salt.
- Whisk together the wet ingredients in a separate bowl - The buttermilk, melted butter, eggs, and vanilla get mixed.
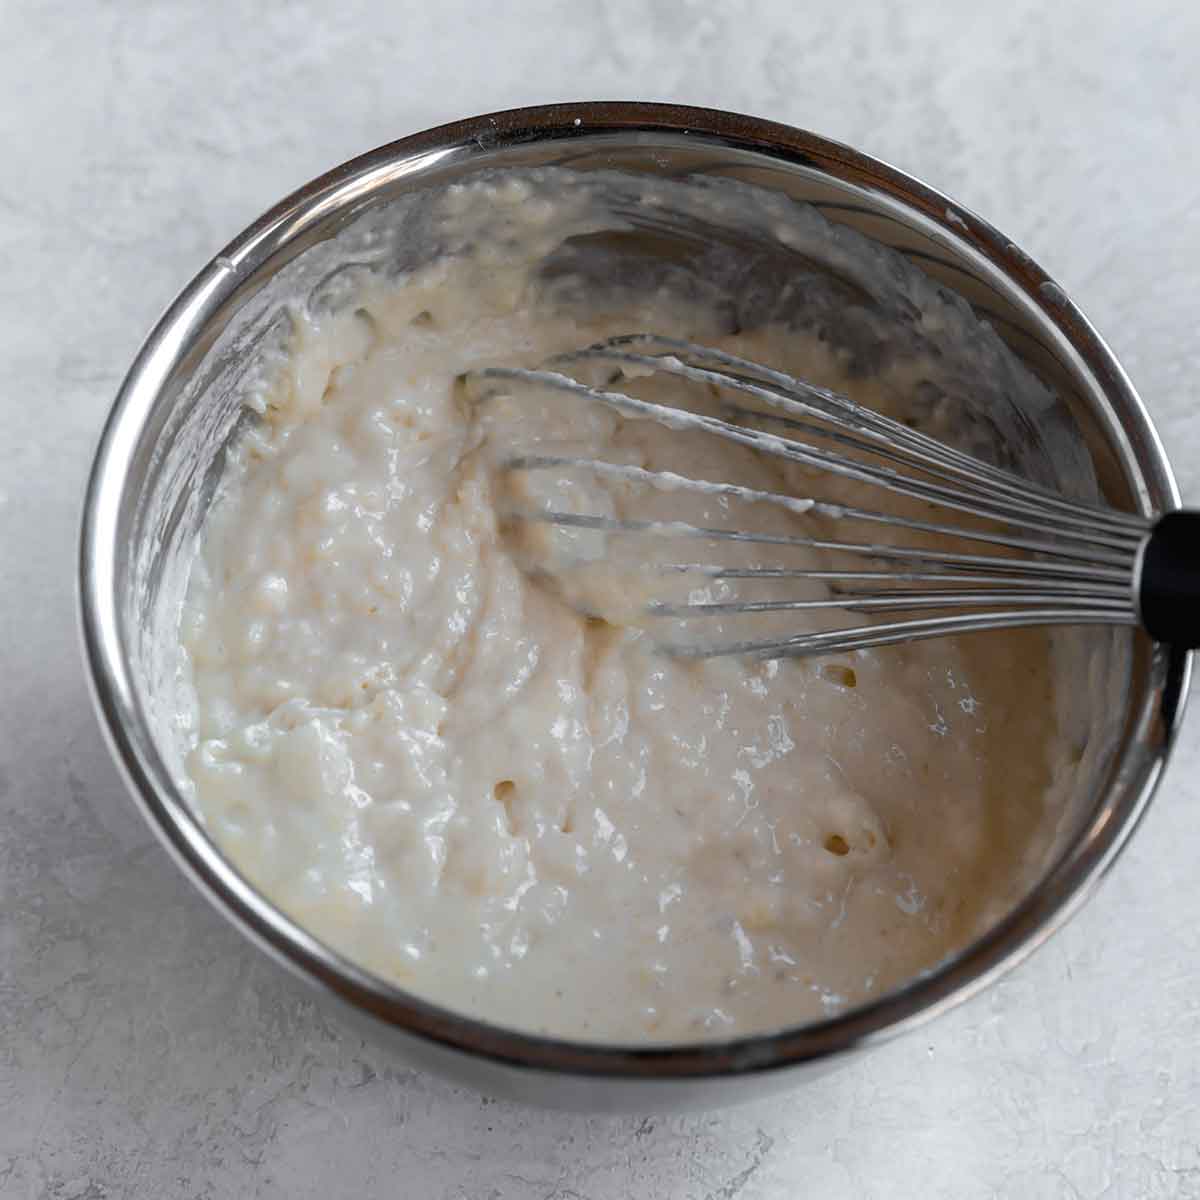
- Add the wet ingredients to the dry ingredients and whisk to combine. When whisking the batter together, do so gently and for only as long as it takes to incorporate the wet ingredients into the dry. Lumps are okay; you don't want a completely smooth batter!
- Spray the waffle iron with non-stick cooking spray and preheat until it is scorching hot - A drop of water on the iron should sizzle and evaporate almost immediately.
- Portion the batter according to the manufacturer's directions and cook to the desired doneness.
The last step is, of course, topping those beautiful golden brown waffles.
Waffle Toppings
There are so many wonderful toppings to choose from! Here are a few ideas:
- Butter
- Maple Syrup
- Fresh Fruit
- Whipped cream
- Nut butter or Nutella
- Jam or fruit spread
- Hot fudge sauce
- Sprinkles
- Chocolate chips
- Coconut
- Sprinkle of powdered sugar
What are your go-to waffle toppings?
Save This Recipe
Make It a Full Breakfast:
- Oven-Baked Bacon
- Bourbon-Brown Sugar Bacon
- Perfect Scrambled Eggs
- Buttermilk Fried Chicken (chicken and waffles!)
- Fresh fruit
Waffle Tips
No one wants a soggy waffle! To make the most delicious fluffy-on-the-inside, crispy-on-the-outside waffles, there are a few important things to remember:
- Buttermilk - Much like pancake batter, buttermilk reacts with baking soda to create a wonderful rise, creating ultra-fluffy waffles. A little extra baking powder is included to ensure supreme lift. If you don’t have buttermilk, see the note above in the Ingredients section about how to make a substitute.
- Lumpy Batter – Don’t keep whisking until the batter is completely smooth; you want some lumps in there! The air pockets in the lumps ensure wonderfully fluffy waffles.
- High Heat Setting - Don't be afraid to crank up that temperature setting on your waffle iron; your waffles will NOT burn, but they will be significantly crisper when you turn up that setting versus leaving it low, resulting in soft waffles.
Serving, Storage, Freezing, and Reheating Instructions
Serving: If you are serving a group and want everyone to have warm and crisp waffles, place the finished waffles on a baking sheet in a 200-degree oven until ready to serve.
Storage: You can store any leftover waffles in an airtight container in the refrigerator for up to 4 days.
Freezing: If you want to freeze leftover waffles, place them on a baking sheet in a single layer and put in the freezer until completely frozen. Then remove them from the baking sheet and store in a freezer-safe plastic bag for up to 2 months.
Reheating: Whether you’re reheating a waffle from the refrigerator or freezer, these are the best ways to return them to their original warm, crisp texture:
- Toaster or toaster oven: Use a medium-high setting to get them crispy again!
- Oven: Reheat in a 350-degree oven for 6 to 10 minutes or to desired crispness.
Check Out More Waffle Recipes:
More Classic Breakfast Recipes:
- Challah French Toast
- Dutch Baby Pancake
- Fluffy Buttermilk Pancakes
- Baked Oatmeal with Apples, Raisins & Walnuts
- Monkey Bread (From Scratch)
Watch the Buttermilk Waffles Recipe Video:
These homemade buttermilk waffles are an easy classic that your family will beg for time and again. Make your weekends a little sweeter, or create a waffle Wednesday tradition for a special midweek treat!
If you make this waffle recipe and love it, remember to stop back and give it a 5-star rating - it helps others find the recipe! ❤️️
Fluffy and Crisp Buttermilk Waffles
Ingredients
- 1¾ cups (228 g) all-purpose flour
- 2 tablespoons granulated sugar
- 2 teaspoons baking powder
- 1 teaspoon baking soda
- 1 teaspoon salt
- 1¾ cups (420 ml) buttermilk
- ½ cup (113 g) unsalted butter, melted and cooled to room temperature
- 2 eggs
- 2 teaspoons vanilla extract
Instructions
- In a large bowl, whisk together the flour, sugar, baking powder, baking soda and salt; set aside.
- In a medium bowl, whisk together the buttermilk, butter, eggs and vanilla extract. Add the wet ingredients to the dry ingredients and gently whisk to combine. Do not overmix!
- Spray a waffle iron with non-stick cooking spray, then preheat. Once the waffle maker is ready, add the batter according to the manufacturer’s instructions and cook for 2 to 3 minutes, or until the waffle maker indicates they are ready. Serve immediately, or place in a 300-degree oven to keep warm. Leftover waffles can be wrapped in plastic wrap, placed in a ziploc bag and stored in the refrigerator for 2 days or in the freezer for up to 1 month.
Notes
- Recommended Equipment: Breville Smart Waffle Maker or this single Belgian-style waffle maker
- Buttermilk Substitute: For this waffle recipe, add 2 tablespoons of lemon juice or white vinegar to a 2-cup measuring cup, then add enough milk to make 2 cups. Stir together, then use as directed in the recipe. (You only need 1¾ cups for this recipe; you can discard the leftover buttermilk.)
- Lumpy Batter - Don't keep whisking until the batter is completely smooth; the air pockets in the lumps ensure wonderfully fluffy waffles.
- High Heat Setting - Don't be afraid to crank up that temperature setting on your waffle iron; your waffles will NOT burn, but they will be significantly crisper when you turn up that setting versus leaving it low, resulting in soft waffles.
- Serving: If you are serving a group and want everyone to have warm and crisp waffles, place the finished waffles on a baking sheet in a 200-degree oven until ready to serve.
- Storage: You can store any leftover waffles in an airtight container in the refrigerator for up to 4 days.
- Freezing: If you want to freeze leftover waffles, place them on a baking sheet in a single layer and put in the freezer until completely frozen. Then remove them from the baking sheet and store in a freezer-safe plastic bag for up to 2 months.
- Reheating: Whether you're reheating a waffle from the refrigerator or freezer, use a toaster or toaster oven on a medium-high setting, or reheat in a 350-degree oven for 6 to 10 minutes.
Did you make this recipe?
Leave a review below, then snap a picture and tag @thebrowneyedbaker on Instagram so I can see it!
[photos by Ari of Well Seasoned]


conversions are all wrong. had to add much extra flour. poster obviously did not actually try recipe after converting.
FINALLY a recipe that produces thick fluffy and crisp waffles. I hate soft waffles. I had to do a double batch and put them in the oven at 200 to stay warm while cooking them all. They kept their consistency and tasted amazing! Definitely my new go-to!
Great recipe! We usually let them get a little more brown for extra crisp and frequently mix milk with Greek yogurt and/or sour cream when we don’t have buttermilk. We freeze leftovers and they retoast up great!
This recipe is way too easy for how delicious the waffles turn out! Love it!
So good, best waffles I’ve ever had. Its a keeper!
I made a double batch to freeze and these turned out perfect! Thank you so much!
Delicious! A favorite treat on a weekend morning for our family.
Your recipes never disappoint! I made a slight adjustment by separating the eggs and whipping the whites to stiff peaks. After mixing the milk and egg mixture into the dry ingredients I folded in the whipped egg whites then followed the recipe as written. So light and crisp!
These have become our go-to Belgian waffles. The whole thing comes together very quickly. I make all the waffles and then crisp up what we need for breakfast (as the recipe mentions a 300F oven will crisp them up quickly). Recently I made one change to the recipe – instead of 1/2 cup of butter I use 4tbs butter and 4 tbs oil. It cuts the richness just a bit and the flavor of the vanilla really comes through.
I keep coming back to this waffle recipe because it makes delicious, crisp, buttery waffles every time!
This is a delicious recipe!!
Now my go to waffle recipe!!! Make at least 3 x a month!
I don’t understand how anyone could use frozen waffles when this is so easy and good!
I made these exactly to the recipe and they were way too salty and very buttery and floppy!! Huge disappointment
Deliciously crisp on the outside and moist on the inside! I used an all purpose gluten free flour and loved them :) My new favorite go-to recipe. Thanks for sharing.
So good! Will make again for sure. My husband taps our maple trees. So had to make homemade waffles
I don’t know what all the negative comments are about! This is the best waffle recipe I have ever made and I’ve made a lot! The leftovers keep so well and stay crispy. Too much butter? Too salty? Absolutely not!
Way too salty, such a waste of ingredients as well.
can you use almond milk for regular milk?
Hi Scott, For this particular recipe to turn out as intended, you’ll need to use buttermilk.
Are the grams wrong for the flour? I don’t understand how it’s 228grams of flour for 1 3/4 cup but then 420ml for 1 3/4 buttermilk?
The worst waffle recipe i ever made. Way too much butter and salt. The texture is all wrong. I would rate this -5 if i could. This recipe is a dud. What a waste of ingredients…
I made this recipe this morning. Best waffle made at home I’ve had, light on the inside, crispy on the outside. I didn’t have baking soda so I simply substituted self-rising flour and didn’t add the salt or soda. To those who didn’t get the crispness…recently I read an article about waffle irons. The one we had was not all that great. Regular large square, producing thin, waffles, but not crisp necessarily. I purchased the recommended top performing waffle iron: Cuisinart WAF-F40 Double Flip Belgium Waffle Maker. Even on the highest setting, I let it stay in a little longer to get the desired crispness. The recipe and the waffle iron are both keepers!
I am making these this weekend for my grandson’s 12th birthday. I want to clarify the amount your recipe makes. My Belgian waffle iron is divided into 4 squares. The recipe says it will make 5 waffles. Is this 5 of the small squares or 5 big squares? Thanks!
Hi Sharon, I have a 4-square waffle maker and each square is 4 inches x 4 inches. I usually get around 7 waffles from this recipe. I hope that helps!
I used 2 Tablespoons of oil instead of butter . They turned out fine. I also did a batch with cinnamon and fine diced apples, I used brown sugar in that one.
yummy eggy moist perfect wffles, my go-to recipe
Great recipe
These are great waffles.