S’mores Bars
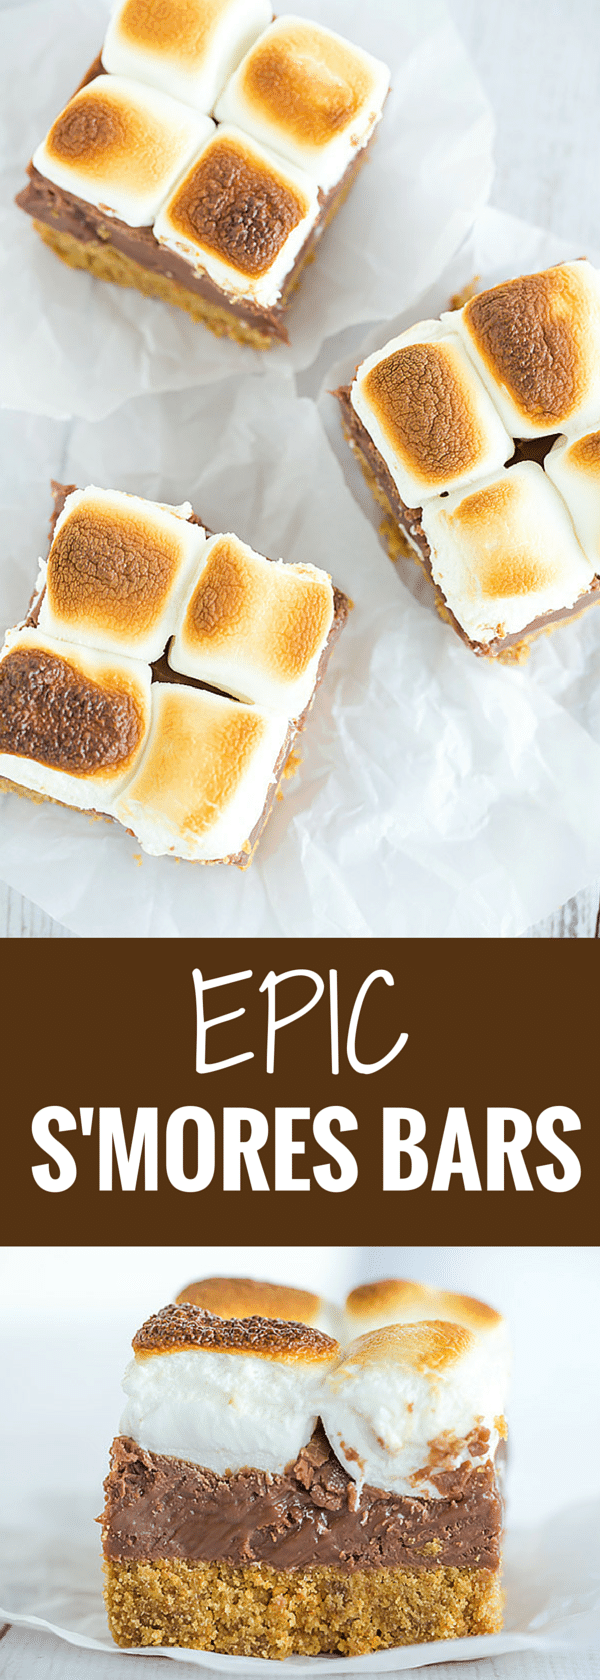
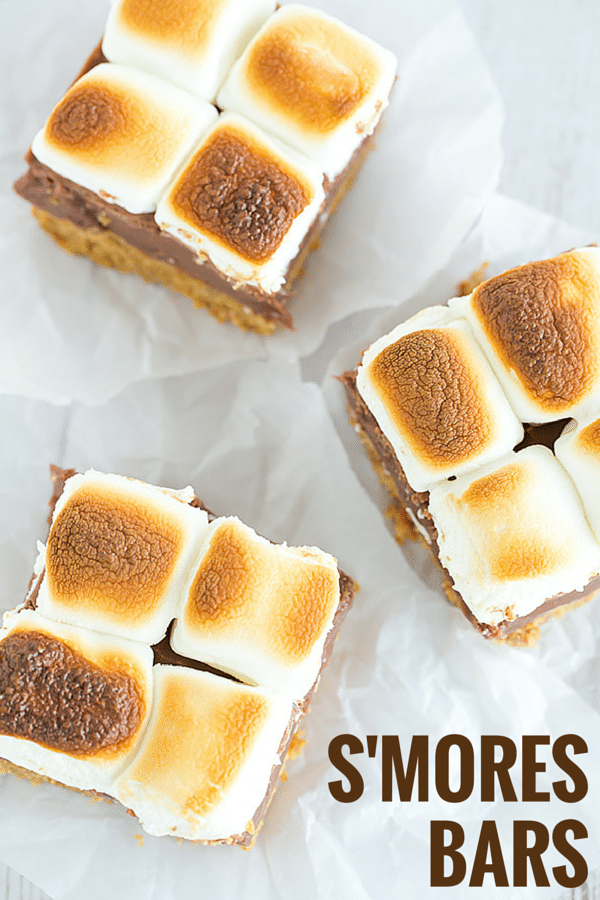
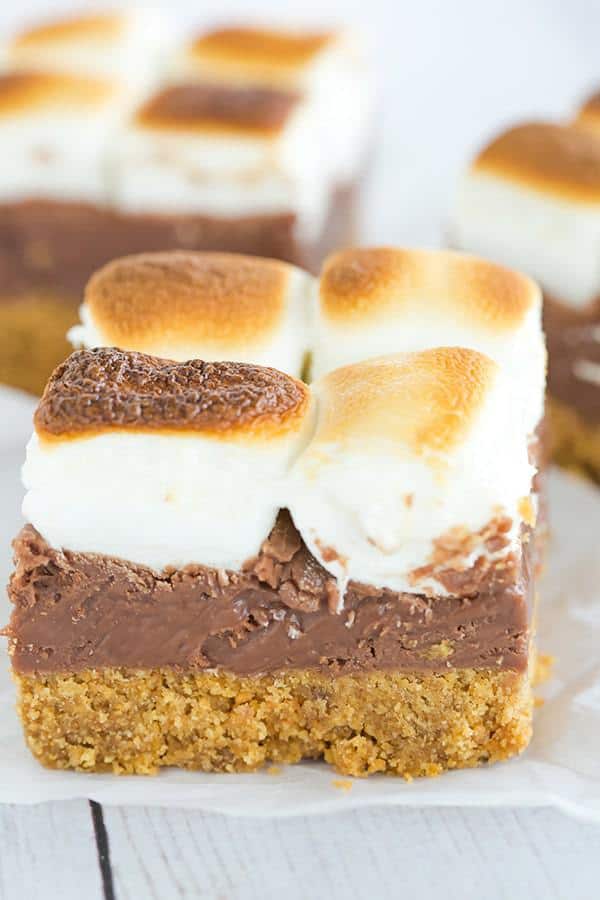
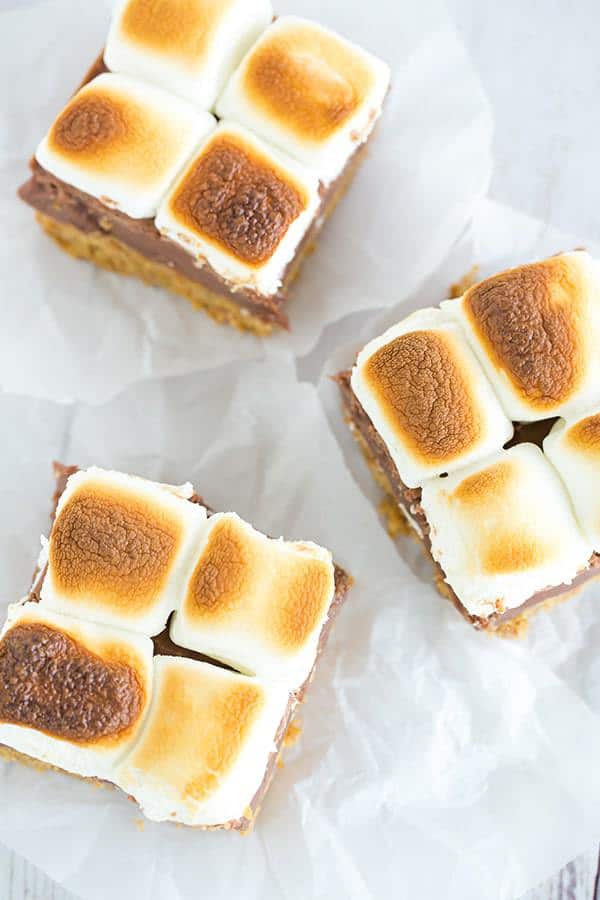
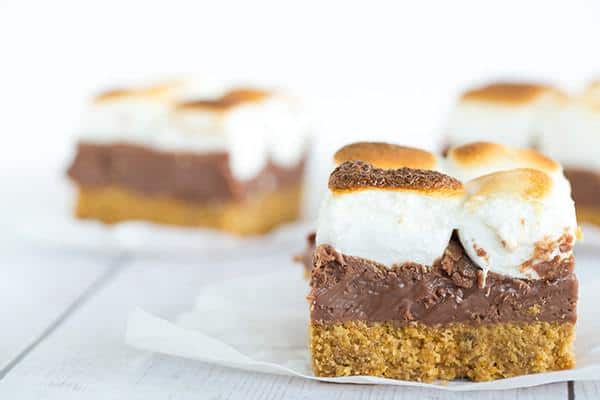
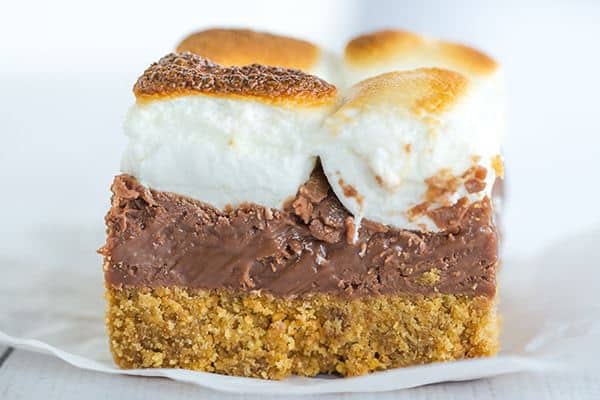
These s’mores bars boast a thick graham crust, a fudgy milk chocolate layer, and are topped with toasted marshmallows, of course!
Is there anything better than smashing a piece of chocolate and a hot, gooey, toasted marshmallow between two graham crackers?
If you don’t want to have to linger over a fire to toast that marshmallow and you want to eat them for days on end, then these bars are your answers. A local bakery sells a s’mores bar that I die over every single time I eat it. There’s a super thick graham cracker crust, a layer of rich ganache, and then massive, puffy, toasted marshmallows. I’ve wanted to recreate it forever, and the upcoming 4th of July holiday seemed like the perfect excuse!
I made two different iterations of this s’mores bar over the last couple of weeks – the first one was totally no-bake (didn’t bake the crust and used my kitchen torch on the marshmallows), and this second version features a slightly baked crust and broiled marshmallows.
The verdict? We all liked the taste of the unbaked crust better, but it was extremely crumbly and just kind of fell apart when you tried to eat it. So, I settled for a crust that was baked for a short time – just enough to help it solidify so that it could be sliced and stayed together when eating it.
The chocolate fudge layer remained exactly the same.
Save This Recipe
Torching the marshmallows gives them a bit more of a toasted/burnt flavor, but the broiler did a better job at evenly puffing and toasting all of the marshmallows. For both, everyone agreed that these are definitely best shortly after toasting the marshmallows since they’re nice and gooey and haven’t settled into that gummy consistency yet. (Although I’m happily still eating leftovers because I’ve never met a marshmallow or a s’more that I didn’t like!)
SO… take that information and run with it! You can make them as written, mash them up, whatever you’d prefer! There is always the option of using homemade marshmallow creme or homemade marshmallows for the top layer, but that went beyond the easy, simple summer recipe I was after.
These s’mores bars come crazy close to the ones I fell in love with at the bakery and are the perfect way to quench my cravings for s’mores, which I tend to have nearly every night throughout the summer.
If you dig s’mores, MAKE THESE!
One year ago: Red, White & Blue Layered Finger Jello
Four years ago: Cherry Pie
Five years ago: Angel Food Cake
Six years ago: Scotcheroos
Seven years ago: Cream Cheese Cinnamon Rolls
Eight years ago: Danish Braid
S’mores Bars
Ingredients
For the Graham Base:
- 3 cups (252 g) graham cracker crumbs, from 18 whole graham crackers
- ½ cup (110 g) light brown sugar
- ¼ teaspoon (0.25 teaspoon) salt
- 14 tablespoons unsalted butter, melted
For the Chocolate Layer:
- 12 ounces (340.2 g) milk chocolate, finely chopped
- 14 ounce (396.89 ml) sweetened condensed milk
For the Marshmallow Layer:
- 36 full-size marshmallows, about one 10-ounce bag
Instructions
- Preheat oven to 325 degrees F. Line an 8×8 baking pan with foil and spray foil with non-stick cooking spray.
- Make the Graham Base: In a medium bowl, stir together the graham cracker crumbs, brown sugar, salt and melted butter until all of the crumbs are evenly moistened. Turn out into the prepared baking pan and press evenly into a tight, compact layer. Bake until it is lightly browned and has a faint toasted smell, about 10 minutes. Remove from the oven.
- Make the Chocolate: Place the chocolate and sweetened condensed milk in a heatproof bowl set over a small pan of barely simmering water. Stir occasionally until it is completely melted and smooth. Immediately pour it over the graham cracker crust and spread into an even layer.
- Immediately place the marshmallows on top of the chocolate layer, pressing down slightly to nestle them into the chocolate. When ready to serve, turn on your oven’s broiler and place the pan on the center rack. Broil until the marshmallows are puffed and browned, 1 to 2 minutes. Remove from the oven and let cool briefly, then slice and serve (I used a large pizza cutter sprayed with non-stick cooking spray to slice mine). Leftovers can be stored in an airtight container for up to 4 days.
Notes
Did you make this recipe?
Leave a review below, then snap a picture and tag @thebrowneyedbaker on Instagram so I can see it!


Haven’t made yet but look delicious. Can dark chocolate be used instead of milk?
How long do you recommend waiting for them to cool before slicing?
If I wanted to double this recipe, what size pan should I use?
This is the best dessert I’ve come across. I love so many recipes from this blog, but this one is the best. My 4 year old helped me, it’s that simple of a recipe. And the taste…I could eat the entire pan. This is going to the top of our family favorites list!
Hey there!
Do you think I could make these ahead a day or two and then broil them before serving them?
I’ve made. These twice. Now and love the taste but the crust is too crumbly. Any suggestions?
Hi Joy, You can try reducing the crumbs and/or increasing the butter a little bit.
I also had an issue with butter pooling on the top and over-saturation. The bars didn’t hold together well. When I made it again, I reduced the butter by 4 tablespoons and it held together/lightly browned on top as the recipe details.
Is that the correct amount of butter? The crust was very over saturated with butter.
Hi Sarah, That is the correct amount.
Very tasty but oh so sweet!! I will definitely be making these again but will either not add the sugar to the graham crackers or reduce it as others have said. Otherwise it is just sweet on sweet on sweet. But that chocolate layer was awesome! I used Dove milk chocolate with the sweetened condensed milk and it was like fudge. Thank you for this!
I make so many if your wonderful recipes! Love you!
Can I freeze these?
I make cookie platters for Christmas to share. I usually make two-bite bars and cookies so everyone can have a few of each and not feel so guilty. These might be perfect if I can make, cut and freeze.
Aw thank you so much! Yes, you can definitely freeze these!
I looked up many s’mores bars recipes and decided on this one. The crust texture & flavor was an important factor. So I tried to make these last night, and I accidentally bought EVAPORATED milk instead of CONDENSED milk that I used in the melted chocolate.. It was a mess! A chocolatey, soupy mess. Had to throw it out. I went back to the store and bought condensed milk and just prepped it again. The chocolate looks a million times better. And, I’ve learned the difference between evaporated and condensed milk. (I’ve also learned to thoroughly read through a recipe before buying ingredients and making it) ;)
I just hope this comment might help prevent anyone from making my mistake. We did try a bite of the bad one yesterday, and the crust was delicious! Cant wait to pop this one in the broiler later and see how it tastes. It definitely makes a great late-night snack! annd I could make rice krispie treats with my leftover marshmallows.
I have done some more browsing around and I’m loving this blog btw!
This is one of my favorite recipes!! I’ve made it 2-3 times and it always it fantastic!!
Hey!
So I work as a Baker at a Fly In Fishing Lodge and I made this for the staff and they loved it. I also made a different version that turned out amazing,
I used oreo crumbs mixed with butter on the bottom layer, then I used condensed milk with white chocolate chips instead of regular chocolate and then sprinkled oreo crumbs and chocolate sauce on top instead of marshmallows. So good.
Thanks for this recipe!
I had a ton of crackers, chocolate bars and marshmallows left over from summer activities and was looking for a recipe to replicate the taste of summer and outdoor S’mores. This was amazing, they came out perfect! I served them in squares in muffin papers to catch the little crumbs. The next day they were still amazing. They were very fun to share this Halloween! (I used less sugar in the crust) De Ann
When you say line a pan with foil…do you mean tin foil? Is this for any pan? Can I not just butter my pan and put the graham cracker crust right on that, even if i use a dark/tin brownie pan? Thanks!
Hi Jaclyn, Yes, aluminum foil, and for any pan. You can grease your pan and make the bars in the pan without lining it; the benefit of lining it is that you can use the foil to actually lift the bars out of the pan (in one piece, once done baking and cooling) and sliced on a cutting board, vs. trying to cut and remove them from the pan.
They turned out so good. Delicious! They were a big hit at the party I went to.
These are wonderful! I used 12 T of butter and gluten free graham crackers. Turned out so well, and easy! Thanks.
I made these yesterday to take to a 4th of July block party. Unfortunately, I underestimated the broiler in my new oven! I haven’t huffed and puffed so hard in a long time! I tried them, none the less. I wasn’t about to let a few burned marshmallows cheat my taste buds. They are delicious! But, my crust fell apart. I guess I’ll just have to eat them out of the pan with a big spoon! Thanks for the recipe, Michelle!
Look at those thick layers. Just yum!
These look Scrummy!!!! Can’t wait to make them. My teenager will be so happy.
SAVE SAVE SAVE AND SAVE! it looks so good!
What do you like for brand of chocolate?
Ghiradelli baking bars!
I’m making these as I write this, but after I baked the graham cracker, butter pools formed on the top.
Really?! I’ve made these three times now and that hasn’t happened. Were you sure to thoroughly mix the melted butter into the dry ingredients?
I went back and added more crackers and they turned out amazing. I need to bake a pie for the 4th and I think I’ll use a premade Graham cracker crust and follow the rest of the recipe.
Butter pooled for me too and I only used 12T. I just mopped it up with a paper towel. My chocolate is ready but it seems like I should let the crust cool first? Aaannyway, it smells amazing in here and I can’t wait to serve these.
Butter pooled on the top for me, too. The next time I made them (first batch went quickly) I used 12 Tbsp of butter instead of 14 with no pooling. I also made sure my graham cracker crumbs were fairly fine without any pieces. These are going to be a go-to for summer BBQs!
Oh, there is no better treat in the summer than s’mores! These bars look scrumptious, and like s’mores themselves, messy in the best possible way! Gooey marshmallow and melty chocolate? Count me in!
Wow!! These are beautiful! We are headed to the beach for the 4th and I think we’ll try making these one afternoon. :) I will probably give your homemade marshmallow creme a try on them though, unless I can find some marshmallows without gelatin.
Mika – Trader Joes now has vegan marshmallows…if you have one in your area :)
Have you tried with cream instead of the sweetened condensed? We want to try them but that sounds really sweet to us.
Hi Sharon, I haven’t, but you couldn’t definitely do cream for a ganache filling instead of a fudge-like filling. Enjoy! You could also use semisweet chocolate instead of milk to keep it from being too sweet.
Love these so much! I make something very similar but use just a milk chocolate layer without anything added to it if you want that layer less sweet, although it’s a bit firmer. Michelle, I have always baked my graham cracker layer but now I’m intrigued to try it just barely baked. Thanks for the idea!
These look great! I think if I were recreate them, I would either half the recipe, or make it in a 9×13 and use mini marshmallows. Each layer looks a little too thick for my tiny mouth ;) .
Great minds think alike! I made these this afternoon and although I didn’t halve the recipe, I did use a 9×13 dish instead. It’s all personal preference, and I wanted a thinner crust and middle layer. They are very, VERY rich and the thicker layers just wouldn’t have worked for me. Do make them, though. You will not be disappointed!!!
Hi Peggy, So glad you liked these! And thanks for the feedback on the adaptations you made!
Peggy, did you adjust the baking time when you used a 13×9 pan (since the crust would be thinner than in a smaller pan)?
Holy cow, these look beautiful!!! I am definitely going to make these for the July 4th get-together I’m going to. Just one thing, though… I’m pretty sure the yield would be 9 large bars and 16 small, not the other way around. I can’t wait to make them!
HA! Yes you’re right, I corrected it!
I look forward to making these for an upcoming picnic. Thanks sos much, Michelle!!!
Oh man, they look amazing! I’m still trying to find the perfect biscuit for S’mores. Graham Crackers sadly aren’t available very widely in the UK.
Katie xoxo
Katiecakes
digestives! i live in europe and thats what i use :)